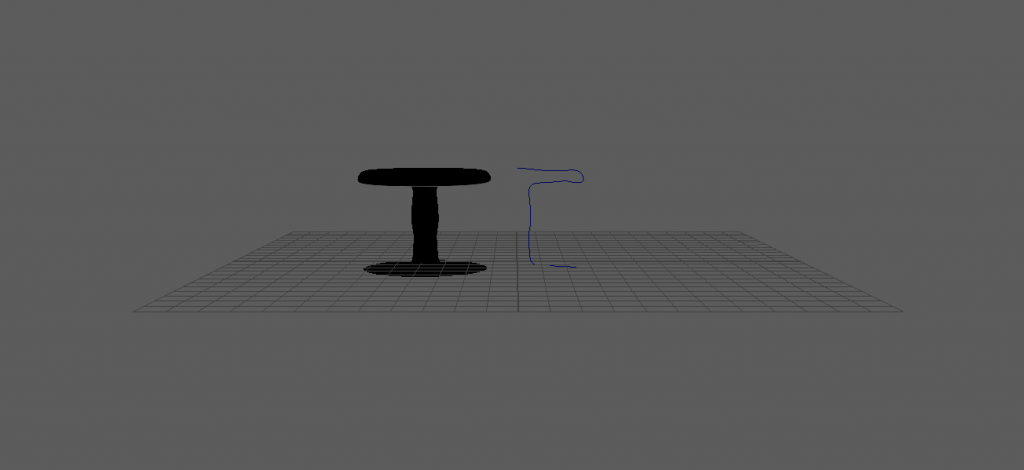
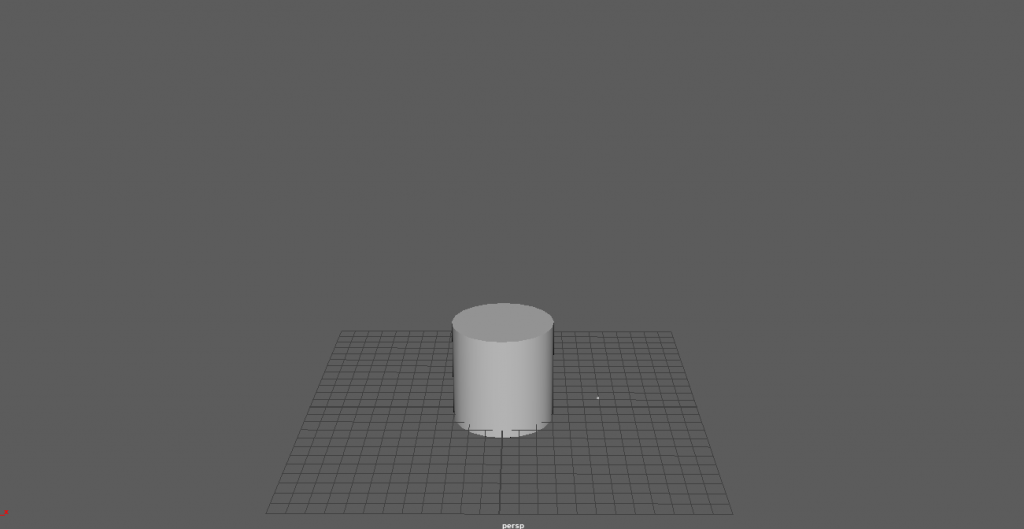
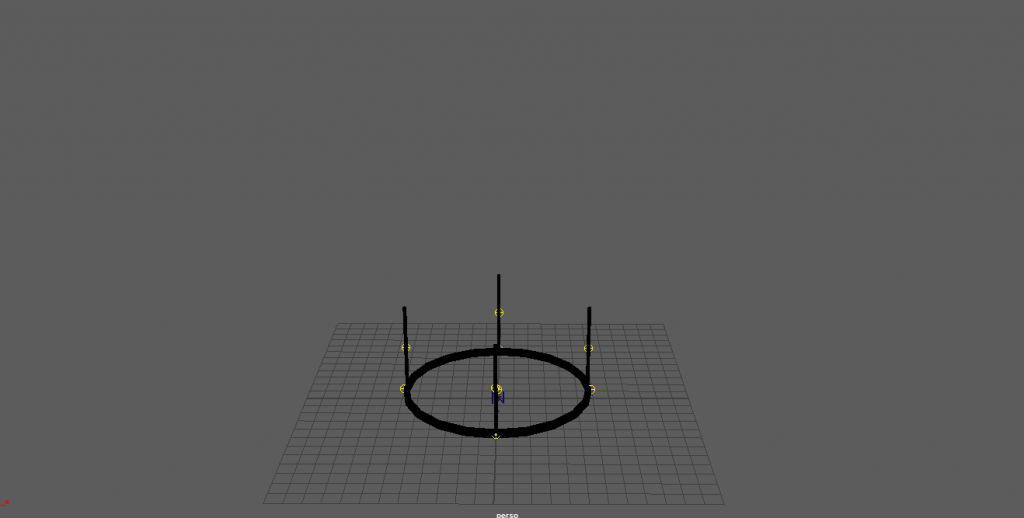
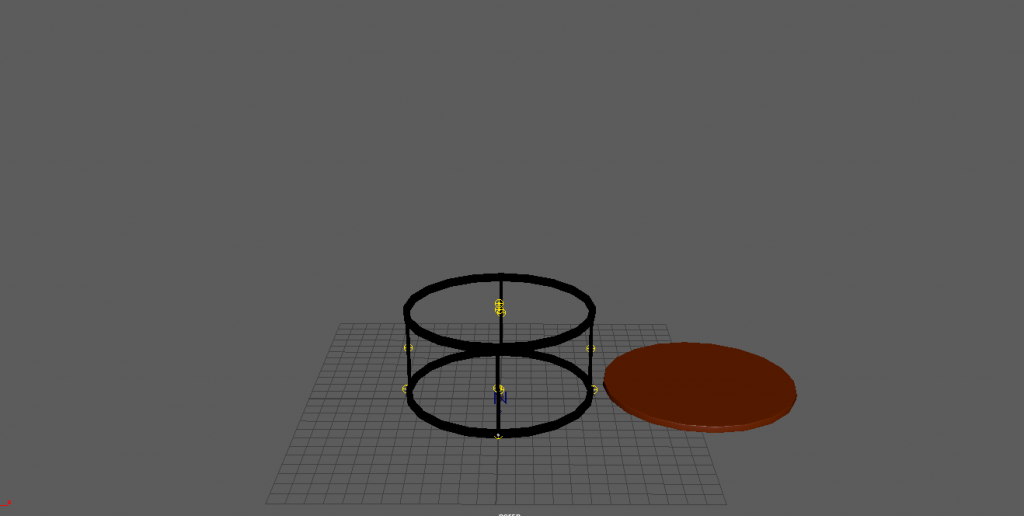
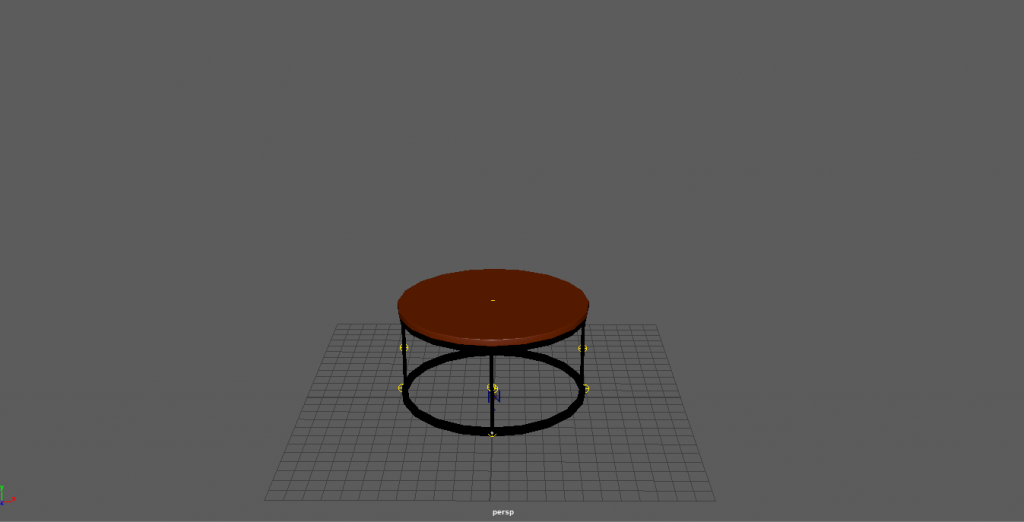
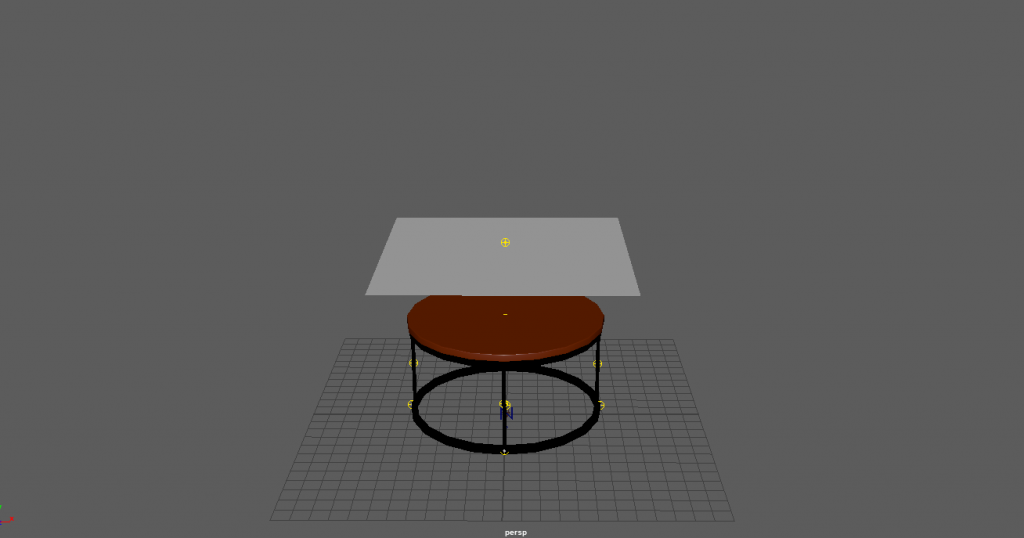
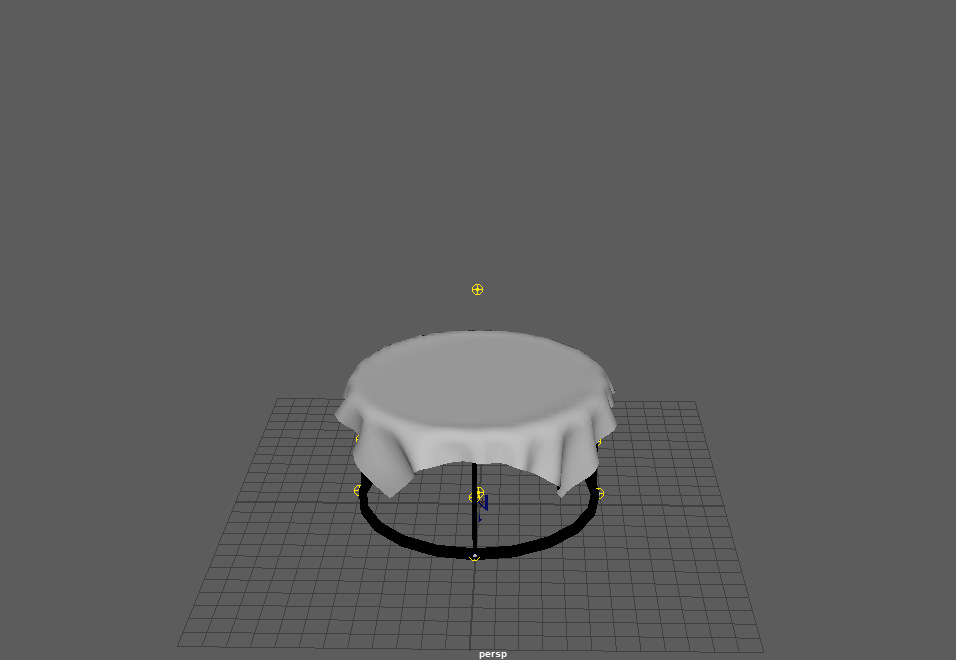
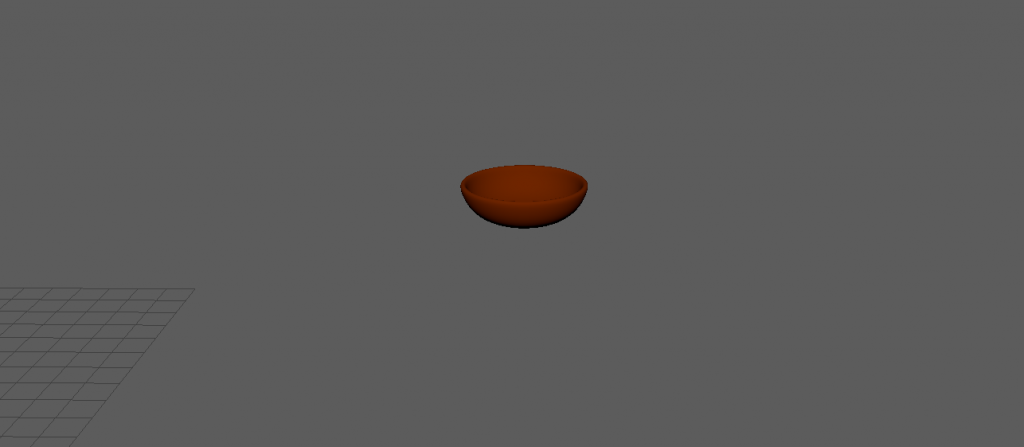
i also originally made this table using the EP curve tool within Maya however i wasn’t happy with how it was working and decided not to use it within the finished piece as i was having problems with it. i started off with a cylinder as my base, i then scaled the cylinder down and made it larger. once that was done i removed the top face and extruded the edges to give it some depth. once my base was done i took a cube and scaled it to make a table leg. once i was happy with it i positioned it and duplicated it 3 times so i had a even amount of legs to suite the base. i then duplicated the base to get the top half of the table stand. once that was aligned with the legs i created another cylinder and repeated what i did to get the base but i didn’t remove the top face. i then aligned the table top with the stand and brought them together. once that was done i added colour to the table top and the stand to make it look a little more realistic. i then proceeded to create a polygon plane and position it above the top of the table, i then scaled it to the right size so it wasn’t too big compared to the table. i then made the cloth a Ncloth and made the table a Ncloth passive collider. this is how it looked once i added gravity to the Ncloth making the polygon plane into cloth. to make the bowl i took a sphere and cut it in half i then extruded it to add depth and then i moved the vertex at the bottom of the bowl to make it more realistic as a bowl wouldn’t stand with a curved bottom. i then added some colour too.i then made an apple by taking a sphere and scaling the top and bottom vertex to create an apple shape. i then scaled it to suite the bowl and added a blinn red colour to give it a little shine. here is the finished product of everything combined together.