3D Character Design Portfolio
I then followed this up with some rough sketches, they aren’t the best but allow me to get my point across and show what im trying to do instead of having nothing to back up my final design. As i make more progress i will continue to update the portfolio.
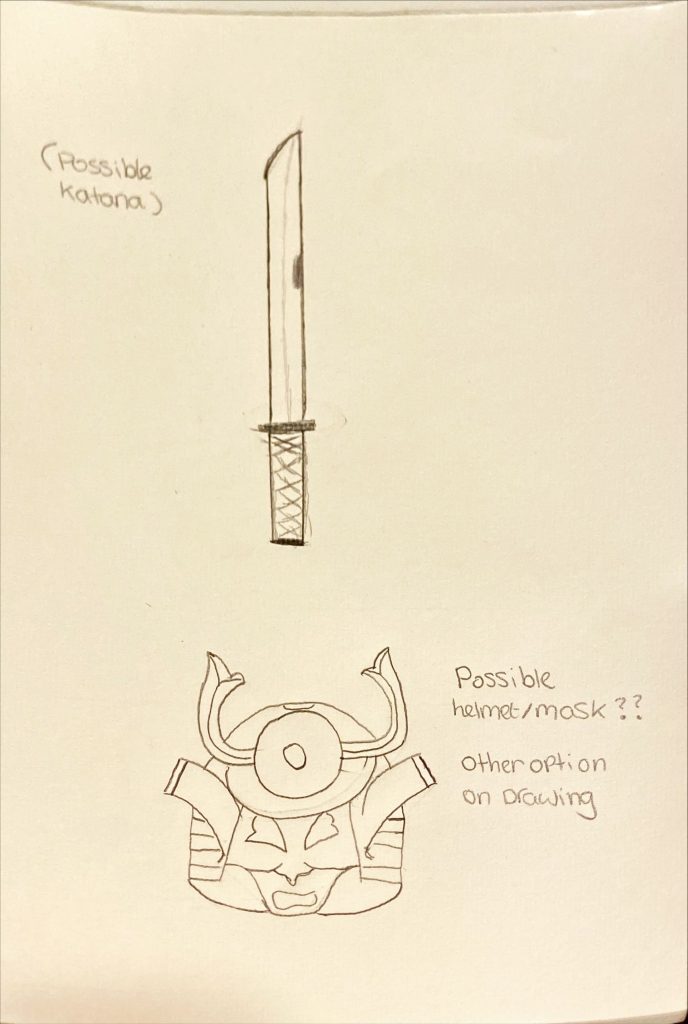
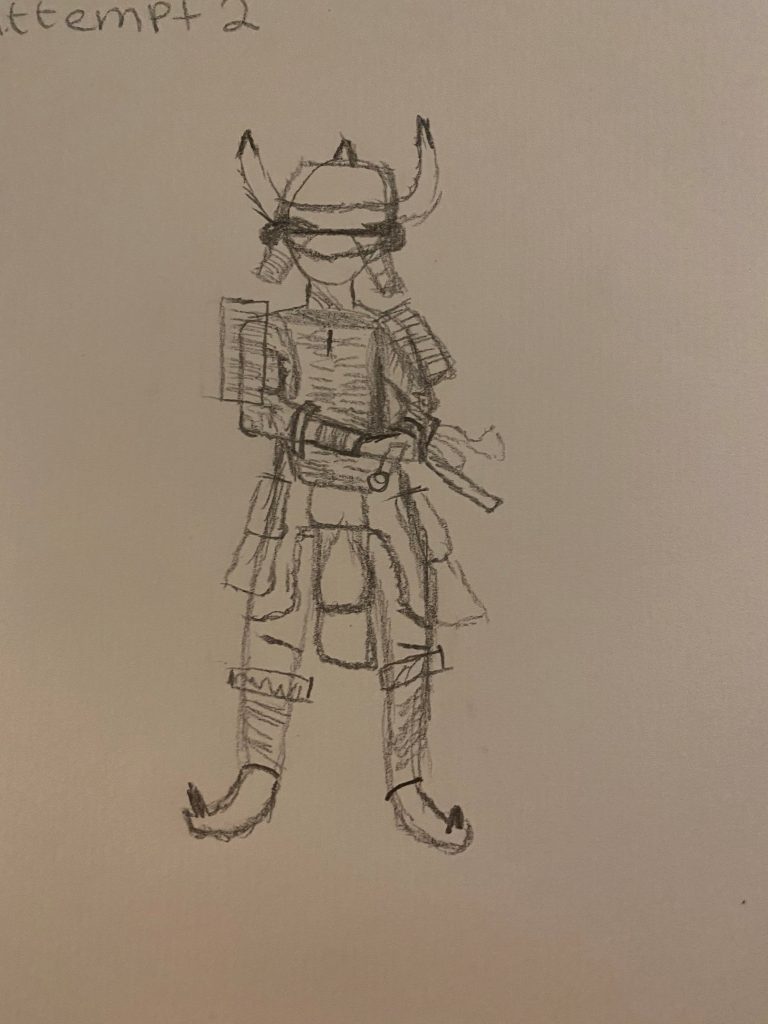
I plan on doing some more sketches etc building upon the original idea shown above.
Character Information:
Gender: Male character.
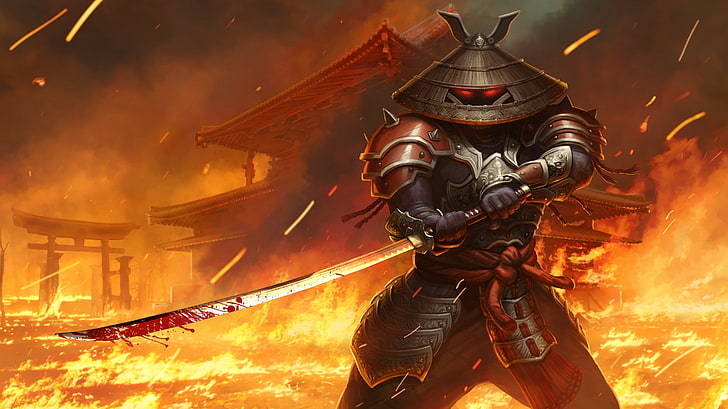
Back Story: A soldier betrayed by his own framed for the murder of the king, seeks revenge and is desperate to prove his innocence by any means necessary. He will have to travel through many different environments after being exiled from the kingdom. He will be slaying all types of enemies that get in his path, relying on his trusty dual wield katanas. My character is quite outgoing and wont back down from a challenge. They will happily work alone or with others but he does have a preference of working alone. He is one the best swordsmen in the kingdom but has many rivals who are jealous of him which may of led to him being set up.
Visuals/Style: This character will have quite a simple armour style, with a couple of weapons for example, a sword, shield, bow and arrow etc. its sort of a mix between realistic and fantasy.
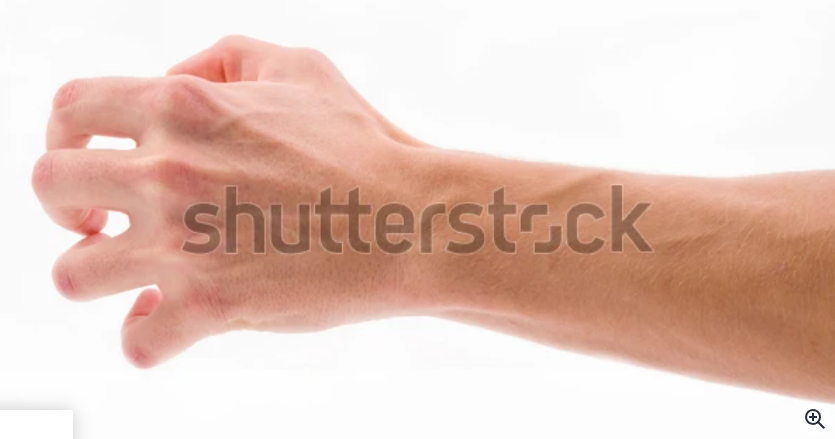
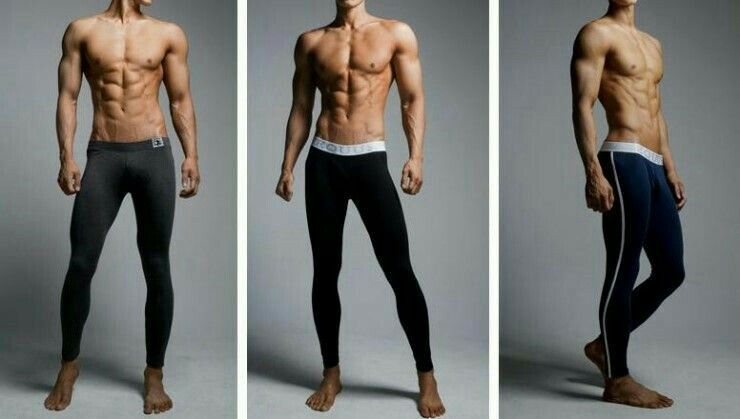
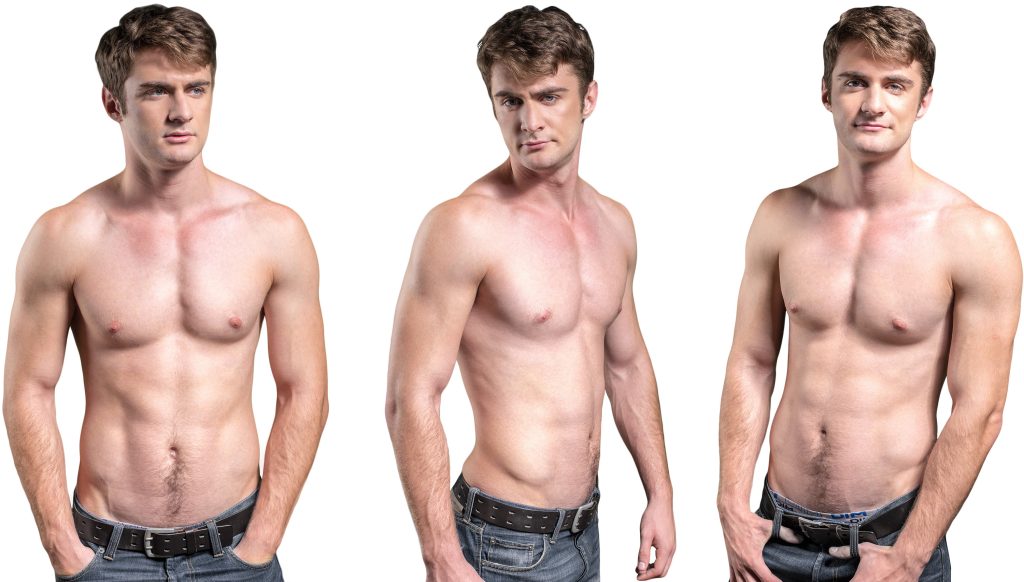
Body: My character will have quite a lean but muscly build (could always change) one that you would relate to a ninja/agile warrior. This then works well with my characters ability to dodge attacks very easily and allows them to stay on their toes, they can also sneak around their environment very well and avoiding detection.
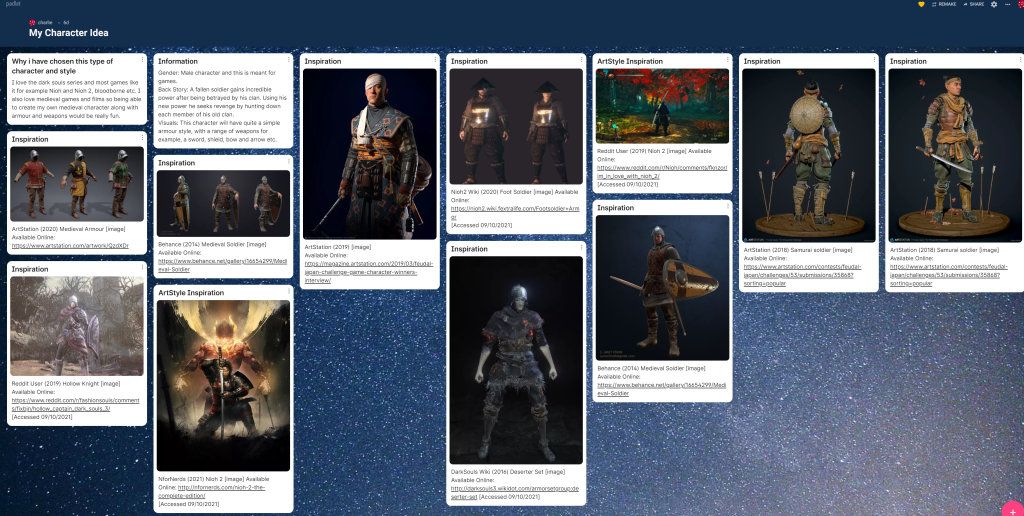
Why i have chosen to do a character like this:
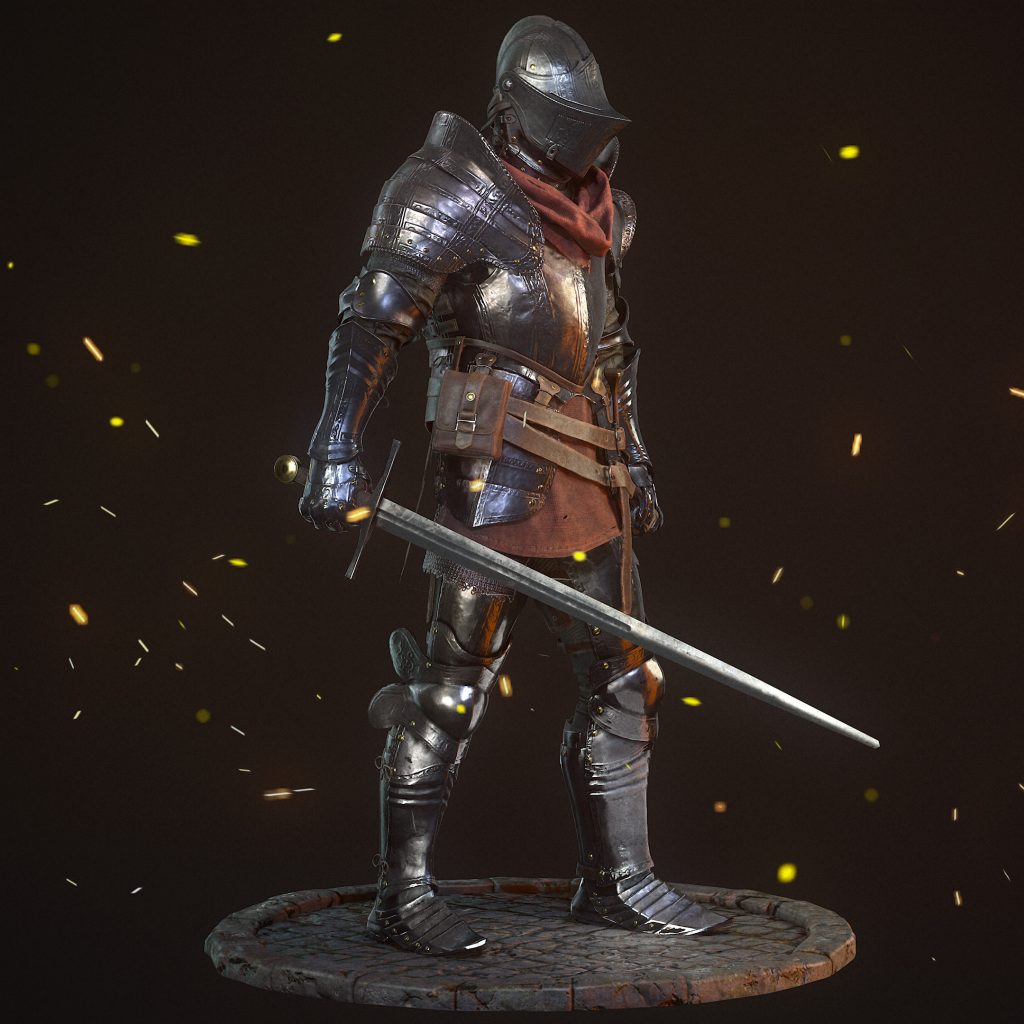
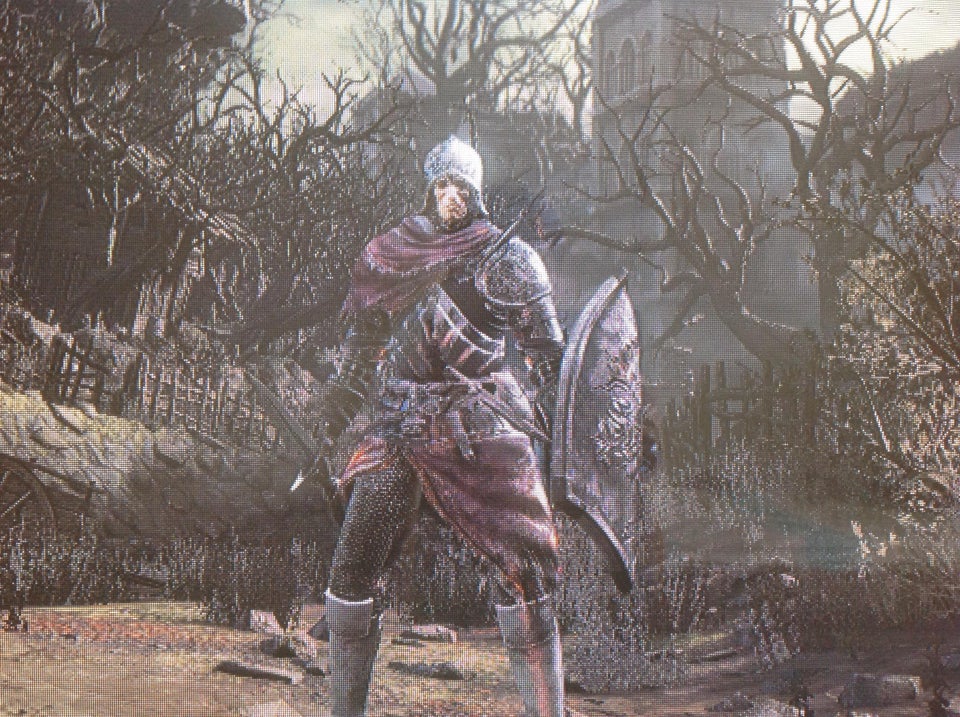
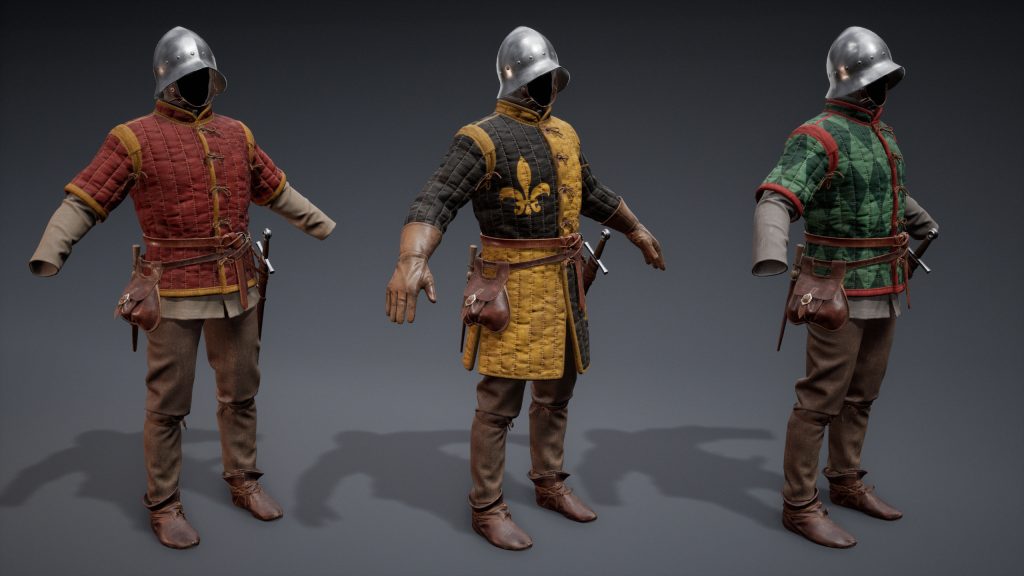
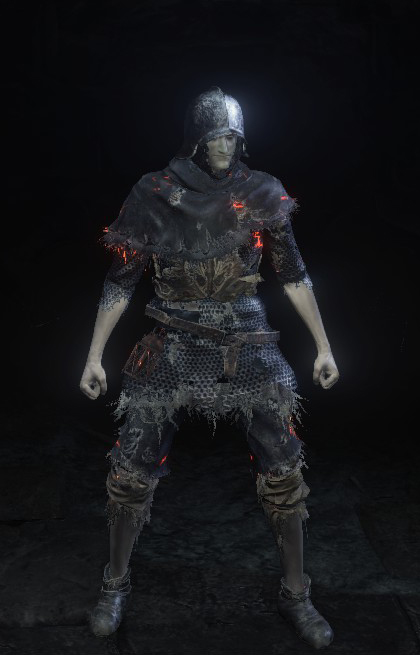
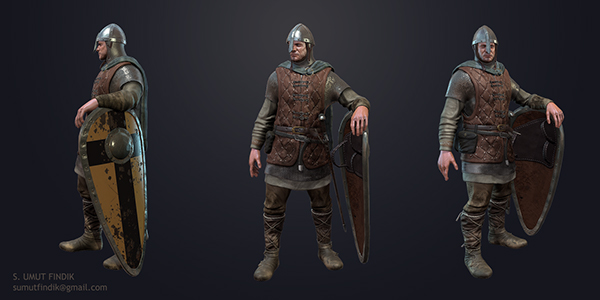
I love the dark souls series and most games like it for example Nioh and Nioh 2, bloodborne etc. I also love medieval games and films so being able to create my own medieval character along with armour and weapons would be really fun. And being able to possibly add my own twist onto it too is even better. I also thought about adding a hero/villain type look/design to the character which is why some of my references are of hero’s and villains.
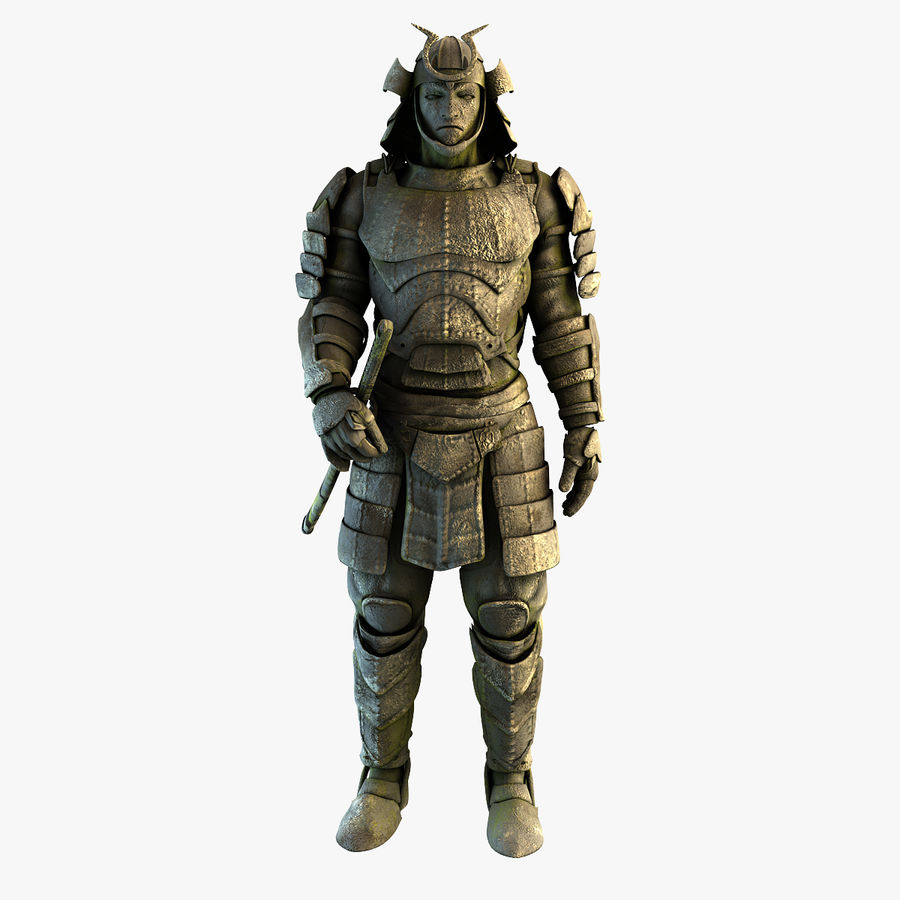
More inspiration/ideas


[Accessed 09/10/2021]
Available Online:
https://www.artstation.com/contests/feudal-japan/challenges/53/submissions/35868?sorting=popular
[Accessed 09/10/2021]
Available Online:
https://www.artstation.com/artwork/QzdXDr
Available Online: https://www.behance.net/gallery/16654299/Medieval-Soldier
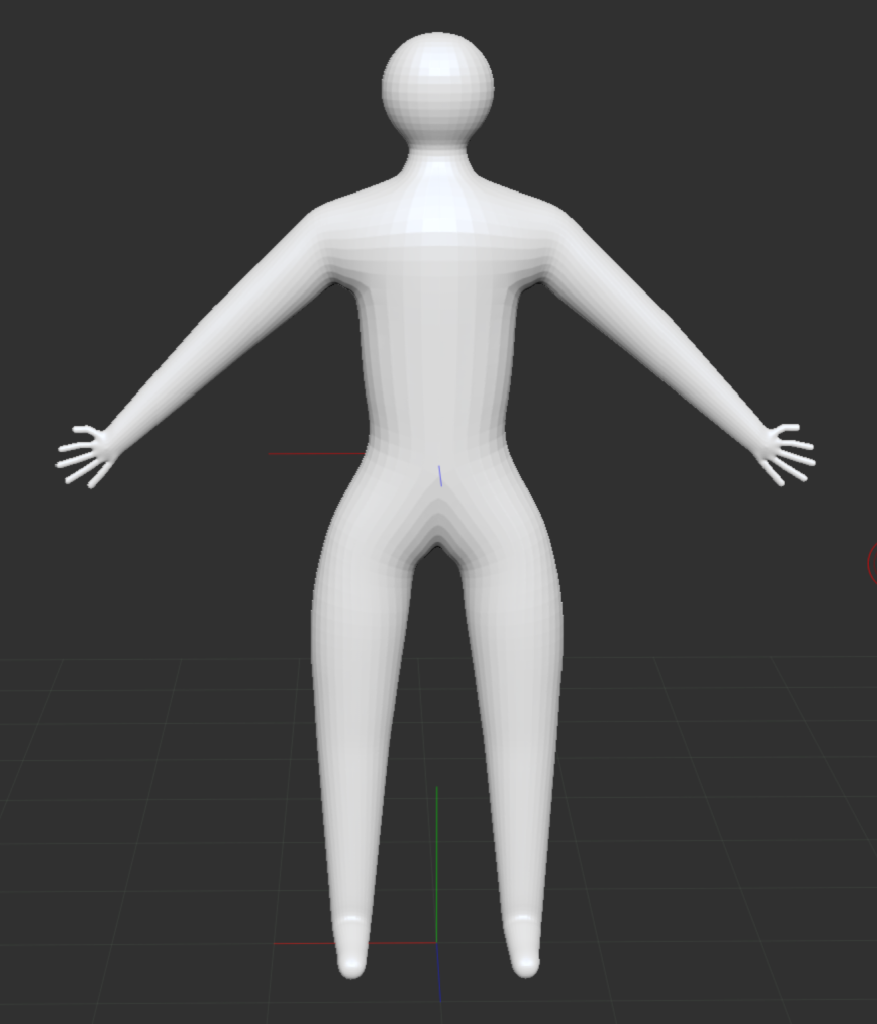
Character Base Using Zspheres
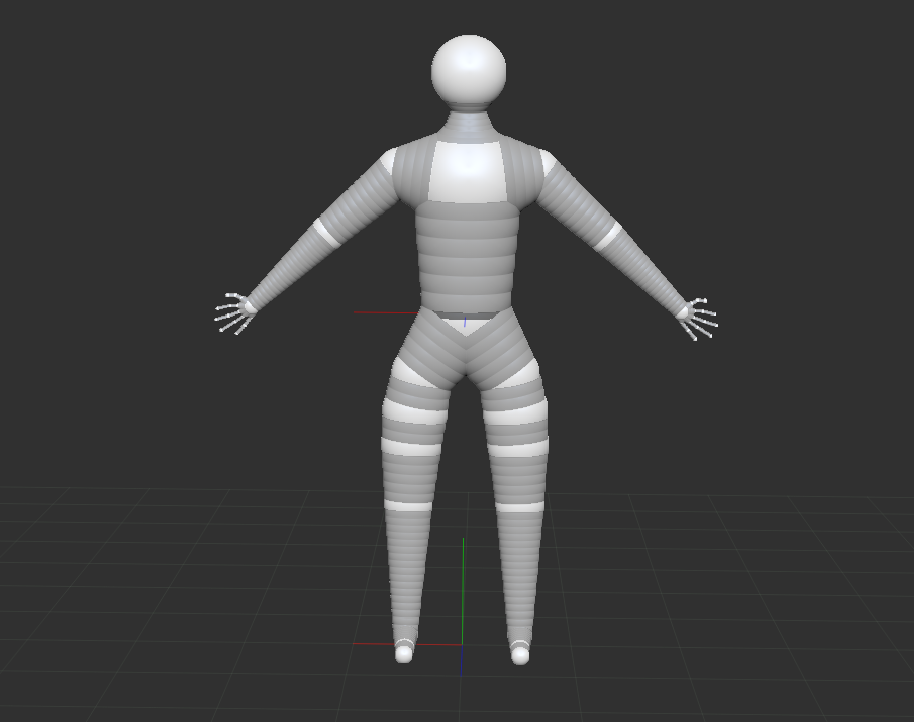
I started off by blocking out the basic shape of my character i feel like this was a good improvement from the last attempt of blocking out a character which we did in a lab session. I found the hands the hardest to do but im not too worried since they will be covered by gloves etc, this also applies to the feet as they will be covered by boots. I had lots of trial and error through this process making sure i got body parts even and that they were in the right place for my character.
I followed this up by making it a adaptive skin, i played around with the resolution settings to get it how i wanted it to look. (if it was too low skin would web together). I used the preview option that was available so i could make sure i was happy before committing to the adaptive skin.
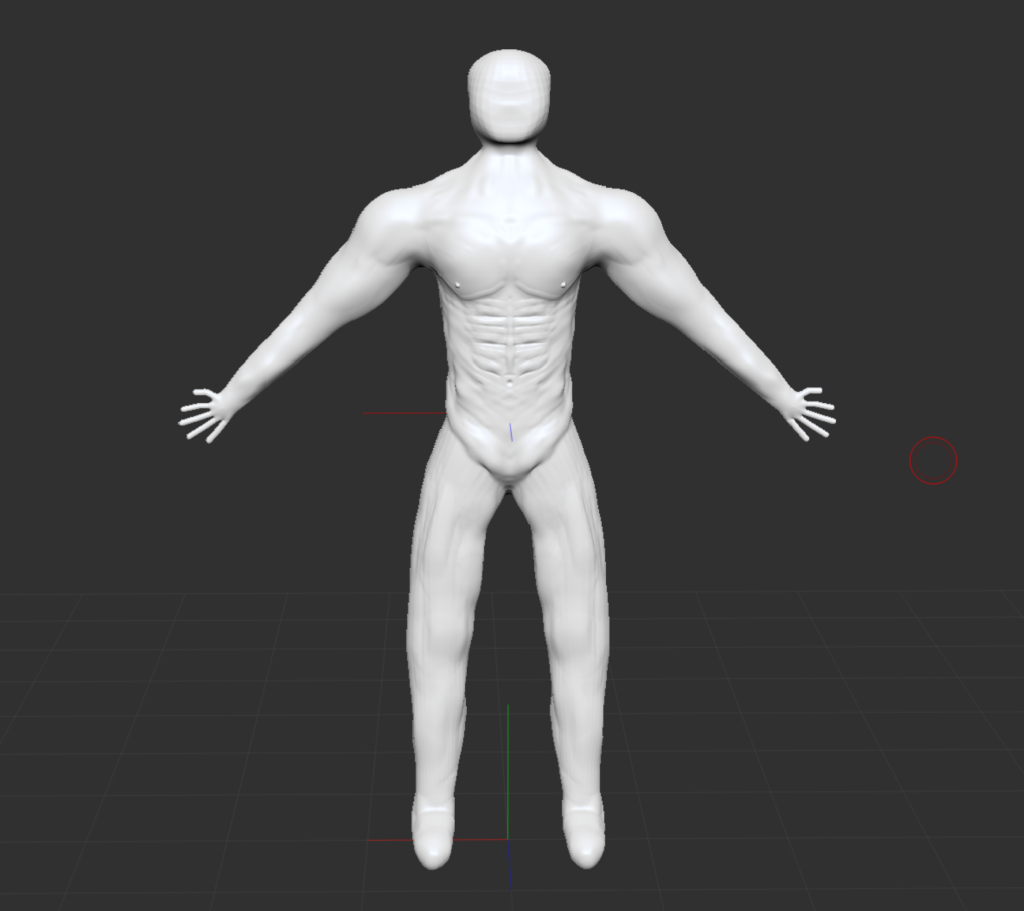
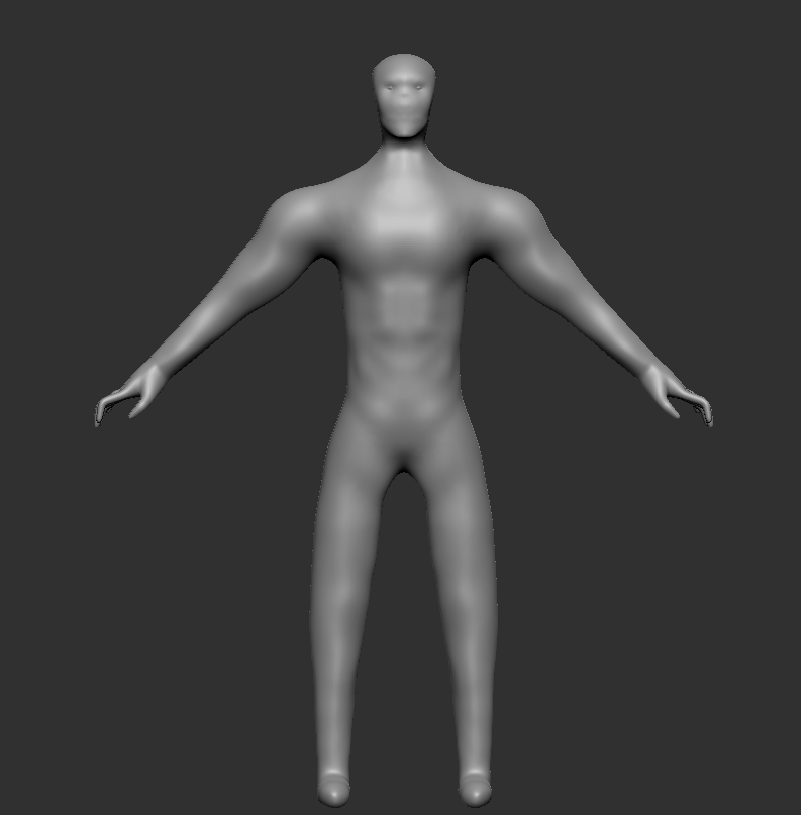
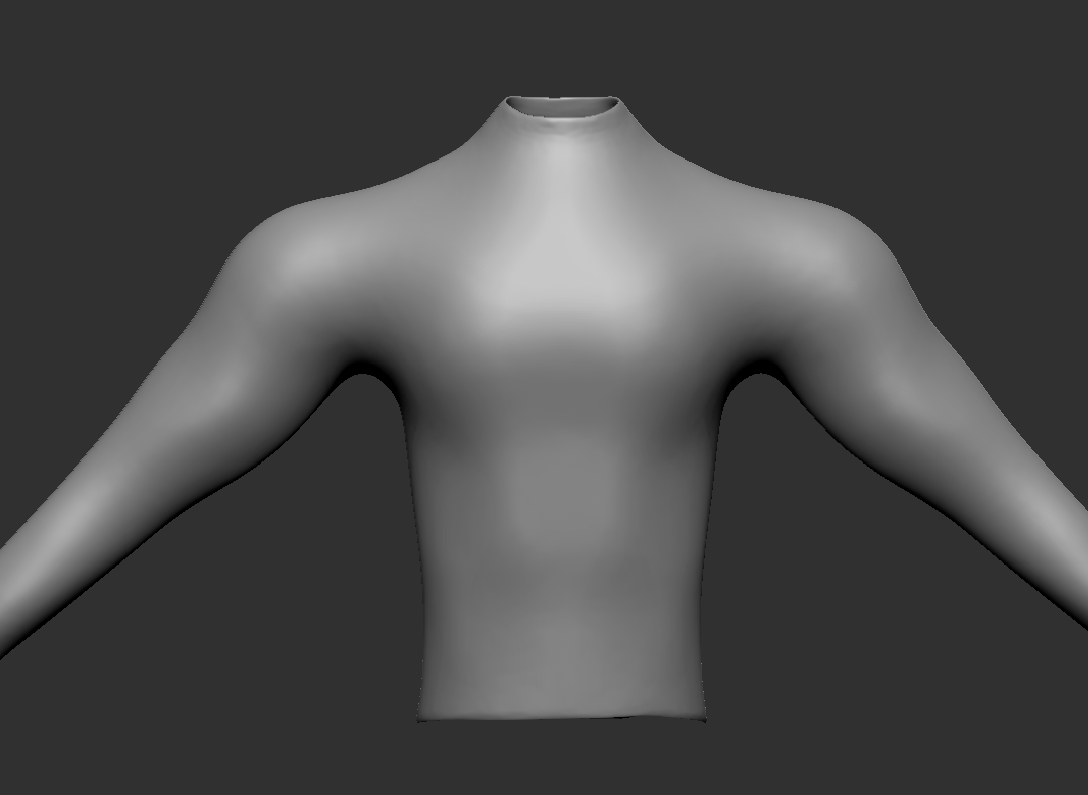
I then went on to adding muscle and getting the body shaped to how i want it to look. I did this by using multiple tools, this includes, clay buildup, smooth, clay, chisel, and the odd other that i just tried out. there’s still improvements that can be made (the hands being the worst for me) but im not too worried about having lots of detail/the best looking details when the body etc is gonna be covered with clothing/armour so im happy with the general look and shape of my character. Next i need to do the face and then the armour. (some slight updates have already been made since this screenshot was taken). During this process i also used subdivisons and zremesher. Just like with Zspheres there was lots of trial and error as it either did not look how i wanted or just unnatural.
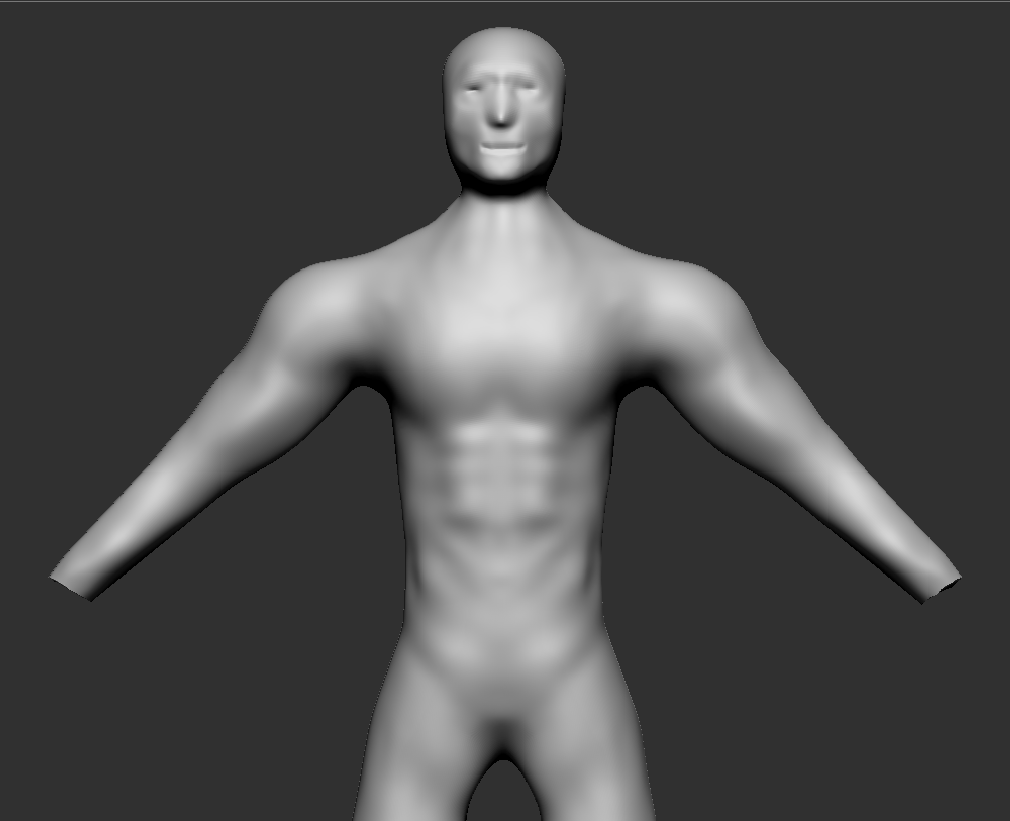
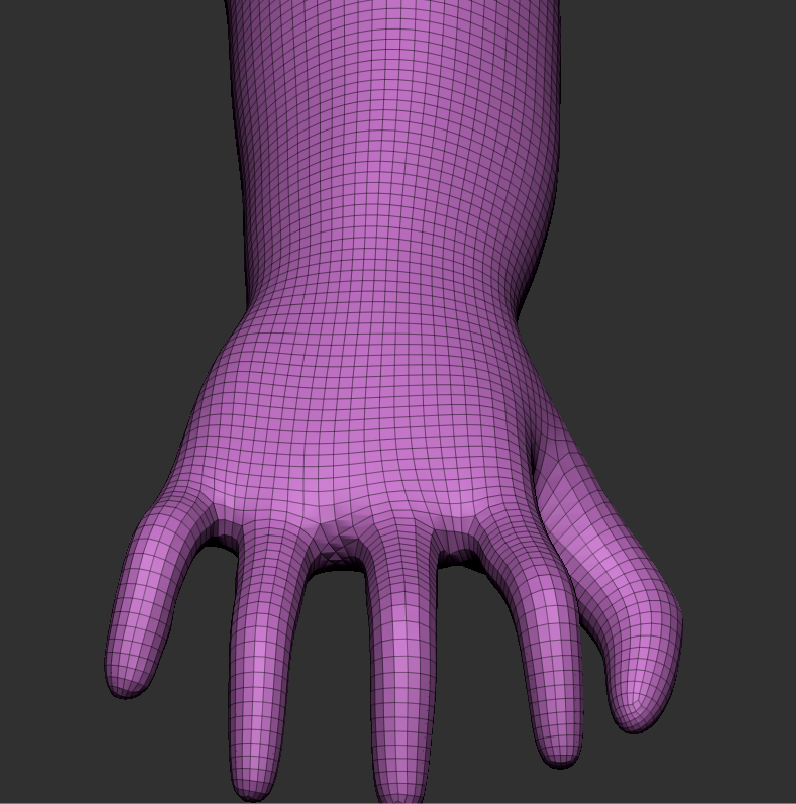
After looking over the model of my character i wasn’t too happy with it and felt like there was too much muscle etc and didn’t capture what i wanted. I then decided to get rid of a lot of the definition but leave enough for it to stand out still. I also removed the hands as i had done them the wrong way and didn’t like how thin the fingers were and the overall shape of the hand. The face is very basic and does not really have any details but again i did not think there was any need as a helmet/mask would be covering it. However in future designs i will do ones where i need to do facial details and hair as i need to be able to do them and do them well.
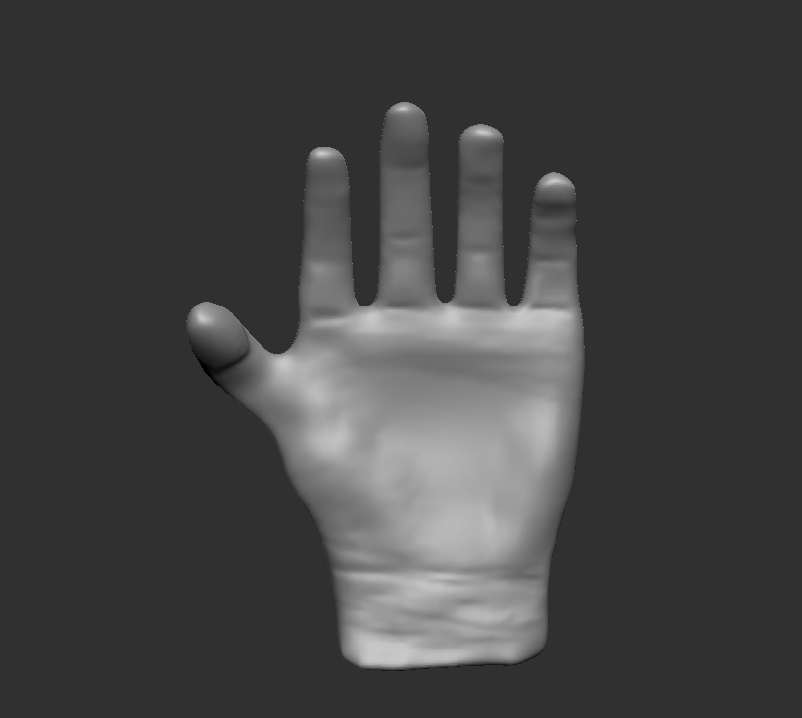
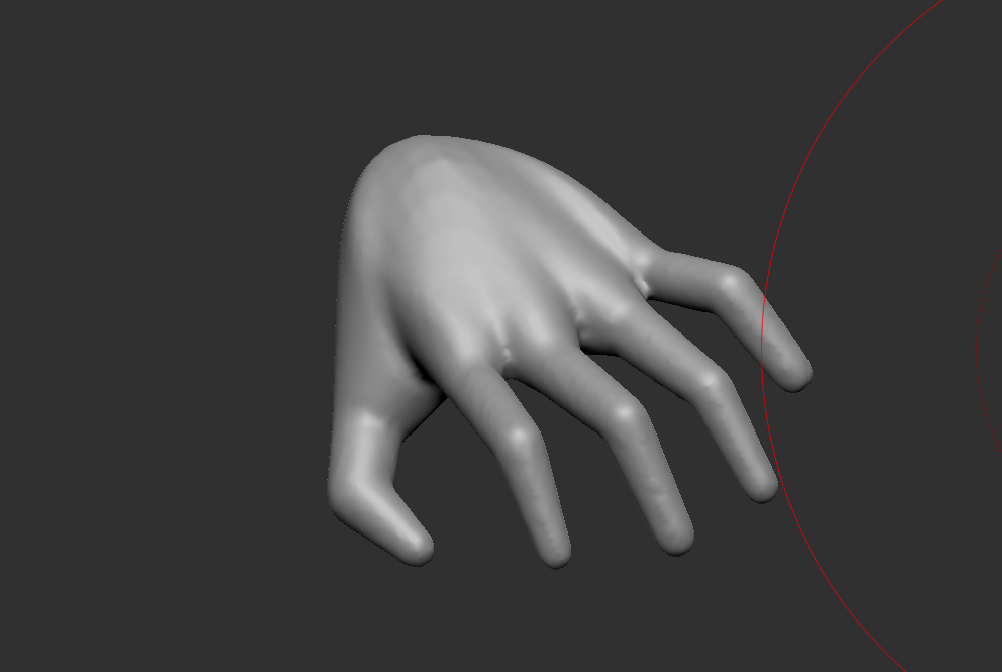

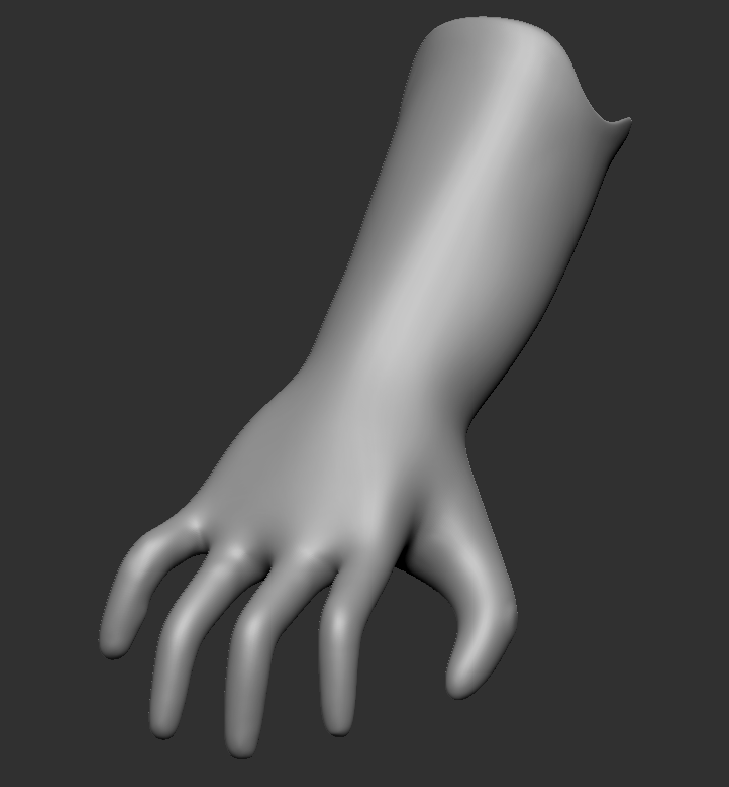
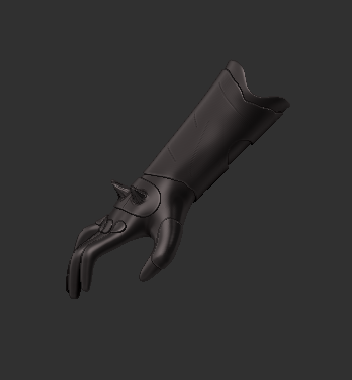
I then made the first hand on the far left, however when i merged it with the arm/wrist it did not look good so i decided to redo it with Zspheres which is the other two pictures i used a couple of YouTube videos doing both of these as i found hands quite hard to do with just reference images. i was a lot happier with this hand and it merged pretty well with the arm too. Below is the final result. Again not too much detail on the face as its going to be covered up.
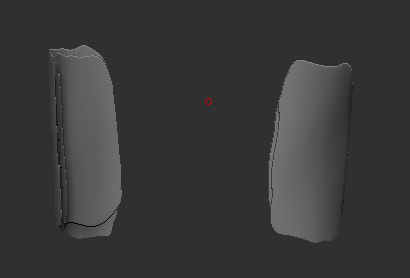
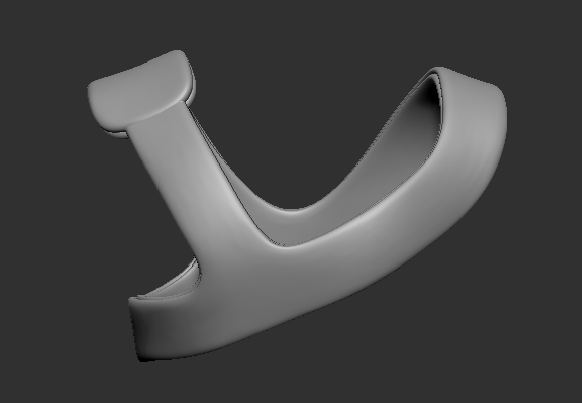
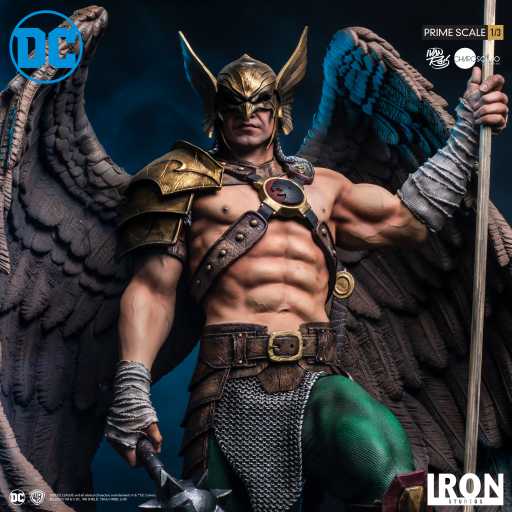
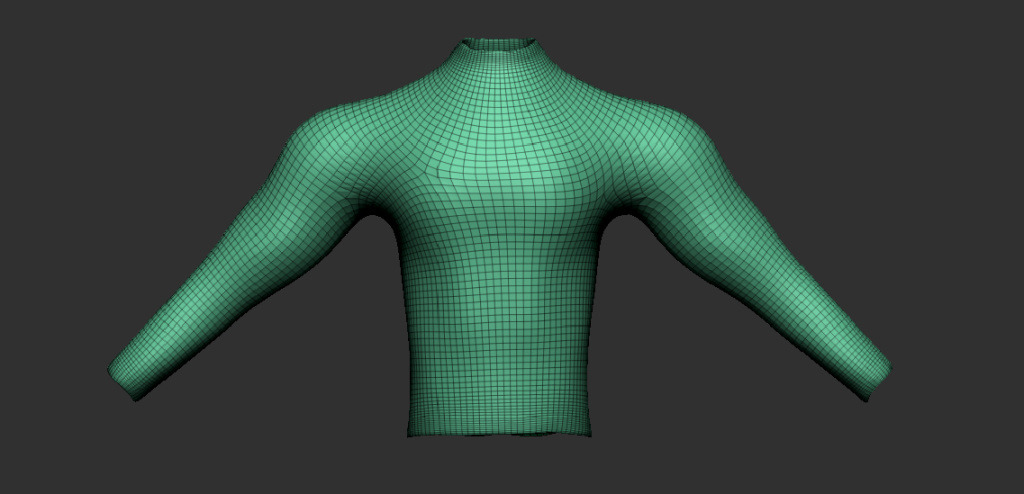
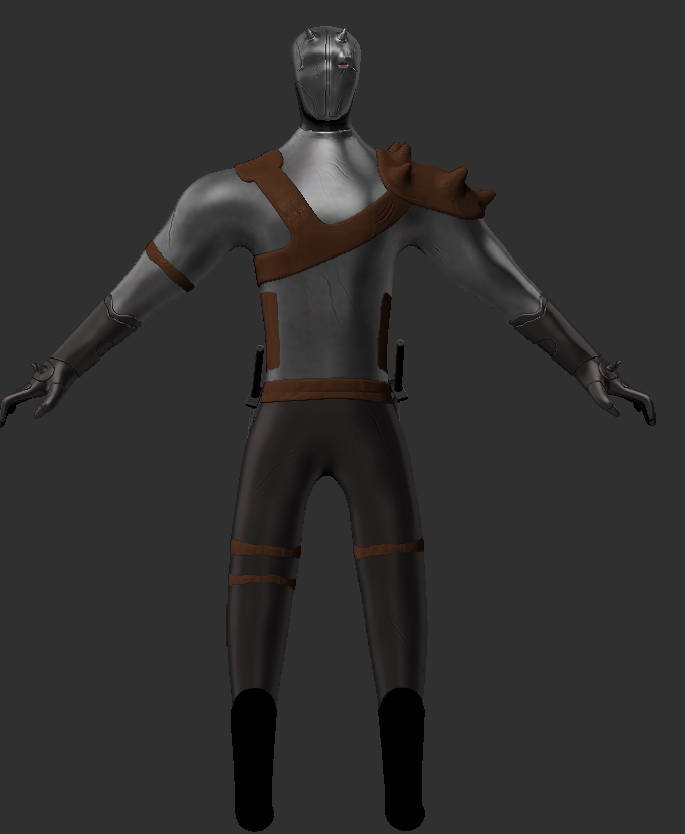
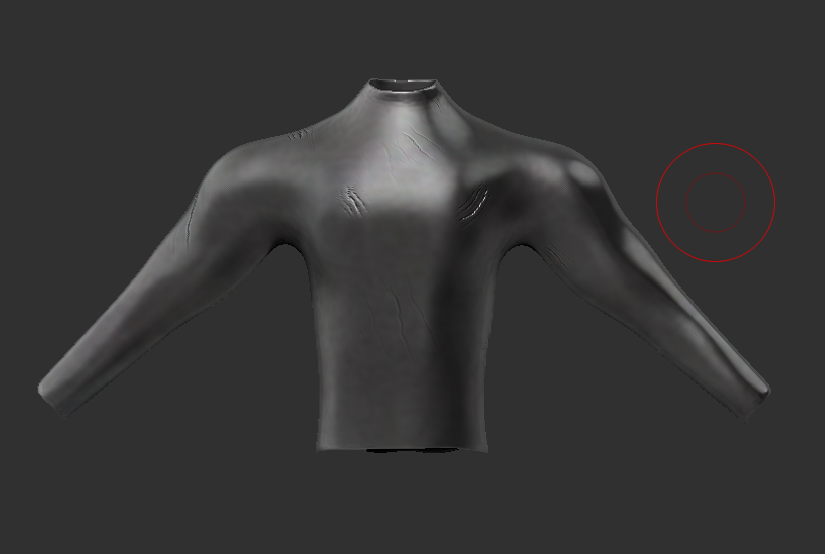
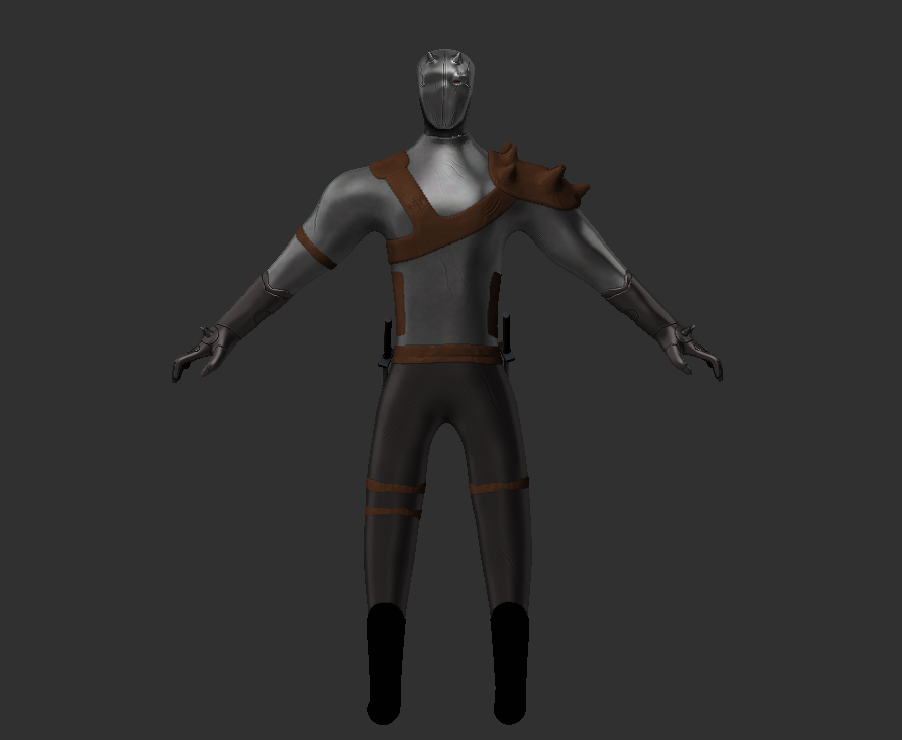
I then started working on the different Armor pieces/accessories that i wanted on my character. i did this by masking different areas and then extracting testing out different values to see what worked and looked the best. I also used deformation settings like inflate or smooth by features to get the pieces looking better/how i wanted them to look. I also used Zremesher and subdivisons. The chest and over the shoulder strap was inspired by one that Hawkman from DC has. (image below).
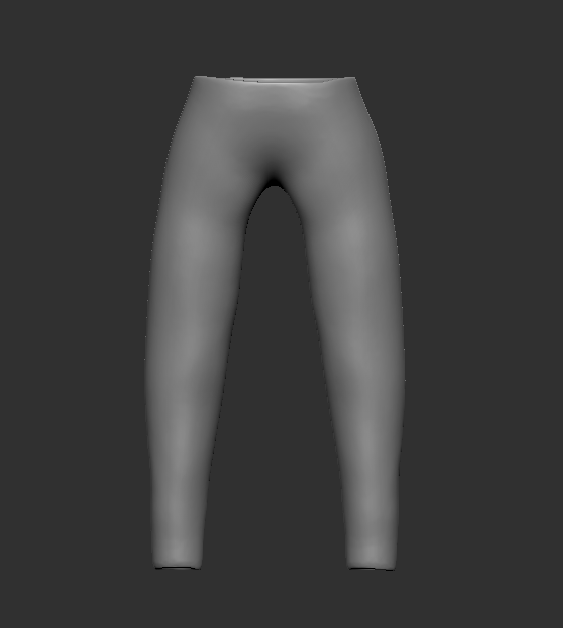
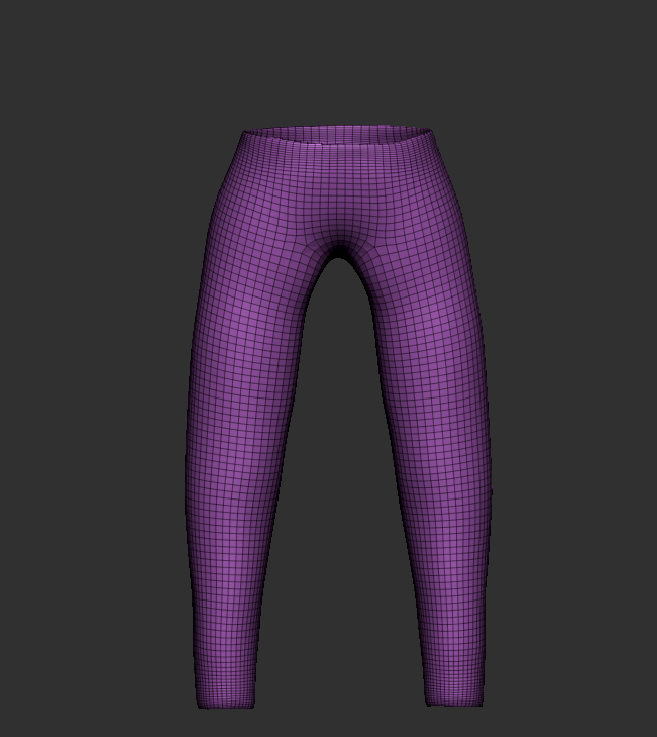
I then added trousers using the exact same method.
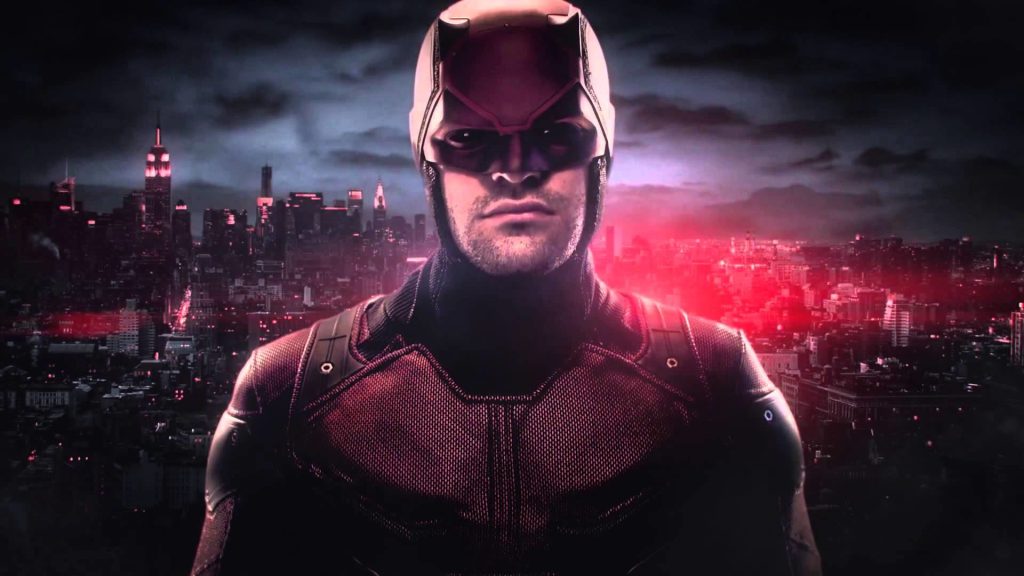
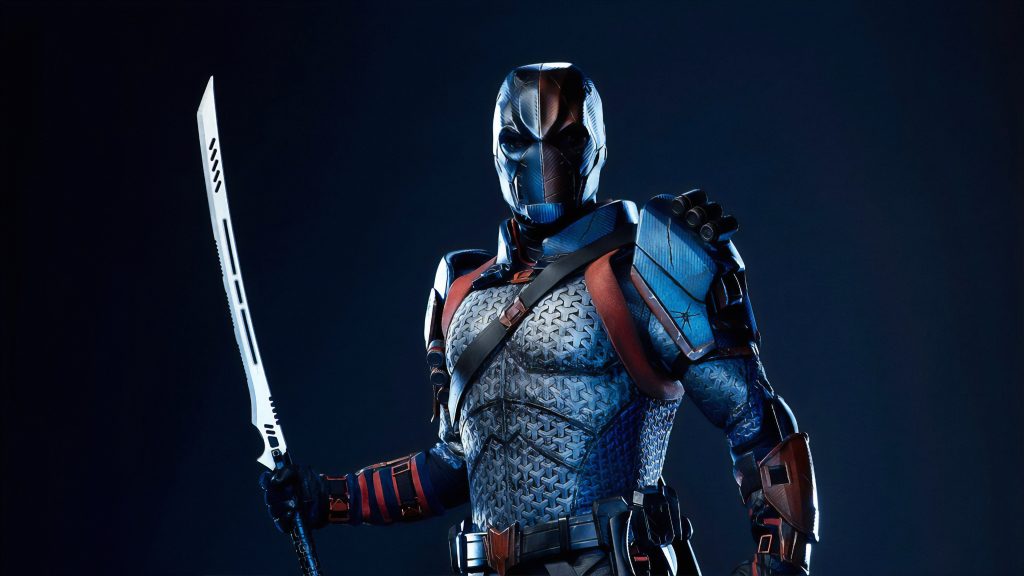
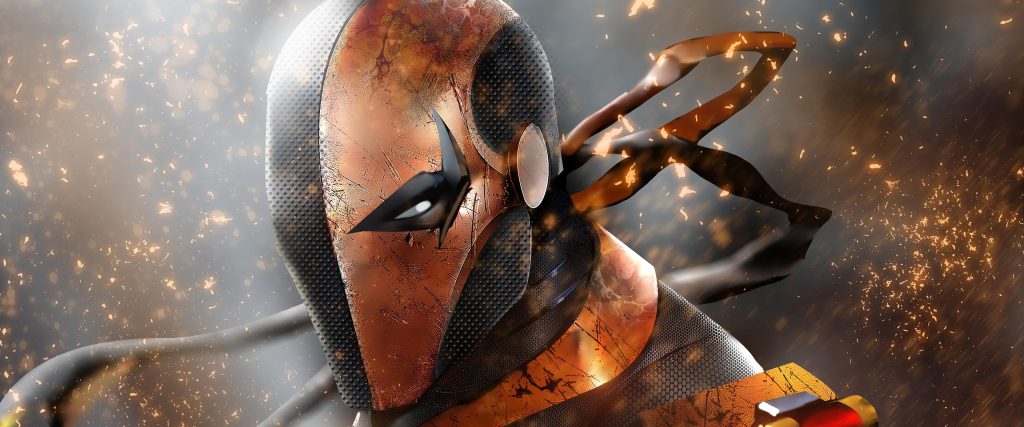
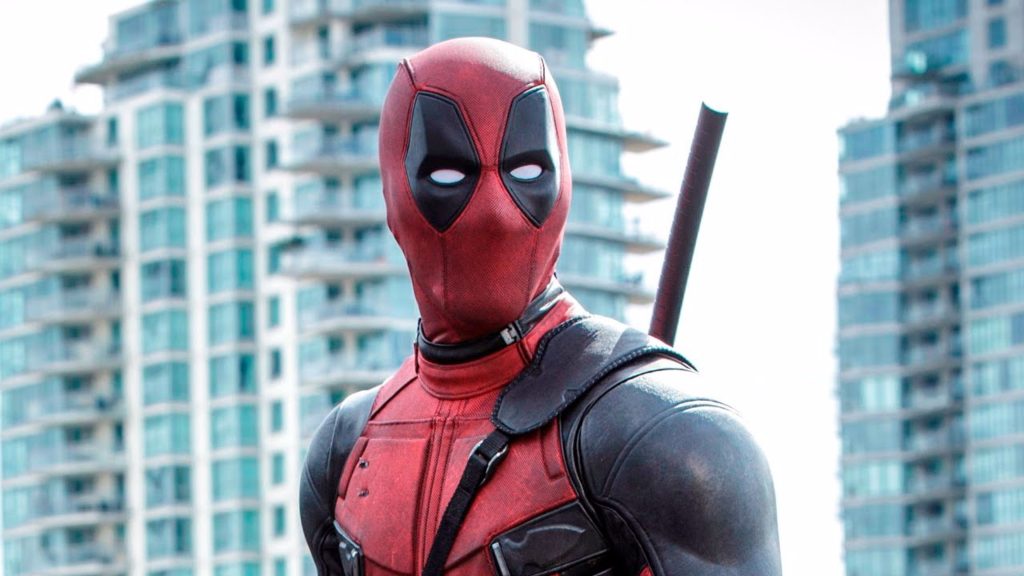
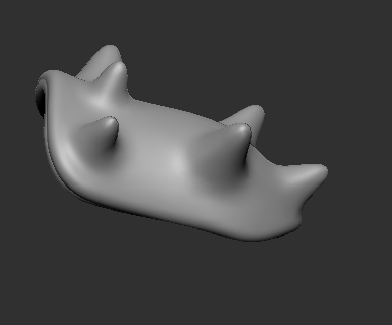
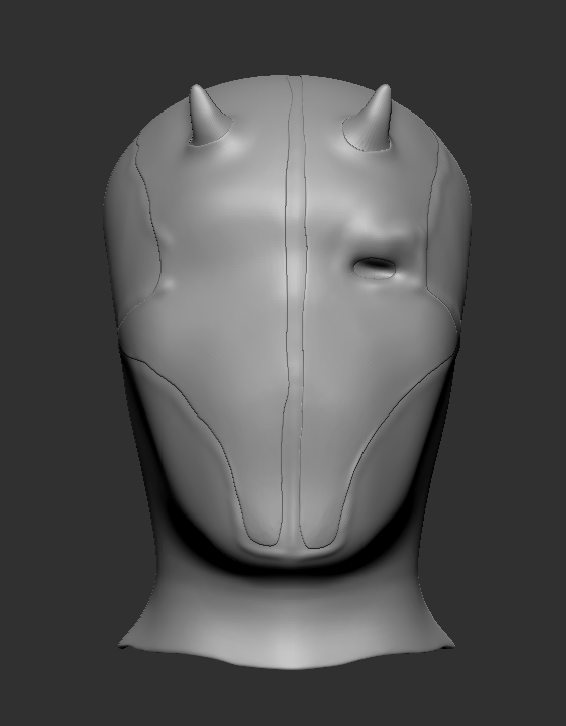
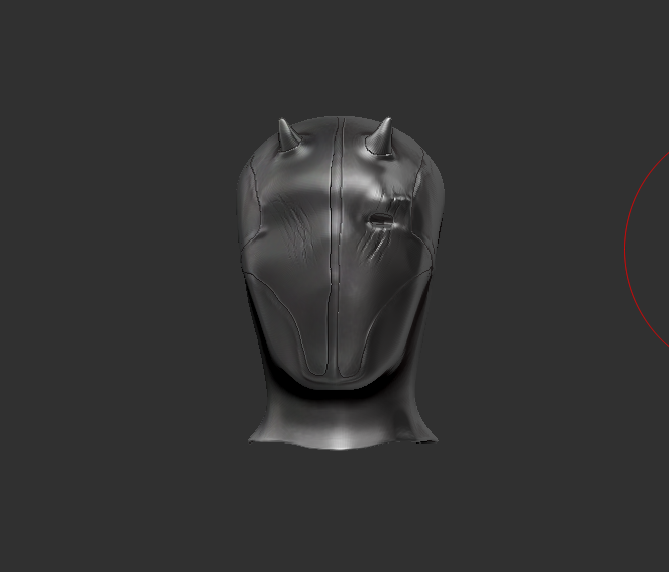
The mask/helmet was the next piece to be made. i used the masking tool to make it but to then add the raised parts of on the masks front. The other tool i used is the standard brush with lazy mouse to add markings/stiches around the mask. This was a mix of inspiration from Daredevil, Deathstroke, and the basic knight helmet. I also added only one eye as the character has lost one during a battle with a beast.
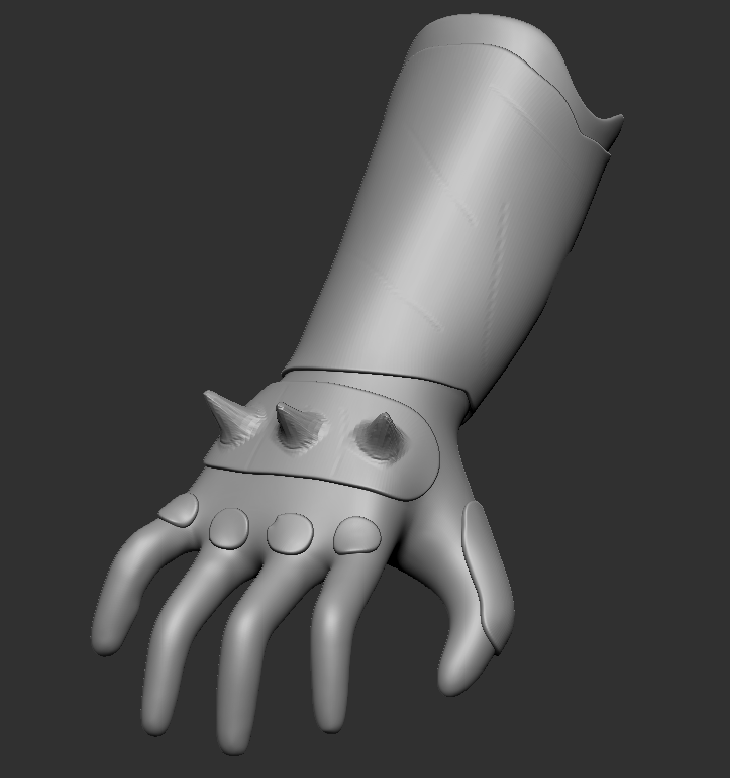
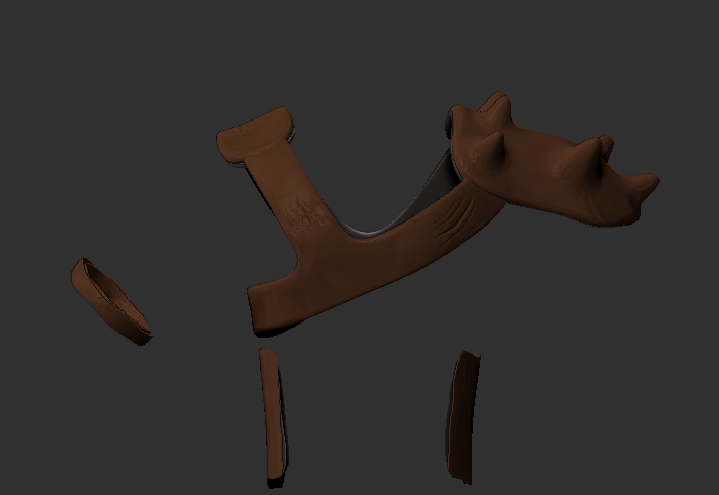
I then moved onto the gauntlets, trying different looks i ended up going with a simple glove. i then added a some padding and spikes which fit with the rest of the Armor. I did it like this so i did not over complicate it for myself and could do it to the best of my abilities.
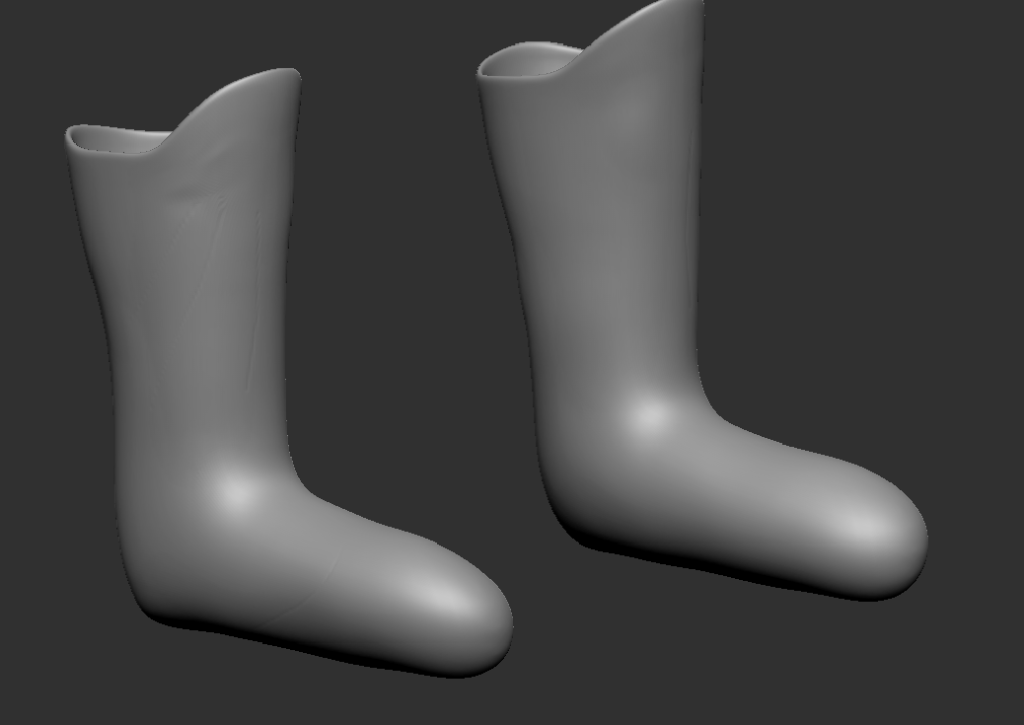
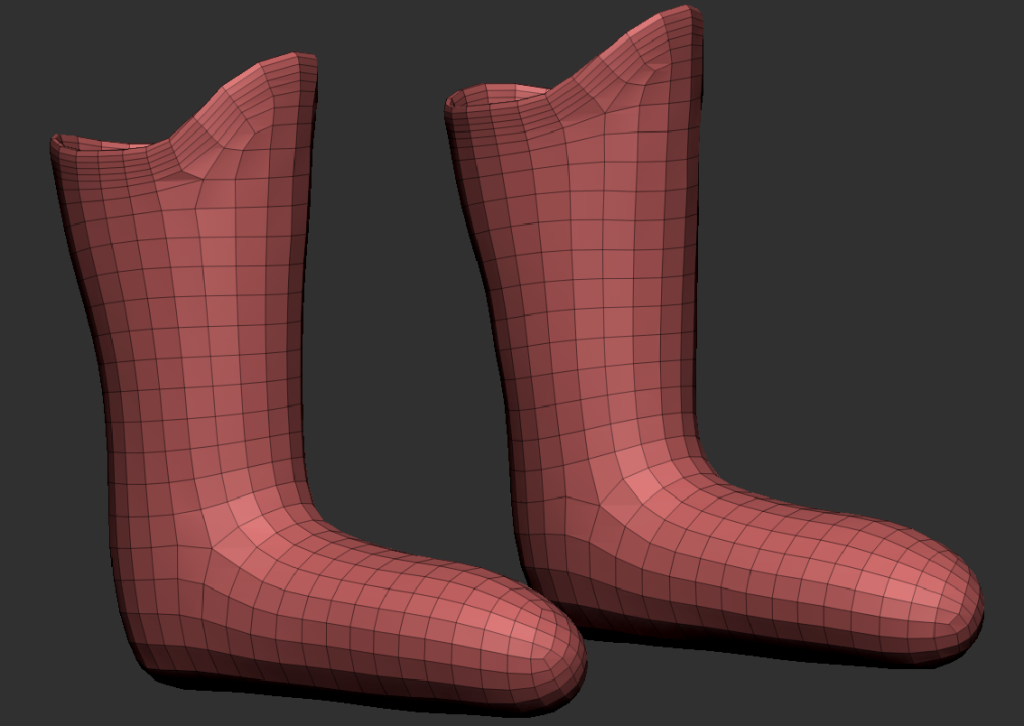
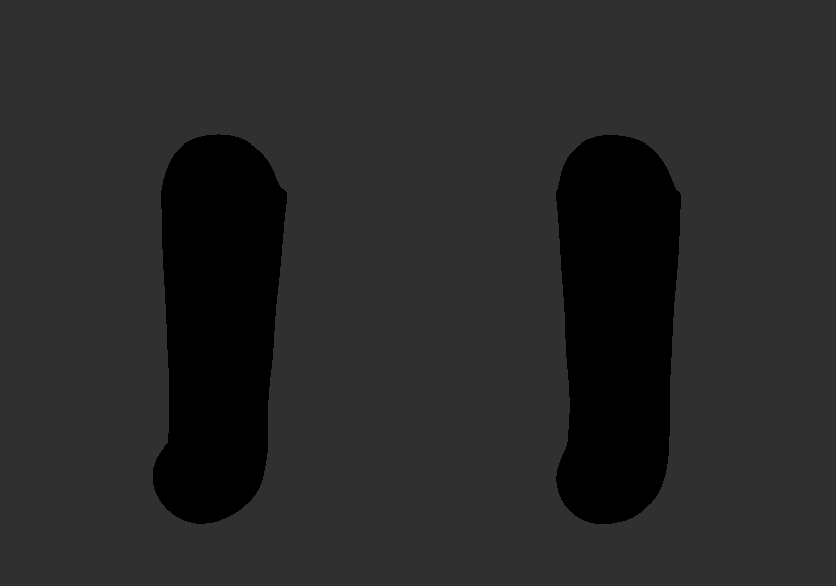
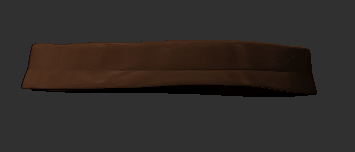
The next couple of pieces include the belt and the boots. Again created in the same way using the mask and extract technique which i found to be very good. They were very easy to create and just needed to be simple looking so came out very well. The only issue with the boots is the part where the foot goes is quite rounded and does not have a proper sole and when i tried adding one it did not look right. however im sure as i get better using Zbrush i will be able to get these things right.
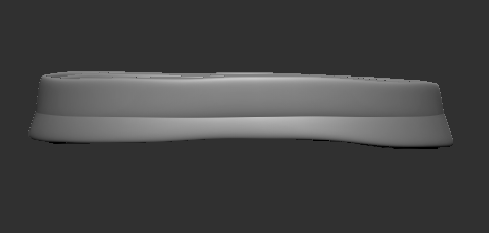
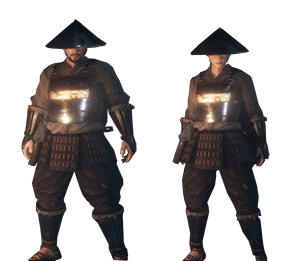
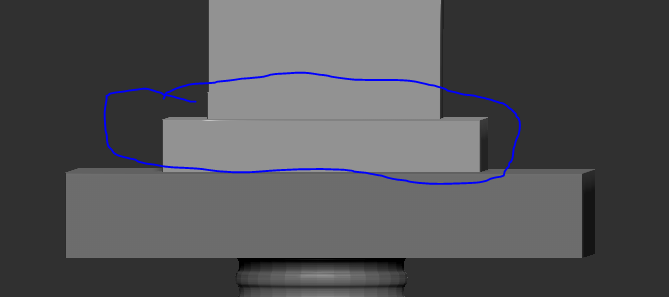
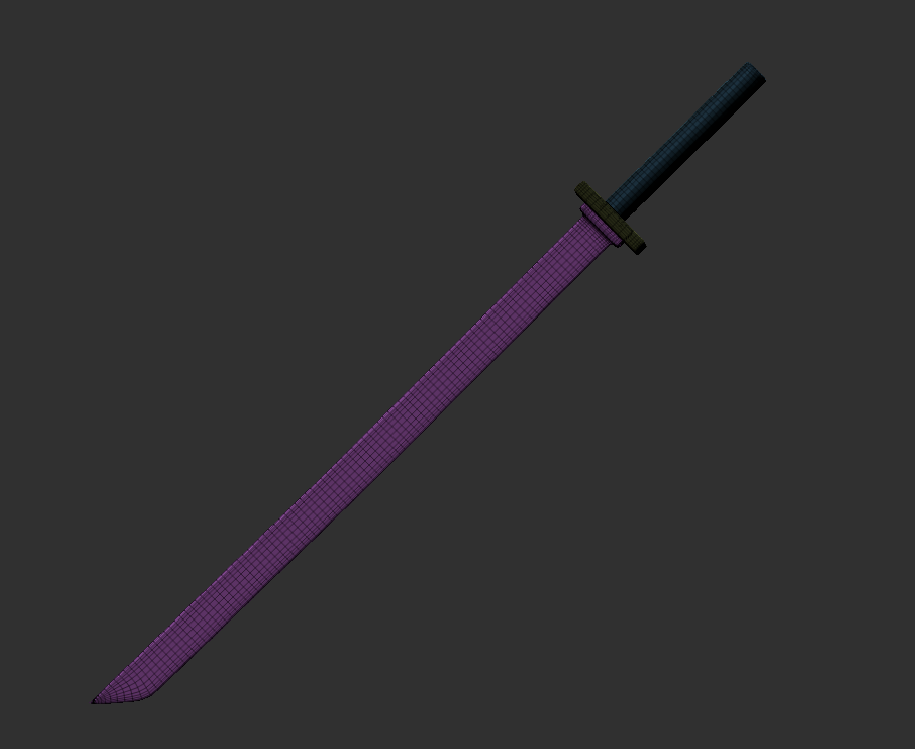
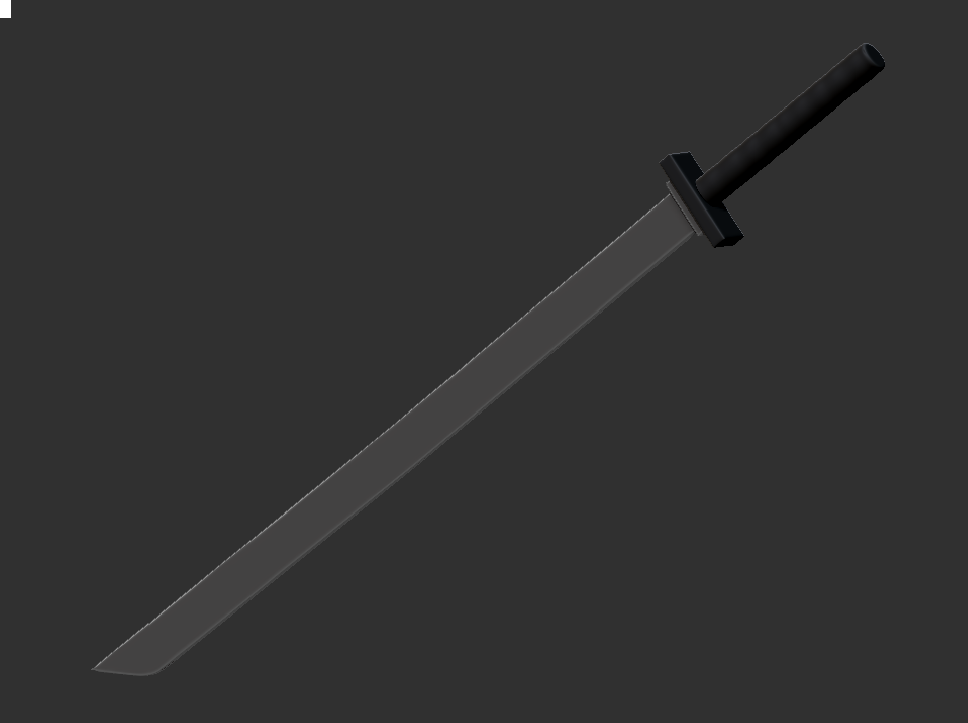
Finally i made the last thing which was the katana this was not a difficult thing to do. i started off using a cube making it thin and long i then selected the top right corner of the blade and moved it down to created the blade edge. I then inserted an edge loop near the bottom of the blade and using the zmoddler brush i used qmesh polyloop to create the first part of the guard (see image below). I then took anther cube and rescaled it to be the main part of the guard before taking a cylinder, rescaling it and inserting multiple edge loops to give it a rope type effect that is normally on katana handles. (see reference above).
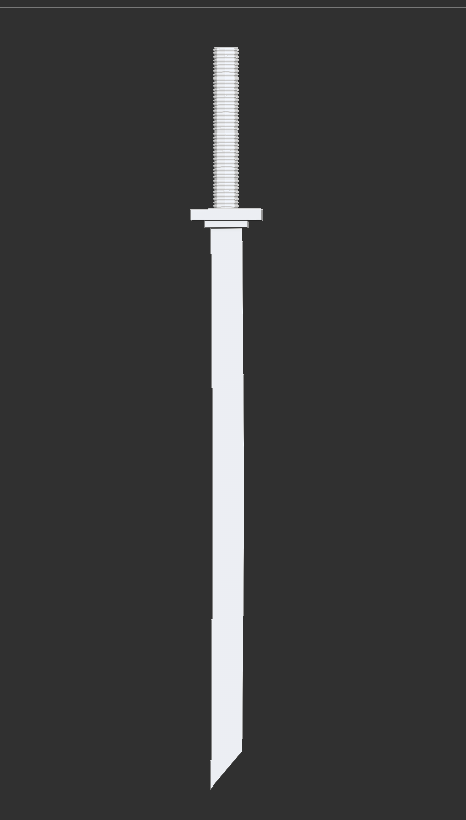
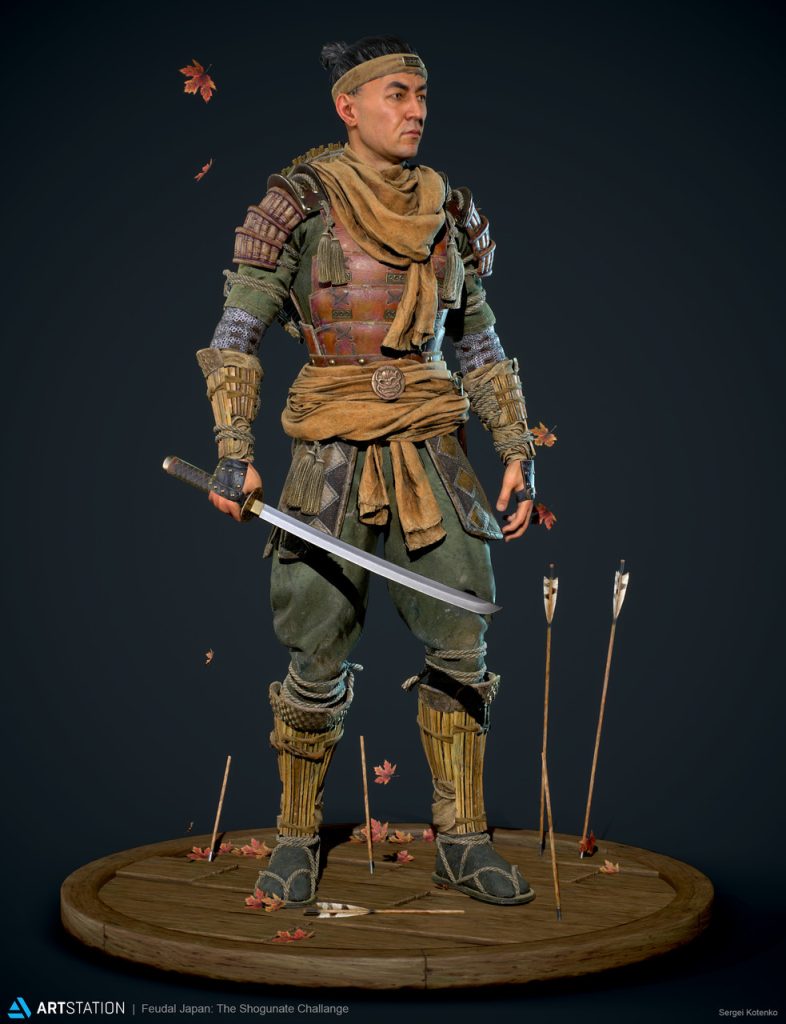
Here is the finished katana. I was really happy with it and think there are ways i can build upon it and improve the design for future ideas like the katanas shown in the images above (samurai and Deathstroke).
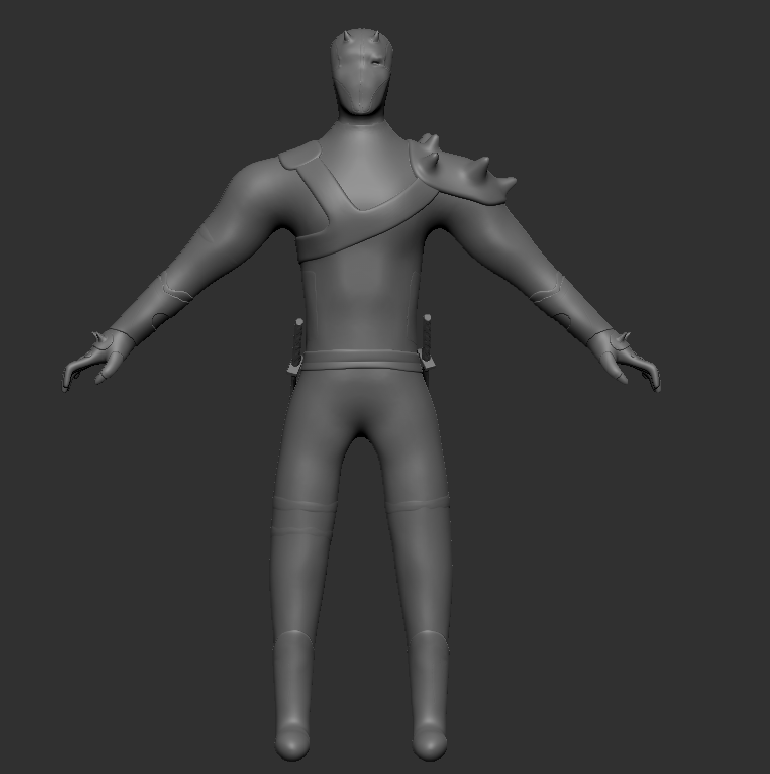
Once it was all put together this is how it looked. I was very happy with how it all looked and captured the knight/warrior type character i was aiming for.
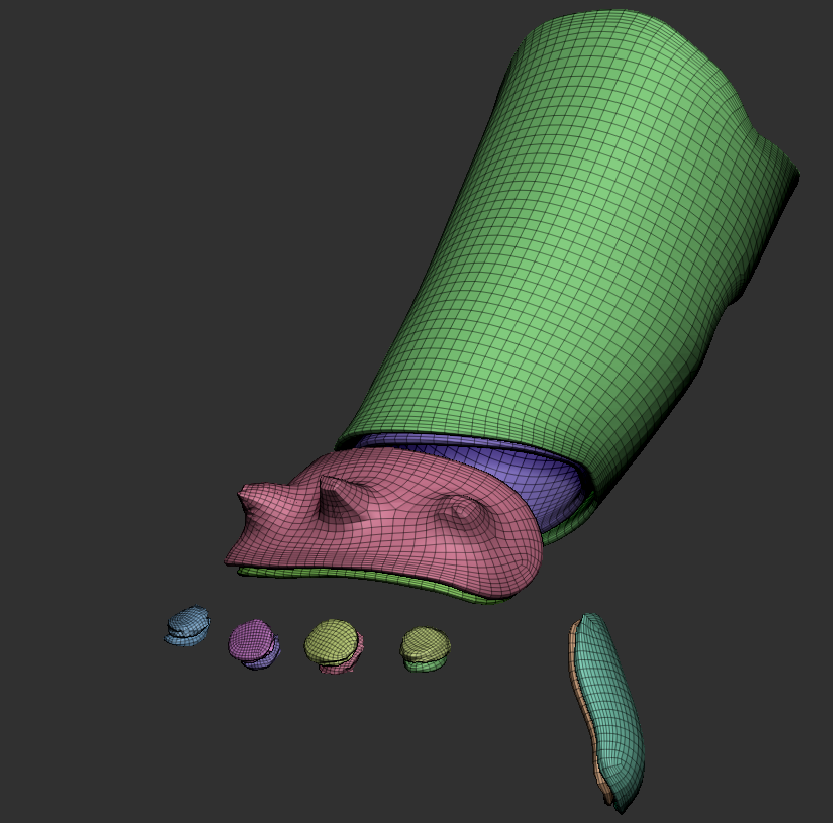
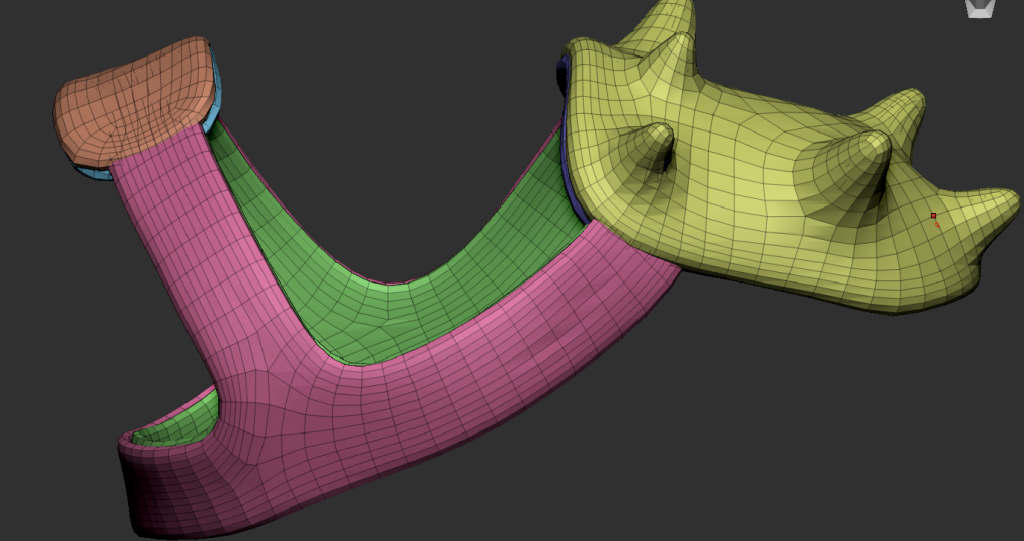
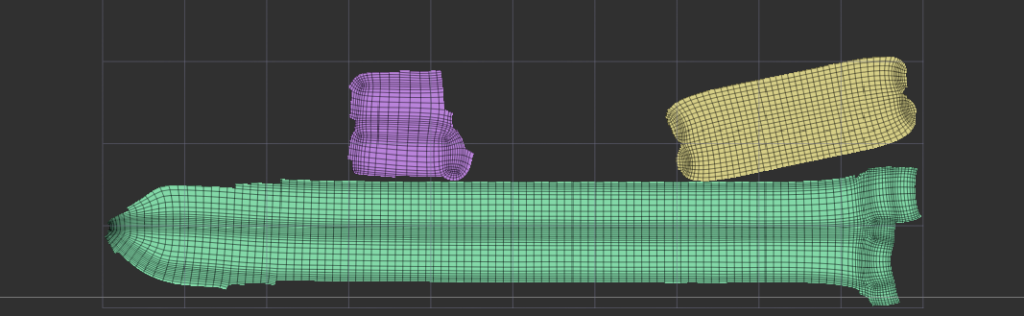
After this i then had to do the UVs, i made sure to separate my sub tools into polygroups and have them on the highest subdiv level before unwrapping. Here are the polygroups. Below will also be the UV maps. For my first character design i feel like these came out pretty well and i hope to build upon this in the future.
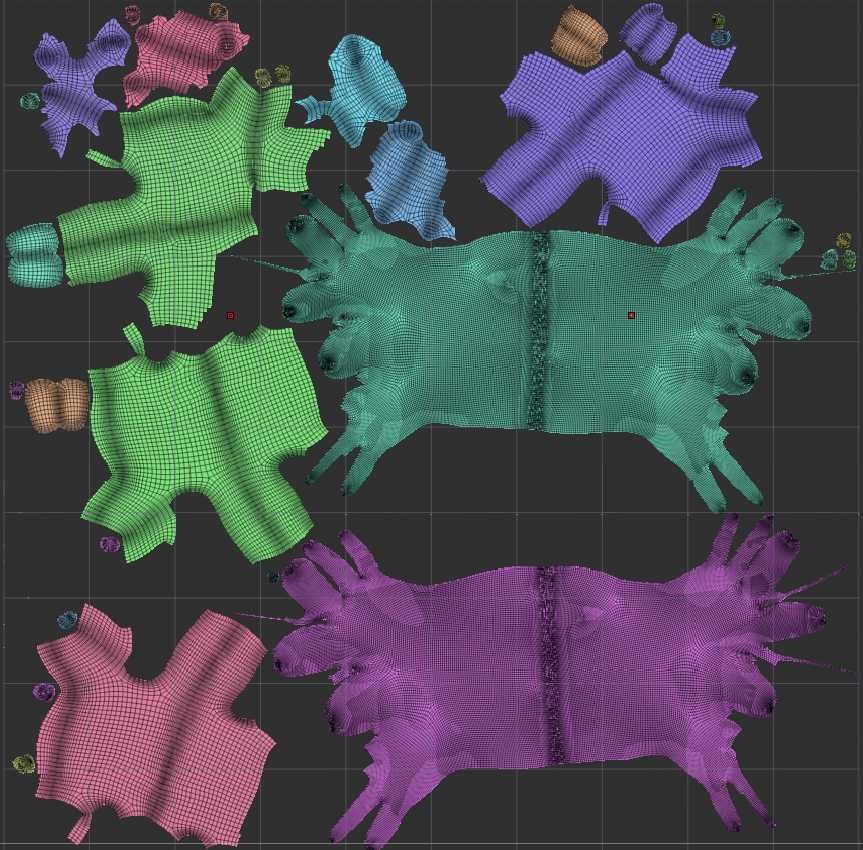
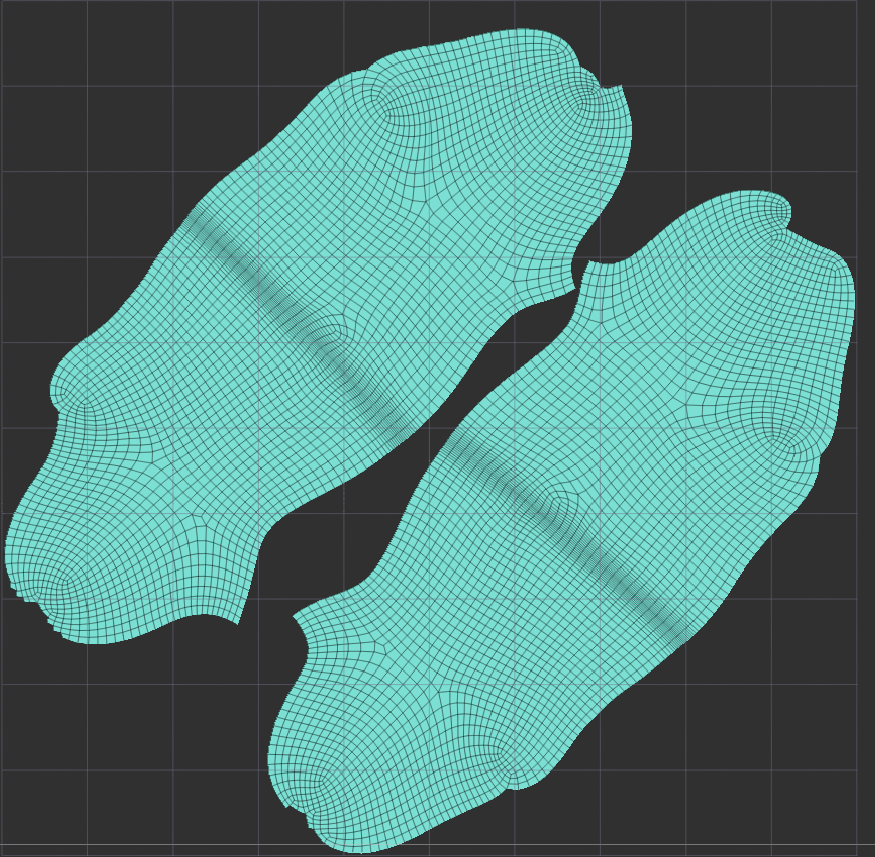
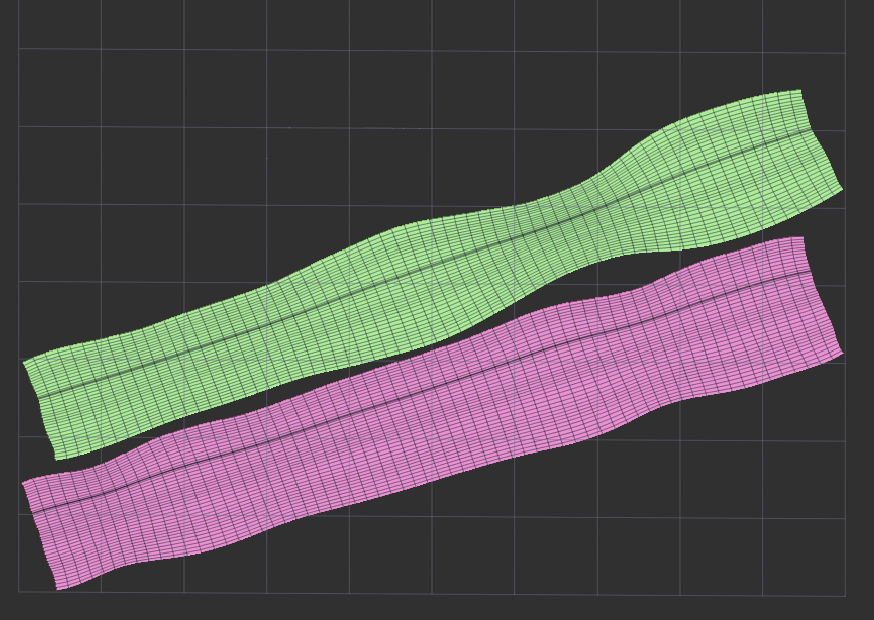
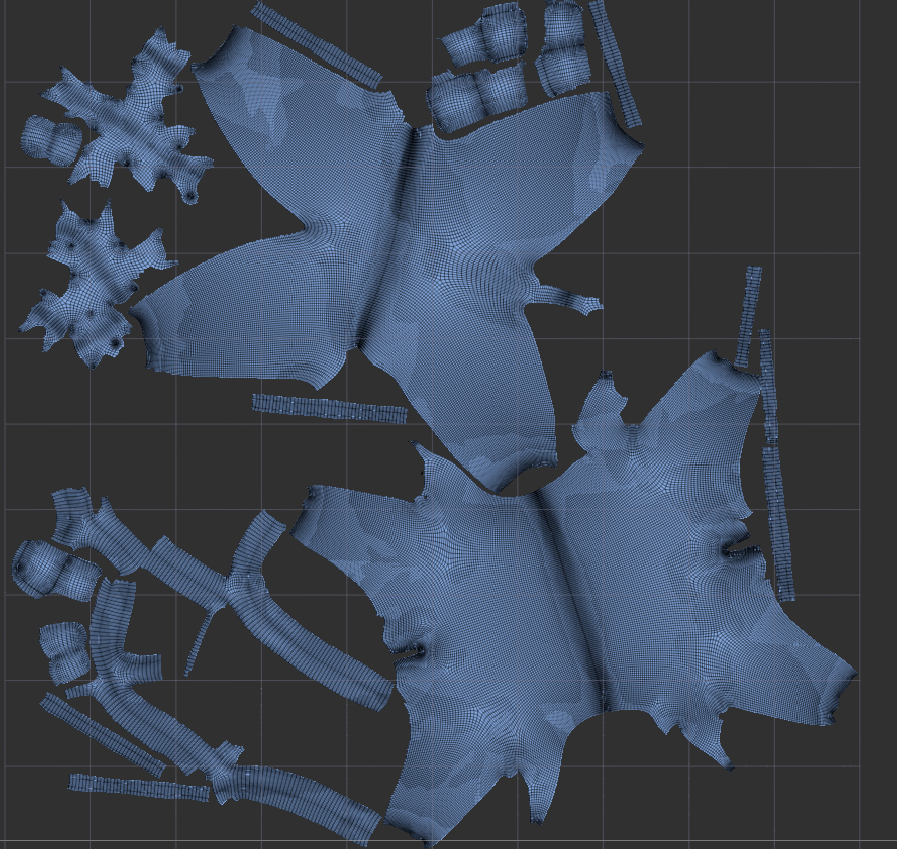
The UV maps might not be the best but for a first time doing it in Zbrush i think it came out pretty well. I also used the attract and protect tool in control painting as some of the seams were in bad spots for example across the face etc.
This then allowed me to move onto applying textures and or materials etc to my Armor pieces, and weapons. I tried multiple textures/materials to see what looked the best and would get the right look i wanted for my character. I eventually found the right one which was a silver from the pixologic library and a leather one for padding etc which was from the same place i also applied a darker colour along side the material for the gloves and legs. I then used Alpha58 to create scratch marks on the Armor and padding to show signs of wear and tear and to insinuate he has been in fights and Alpha08 along with colour spray to add a dirt/rust effect on the chest piece as well.
here are all the pieces individually textured. The boots were meant to look like a black leather but they ended up just going too dark or looking silver so i stuck with fully dark ones.
Once it was all put together i then created a final rendered image (image below). The only software i used throughout this process was Zbrush as i wanted to get myself as comfortable with the tools as i could. I did use lots of forums and YouTube videos to help with anything that i did not understand or was struggling to make. This helped take a lot of pressure/stress off as seeing it done on screen or reading about how others went about doing a certain thing made me see what i was doing wrong. The colours chosen are quite dull and dont really stand out however i feel like this fits in well with the medieval theme, and even though i was not aiming for 100 percent realism i did not want to make a bright yellow armoured knight with a pink sword as i still wanted some realism/accuracy. The colours as mentioned before also represent all the battles he has been through that is why i tried to make some of the leather look worn and the silver chest piece look damaged/dirty.
Overall i am extremely happy with the final design as i managed to create what i had imagined this character would look like, and that i managed to tell some of the story just using visuals of the character for example when people see this id want them to question why his Armor is damaged like dirty, why is he missing a eye, who is this character which will make them want to know more.
Here is the Turntable video that i uploaded to YouTube.