3D modelling assignment
we have decided to do a medieval theme with magic etc incorporated.
my list
- Table
- chairs
- torches
- bottles
- stool
- fruit bowl with fruit
- plates with Knifes and Forks
- candles
- fire place
- crown
Fruit bowl
The first asset that i decided to model was the bowl with some fruit as i felt this was the quickest and easiest to do.
I did this by cutting a sphere in half and then scaling and extruding where necessary to give it the right shape. I then made the apples, this was done by taking a sphere and selecting certain vertex and then scaling them down to create the “dent” that apples have.
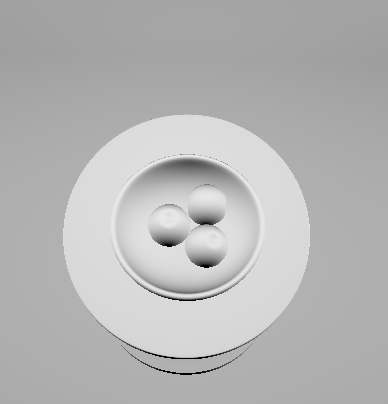

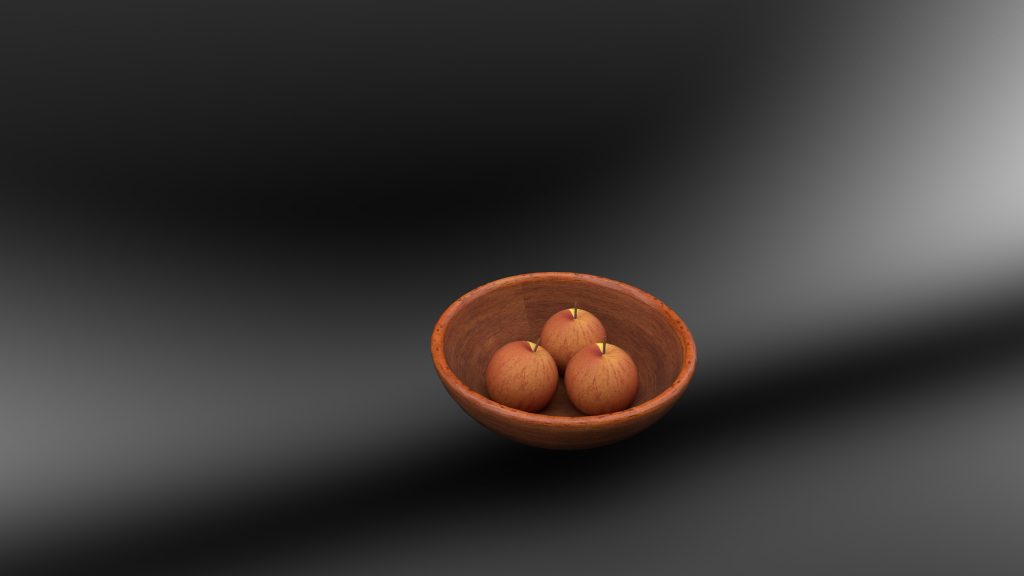
here is a render of my design within substance painter.
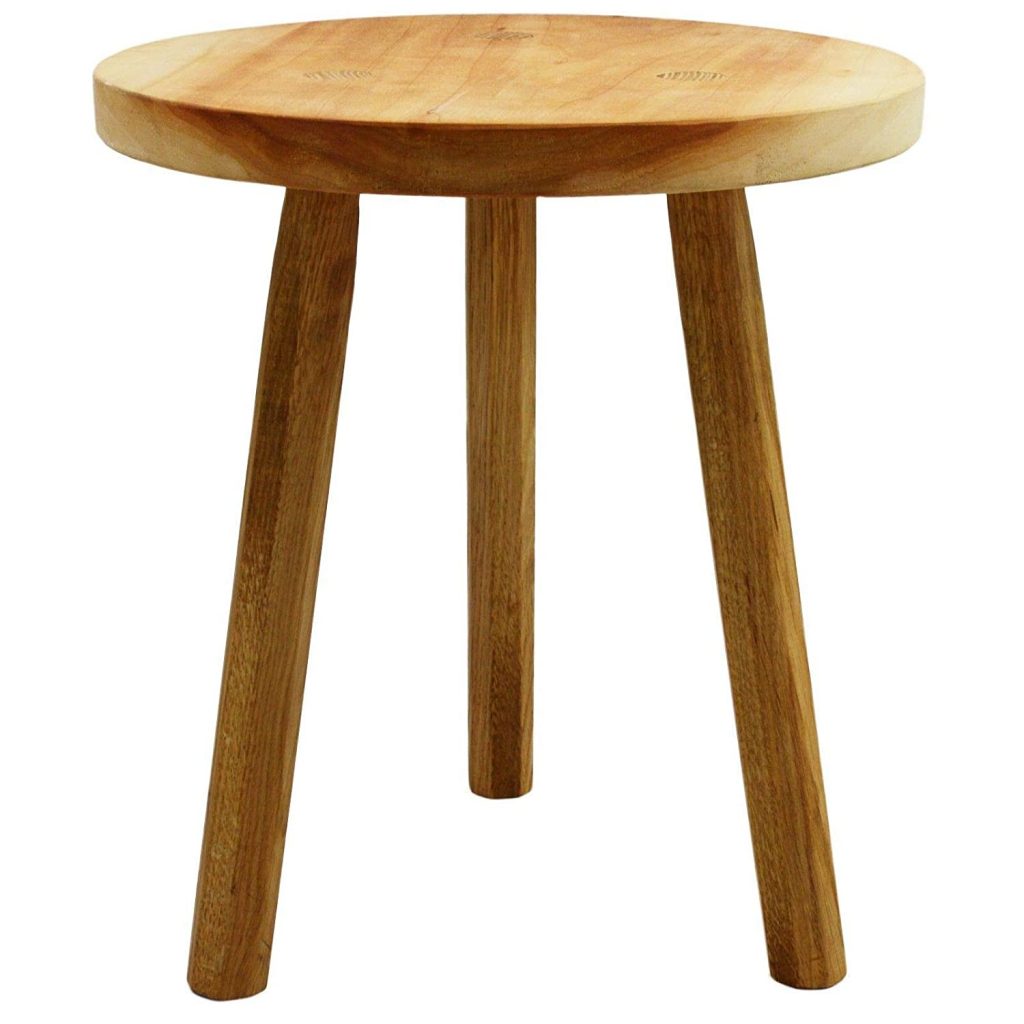
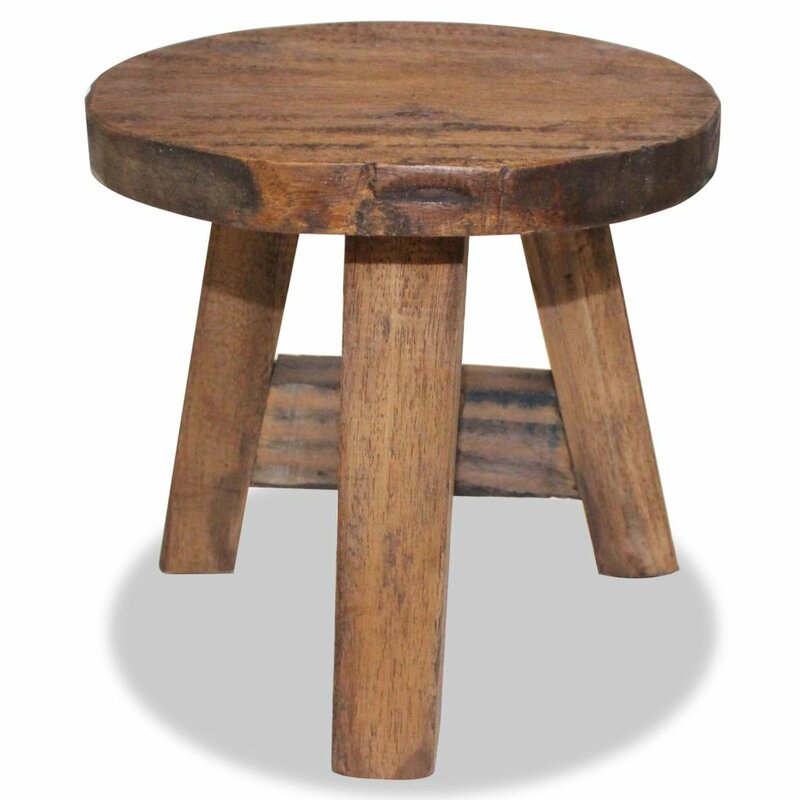
STOOL:
The next asset i decided to model was a stool, again another asset that didn’t take too long to do. First i found a reference image of what i wanted it to look like, (figure 1). Then i created the seat of the stool using a cylinder and scaling it down then i made the legs, again i used the cylinder and scaled it to the appropriate size. I then added something extra to it by giving the legs extra support beams joining them together.

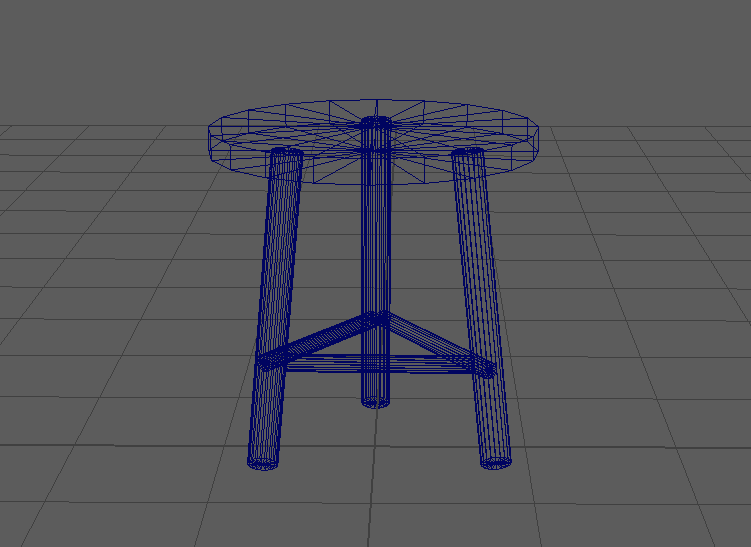
TABLE:
The next asset i moved onto was the dining table. Just like the stool i got a reference image to get my design across better. To start off i created the legs of the table and the table top, i did this using the cube polygon. i rescaled it to the right size and i did the same with the first layer of the table top.
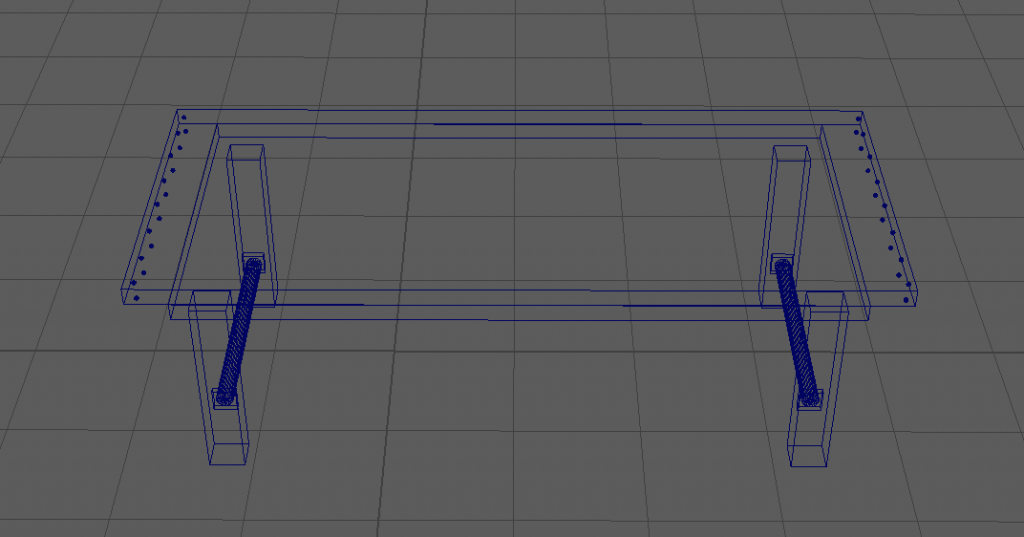
(here is the side view of the legs and the first layer of the table top). I then created the second layer of the table top which is slightly bigger. I then added bolts to either side of the top layer as shown in the reference image and the image below.

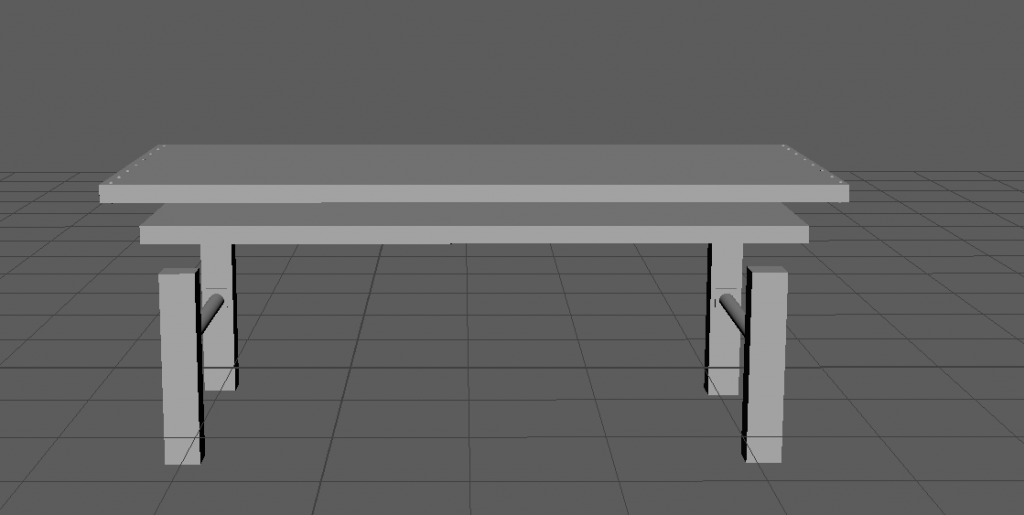
Here is the finished model of the dining table.
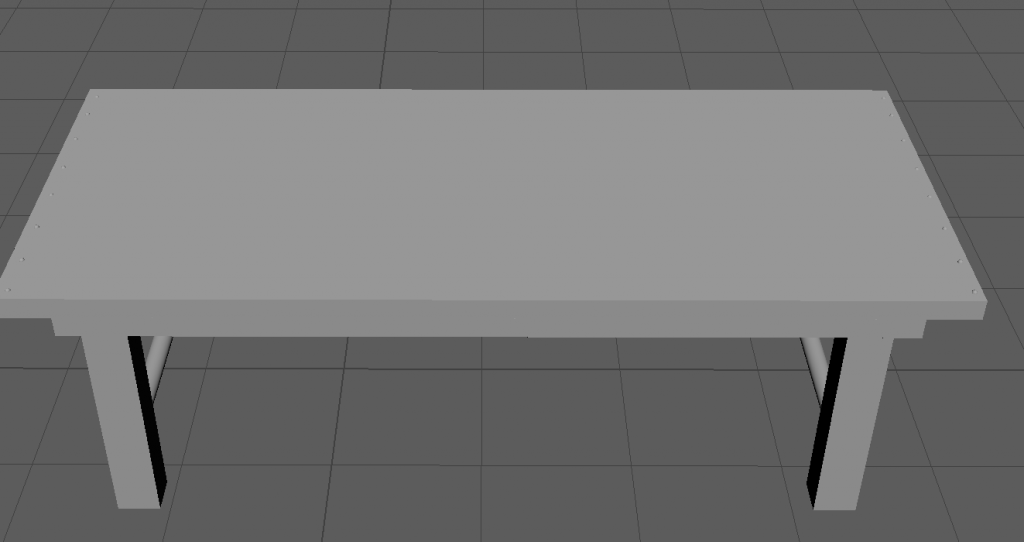
doesn’t look the best since its not textured etc but should be good once fully done.
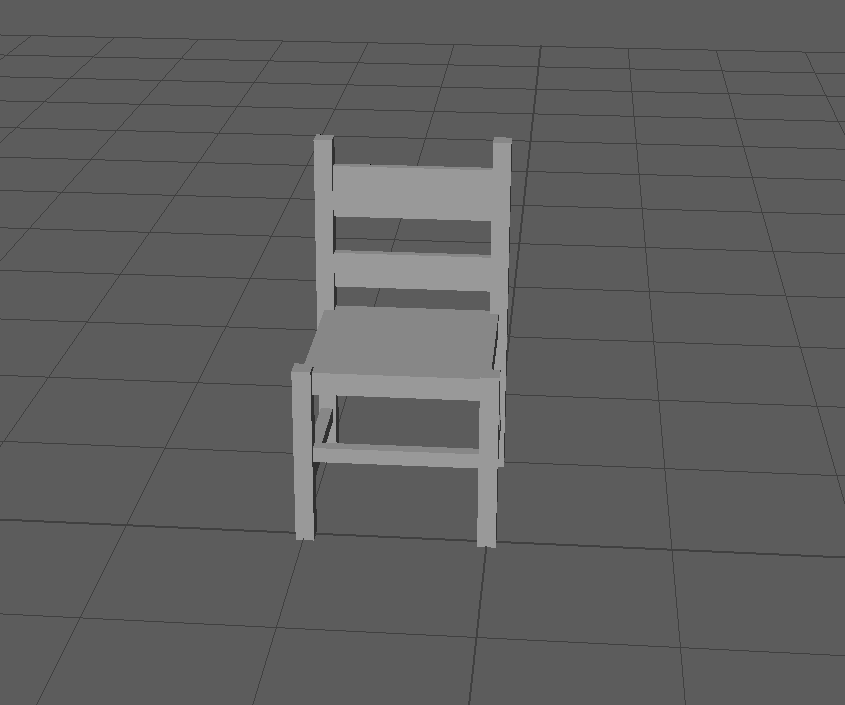
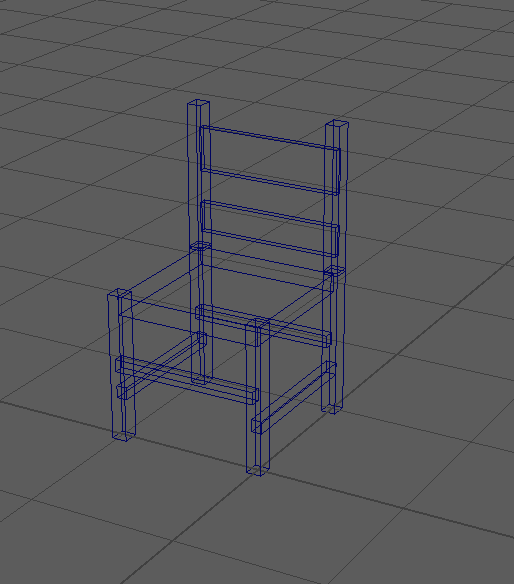
CHAIR:
I then modelled the chairs to go with the table. Using a reference image i found online i created a similar looking chair.
Once i found the image i wanted i then started to model. I started with the legs and the seat, i made these using the cube polygon and rescaled them to the size needed. I then did this for the back supports and then the panels going across them. Once that was done i made sure it was all aligned properly and that was done.
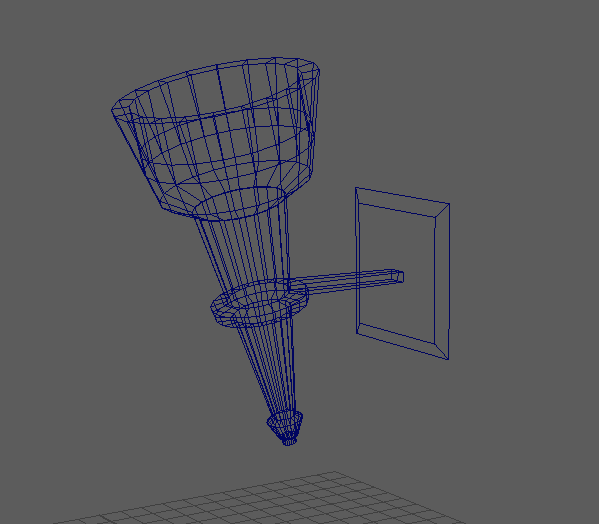
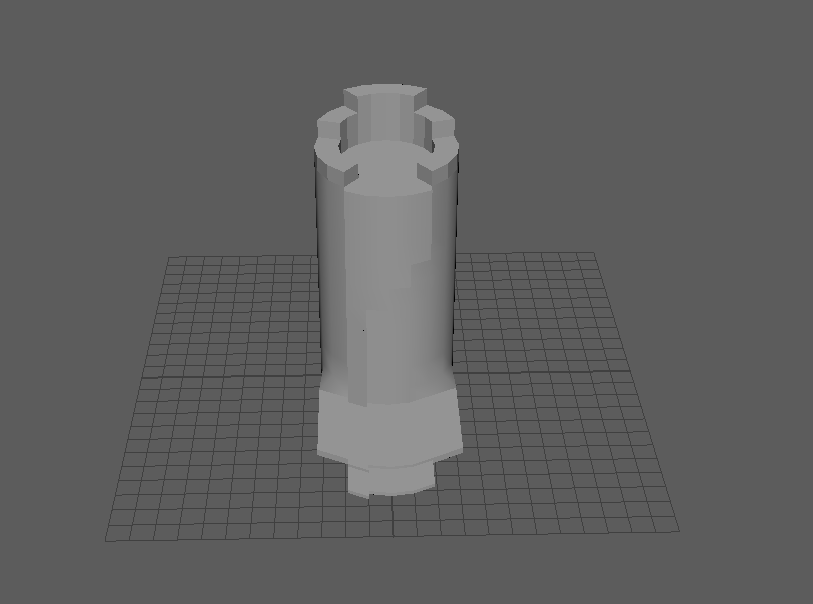
MEDIEVAL TORCH:
The most recent asset i have modelled so far is the medieval torch. I really liked modelling this as i have done other versions of this before. To do this i started by taking a cylinder and rescaling it. i then selected the bottom face and re scaled that inwards to make it more narrow towards to bottom.
After this i then selected the extrude tool and changed the radius before selecting the new face and extruding that how i needed. (here are some screenshot examples of what i mean as i didn’t take a screenshot at the time).
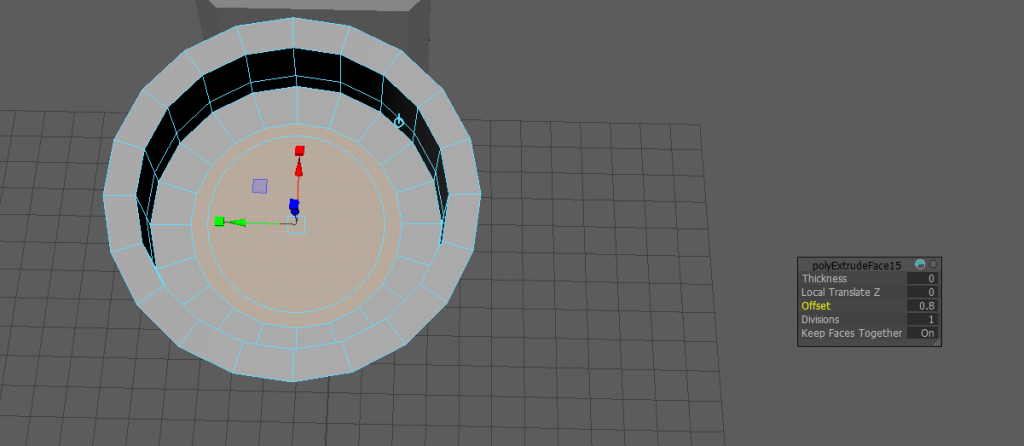
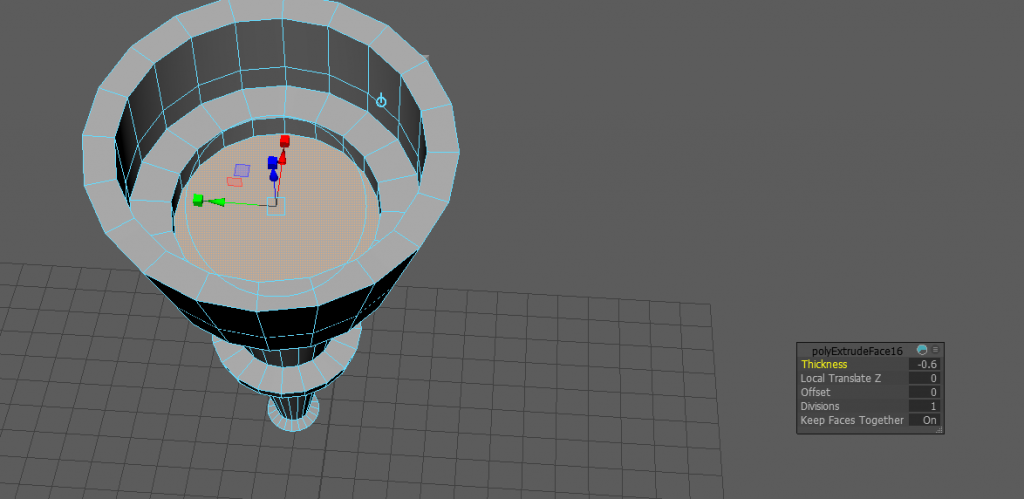
I then did a similar thing to the bottom to add more detail and shape before moving onto the top to give the top some depth. i finally created the torch holder by extruding some faces around the side of the torch and then pulling two out giving them some length. As shown below.
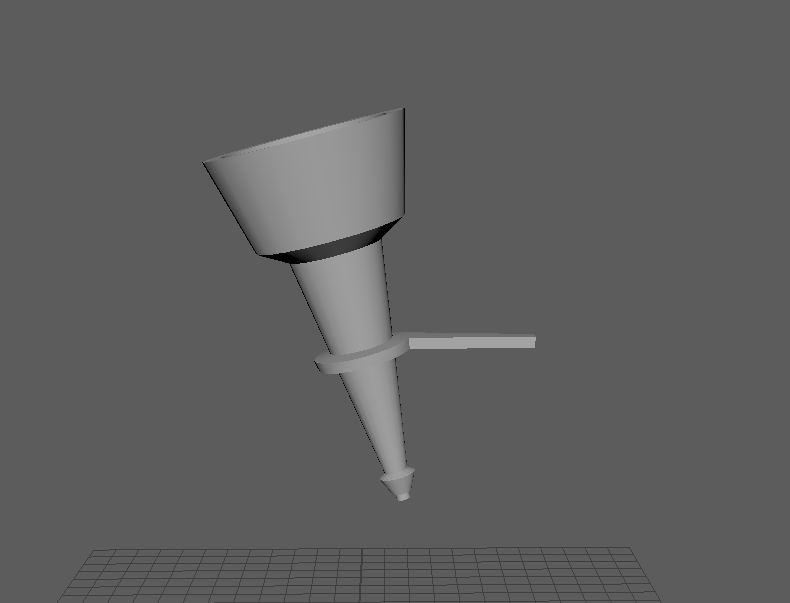
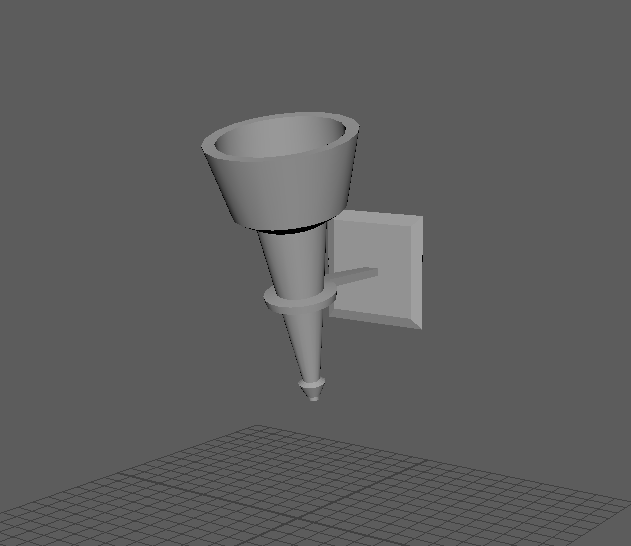
finally i took a cube polygon and rescaled it to make it look like a wall mount. here is the finished model.
Next I wanted to model a fireplace as it would be the main part of the room. I first started off by taking a plane and scaled it to the size of a wall. After that I then added some edge loops before selecting a face to creating the opening in.
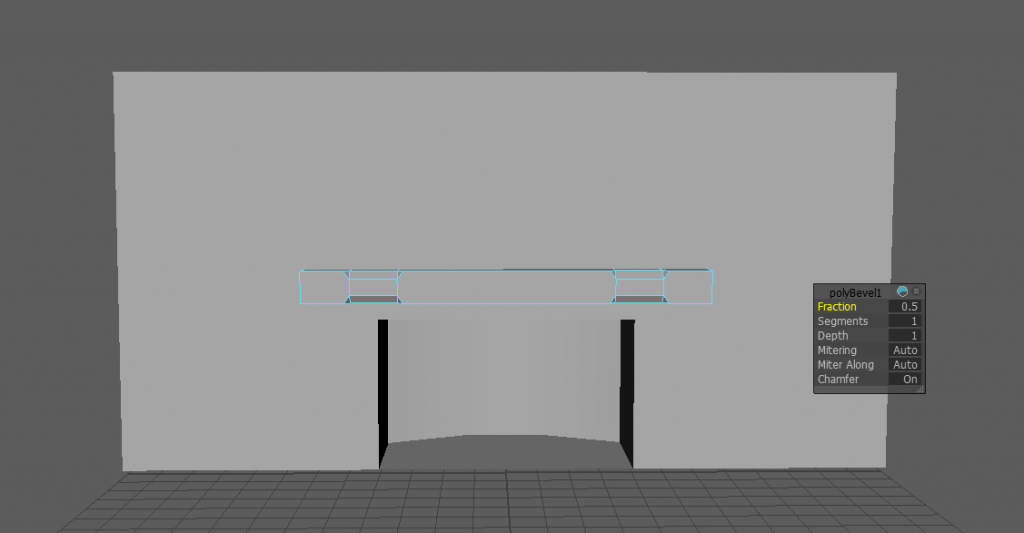
I also made a ledge above the opening and some supports as well to give it a nicer look.
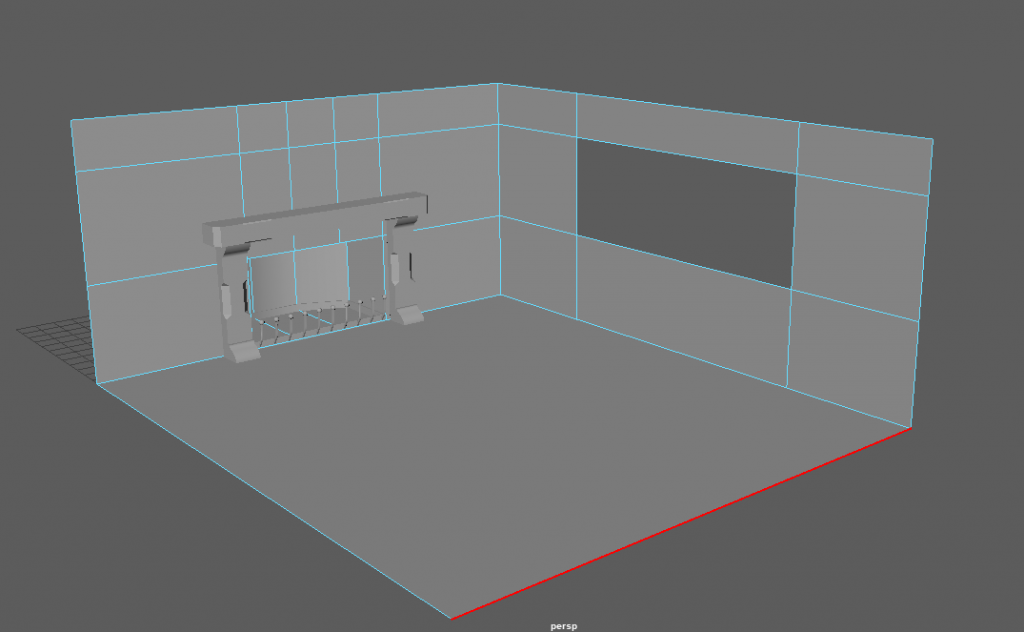
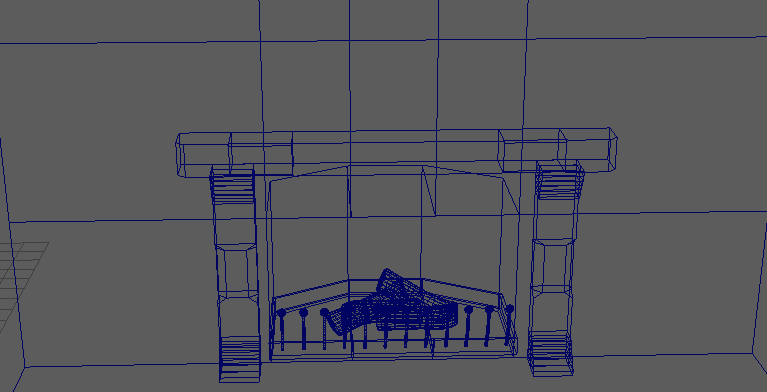
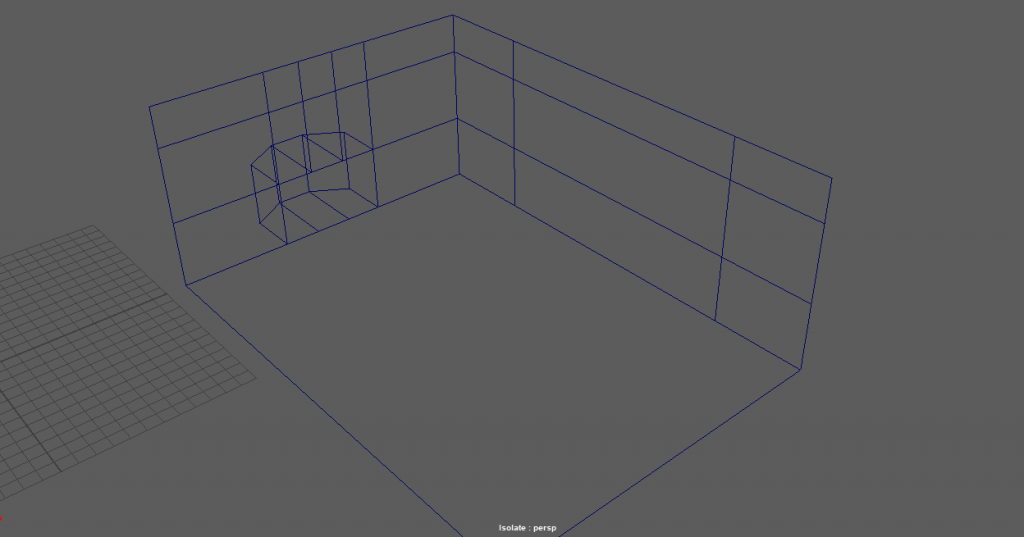
I then selected the edges of the wall and created a floor and another wall as this was going to be the room for the render.
MELTING WAX CANDLE:
The next model I made was the wax candle.

I started off with a simple cylinder, I then began to extrude faces and used the smooth preview to see if it would work.
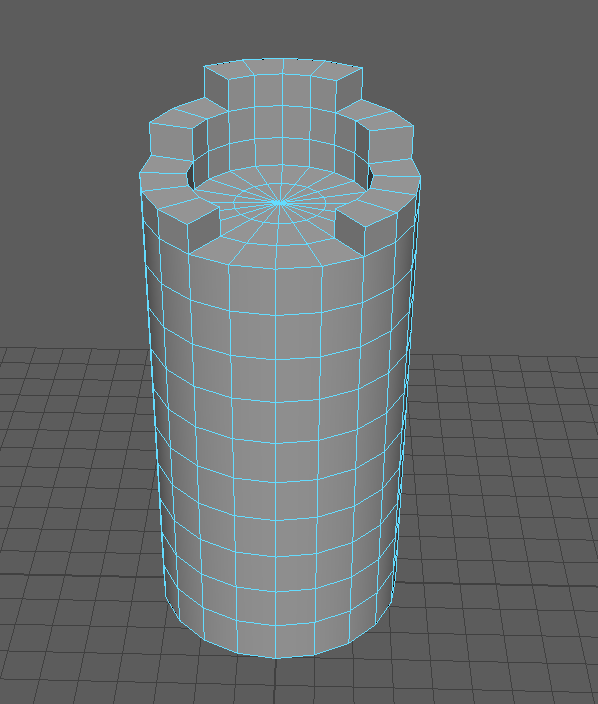
this is how it started looking after a few minutes of messing with faces still not great but was starting to take shape. I also inserted a few edge loops around the bottom and near the top.
Once I smoothed the model out I started to use soft select to create dents in the candle and make it seem a little more like a melted/melting candle than a new one. I also did this at the top below the whick and to make it seem like dried wax had built up on the sides.

Here is the finished model and the wireframe view as well.
CROWN:
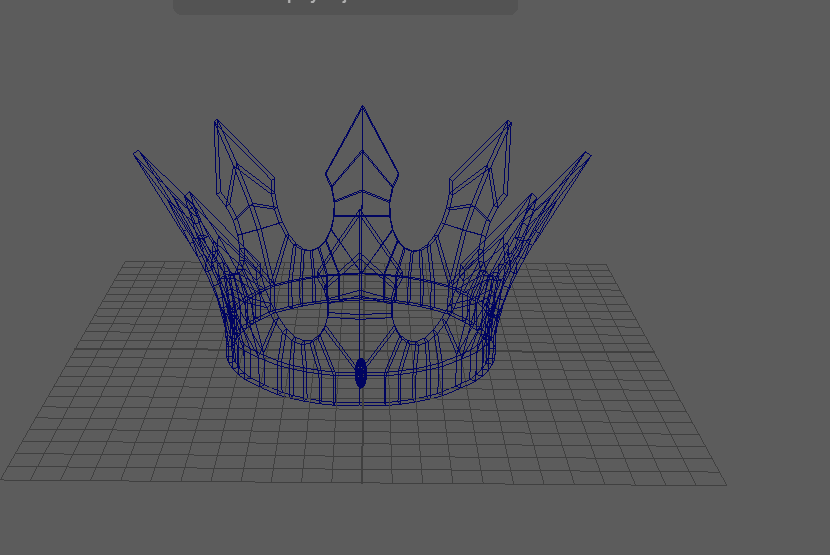
Since its a medieval theme I wanted to create a crown. it was quite simple once I had looked at a few examples online.
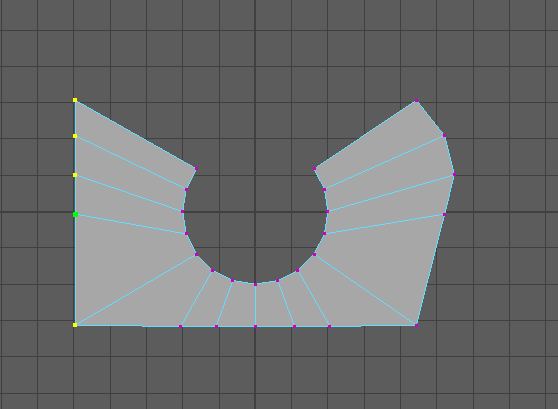
I started off by creating the point of the crown by using a pipe poly I then used the different view to manipulate the vertex as shown in the image above. I then did this to both sides and got this shape.
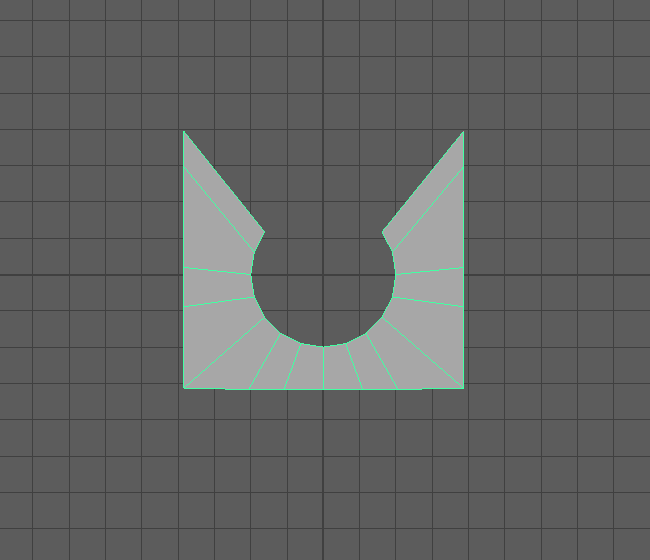
I then mirrored this shape till I had 8 shapes. I then rotated it 90 degrees so it was stood up instead of laid down.
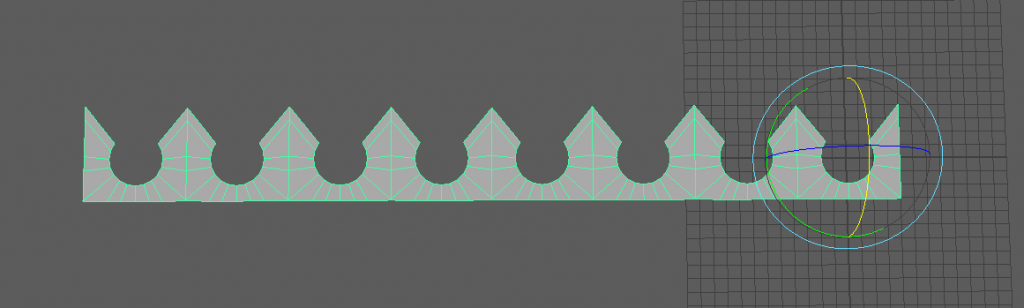
I then needed to bend the shape, to do this I used a non linear bend, here it is in action.
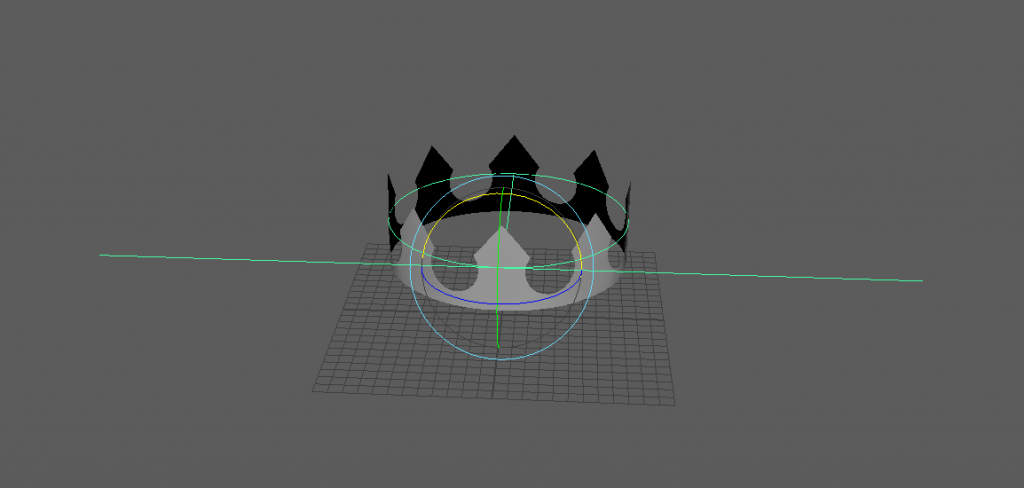
finally I extruded the bottom edges to give it a place to sit on someones head etc, and I also gave it a little more thickness as it was pretty thin before.
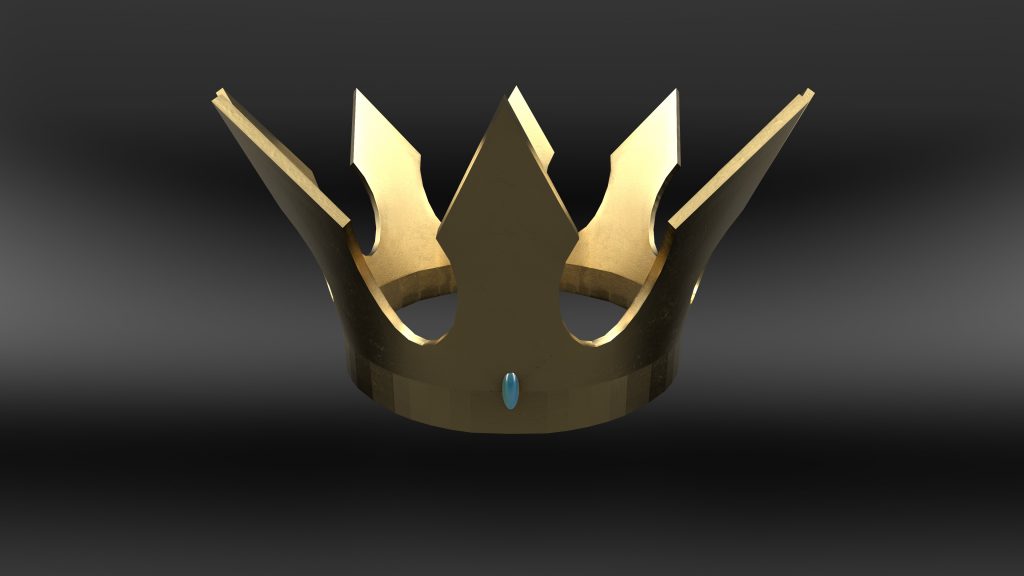
here is a render of the crown
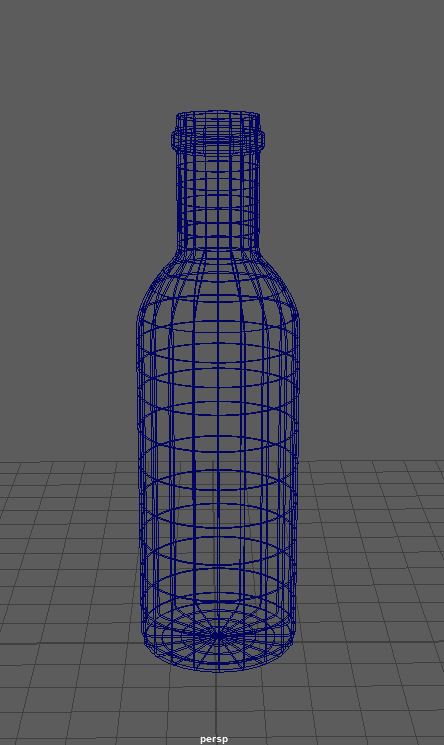
GLASS BOTTLE:
One of the last models I made was a glass bottle, I did this as I feel like it fits into a posh, rich medieval family living in a castle as it could be some wine etc.
Just like the candle I started off with a cylinder, I then started to extrude the top faces and manipulate them to give the bottle the thin top leading up to the top of it.
I then extruded the faces around the top of the glass to add a little more to the design.

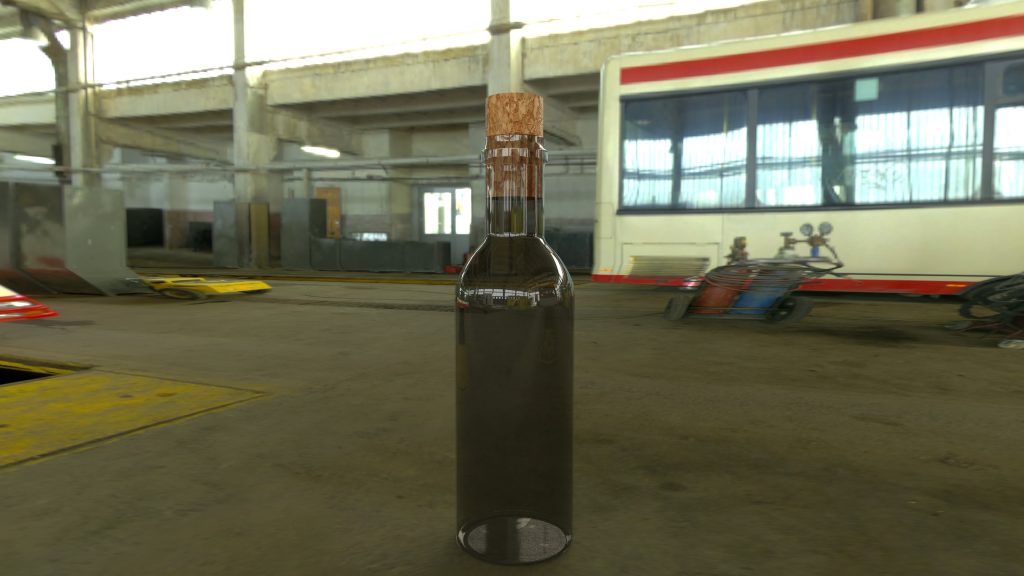
Here is a render of the bottle with a cork in it as well. I tried to achieve a transparent glass look but it ended up looking like dirty glass, but I feel like it adds to the bottle being old and possibly antique etc.
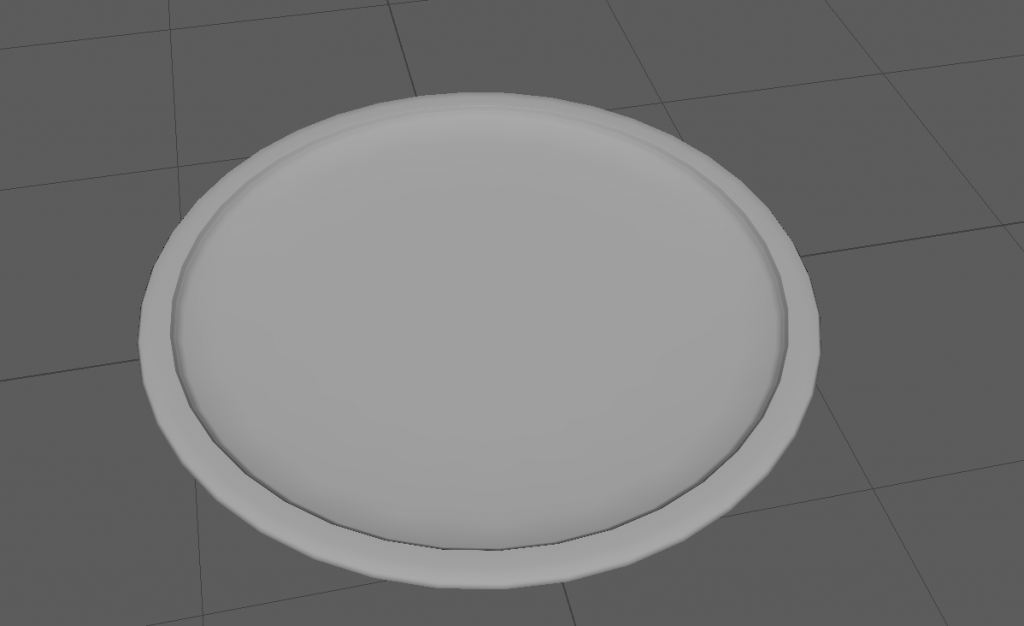
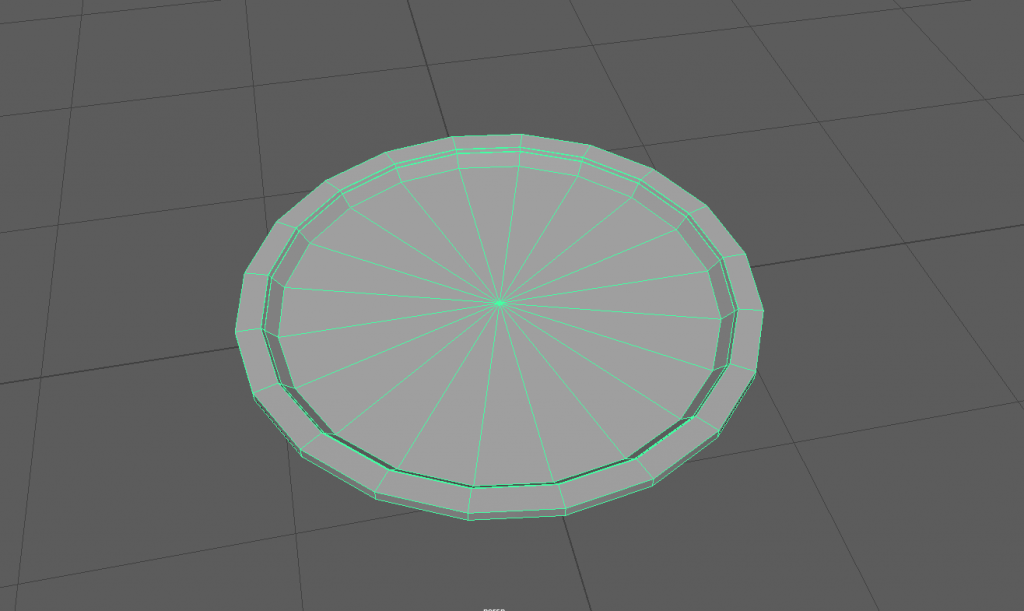
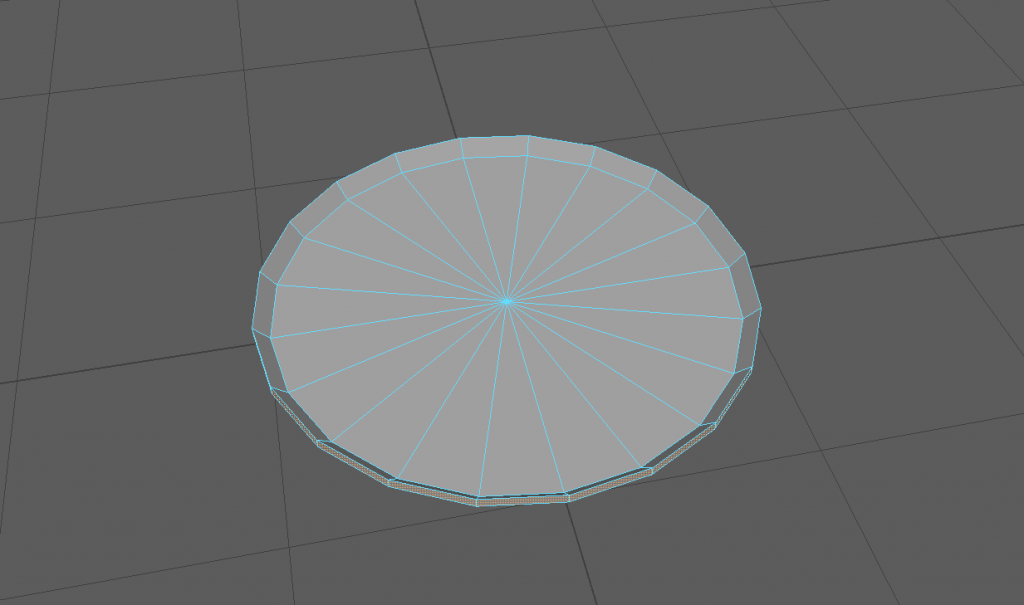
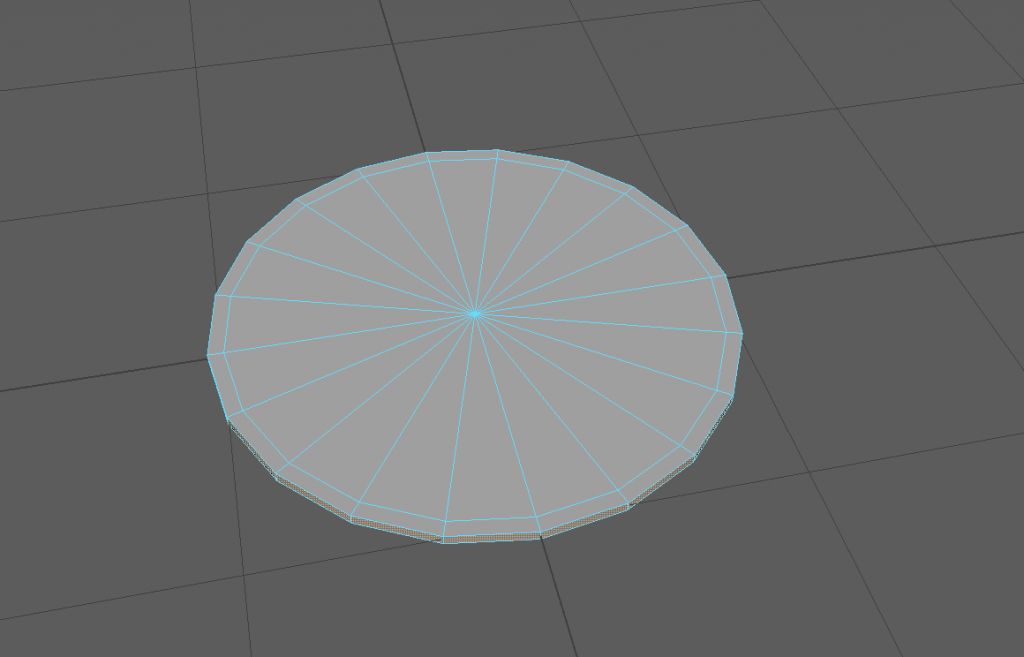
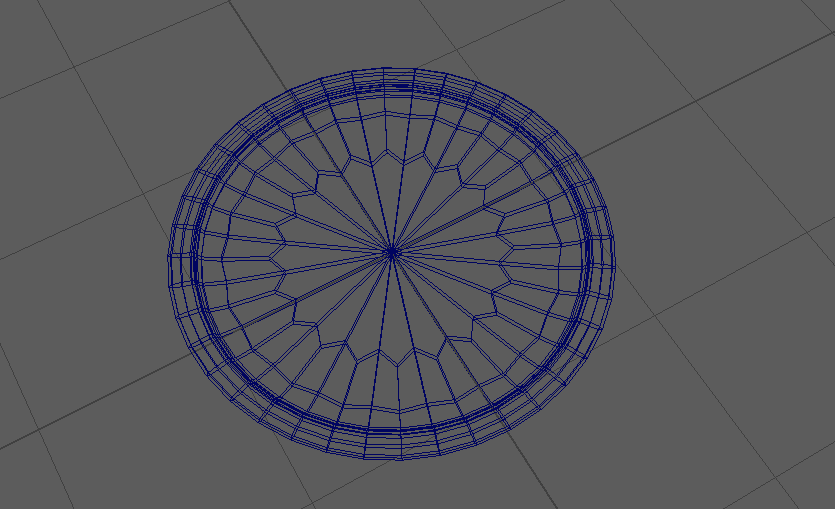
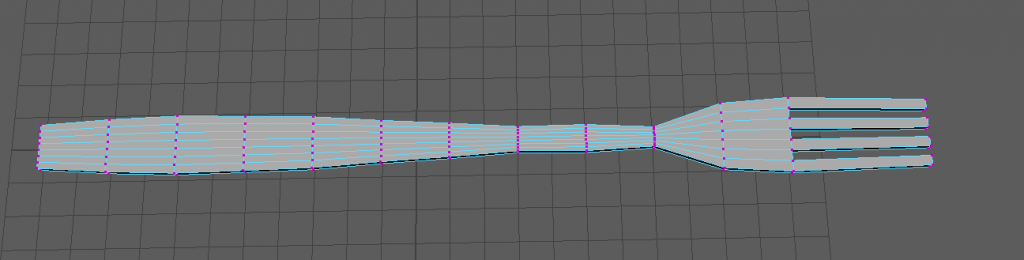
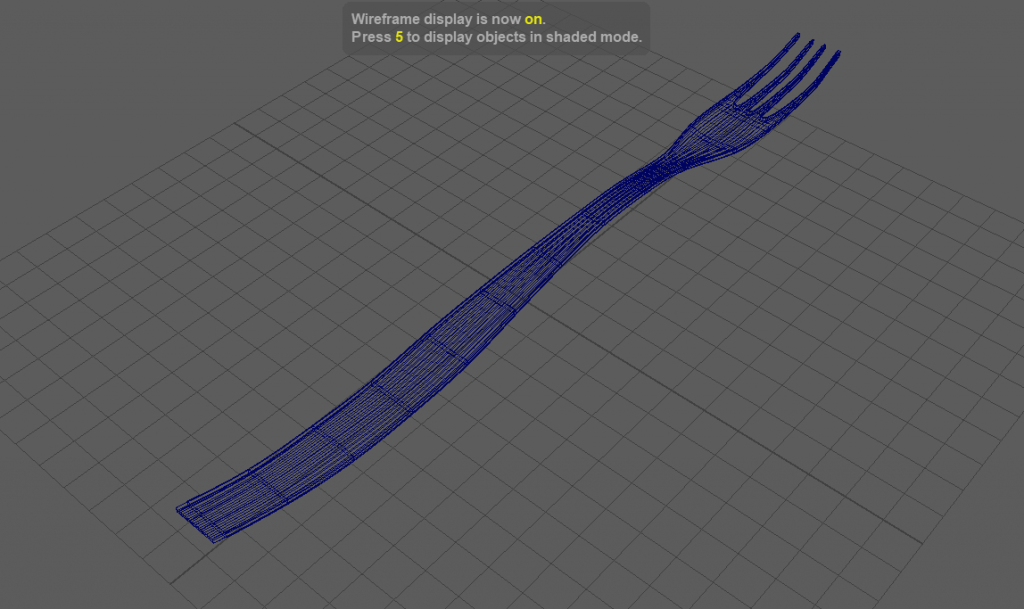
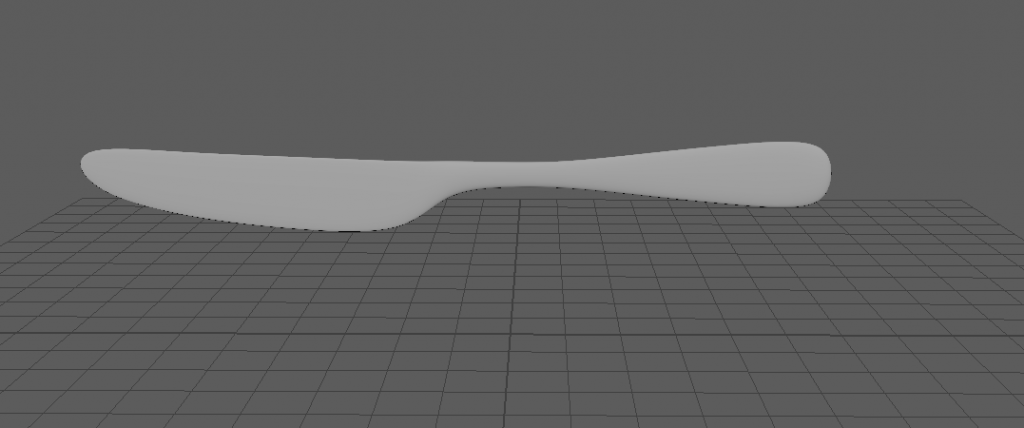
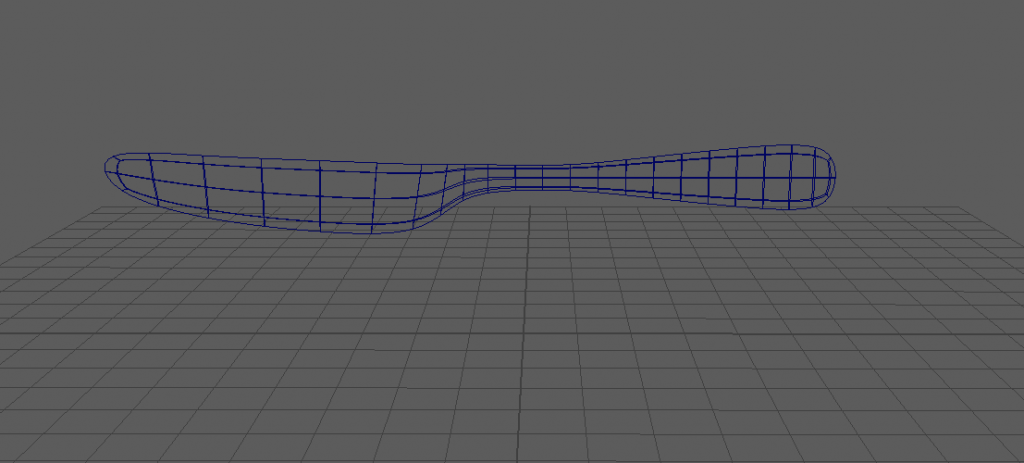
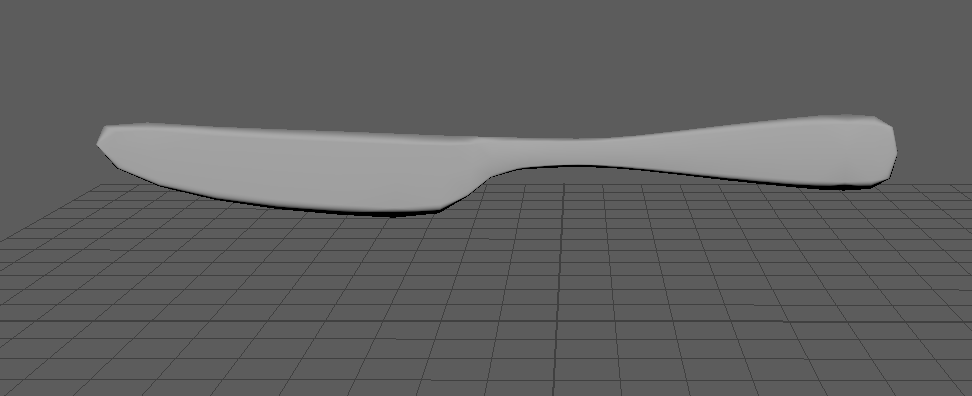
PLATE, KNIFE AND FORK:
The final design I made was the cutlery to go with the table etc. The plate did not take long to make, I just took a cylinder and rescaled it down so it was as thin as a plate. I then extruded the out edges to give the plate a lip so it wasn’t completely flat.
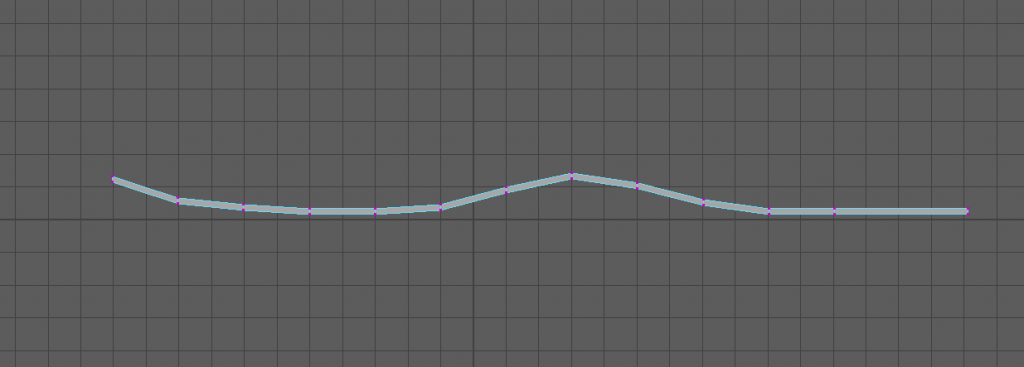
For the fork and the knife I got a image plane for each and started to shape them using a cube. I then used vertex mode and edge loops to manipulate the original poly.
RESEARCH/REFERENCING:
Throughout the assignment I have had to do research on each asset that I planned on making. Each image I have looked at and saved and every bit of information I have read has had a effect on my choices.
wooden stool picture (2019) available here- https://www.amazon.co.uk/HANDMADE-GROUP-UK-Small-Wooden/dp/B07WC3QQ9Z (accessed 28/12/20)
small wooden stool pic(2019) available here- https://www.wayfair.co.uk/furniture/pdp/alpen-home-best-solid-reclaimed-wood-stool-vdax3067.html (accessed 28/12/20)
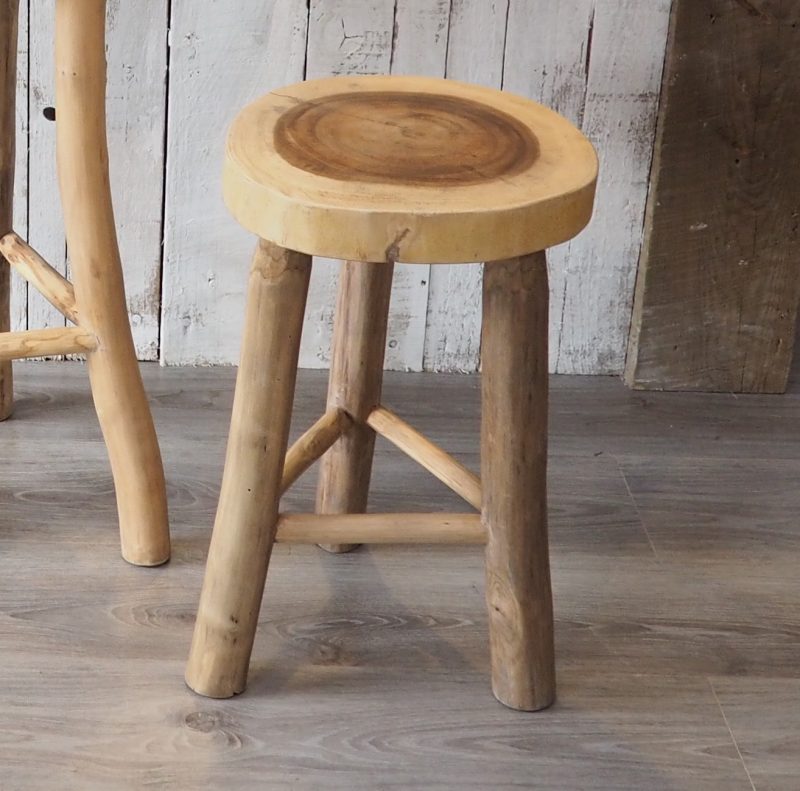
small rustic wooden stool (2019) available here_ https://zazahomes.co.uk/product/rustic-wooden-stool/ (accessed 28/12/20)
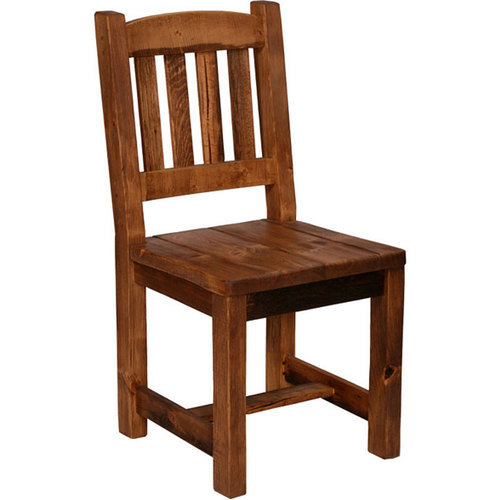
dark wooden chair (2020) available here- https://www.indiamart.com/proddetail/wooden-chair-15418651891.html (accessed 20/12/20)
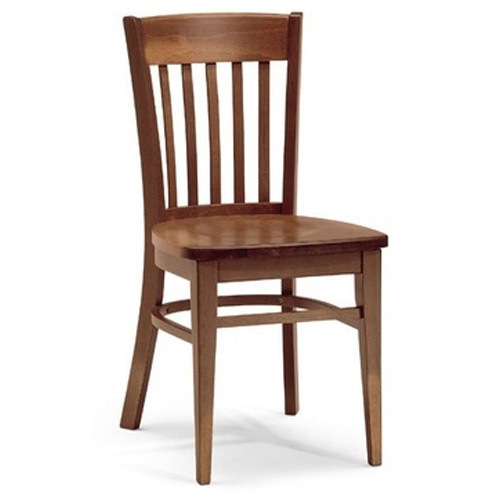
Modern Natural Dark Traditional Wooden Chair(2020) available here – https://www.indiamart.com/proddetail/traditional-wooden-chair-14733419248.html (accessed 20/12/20)
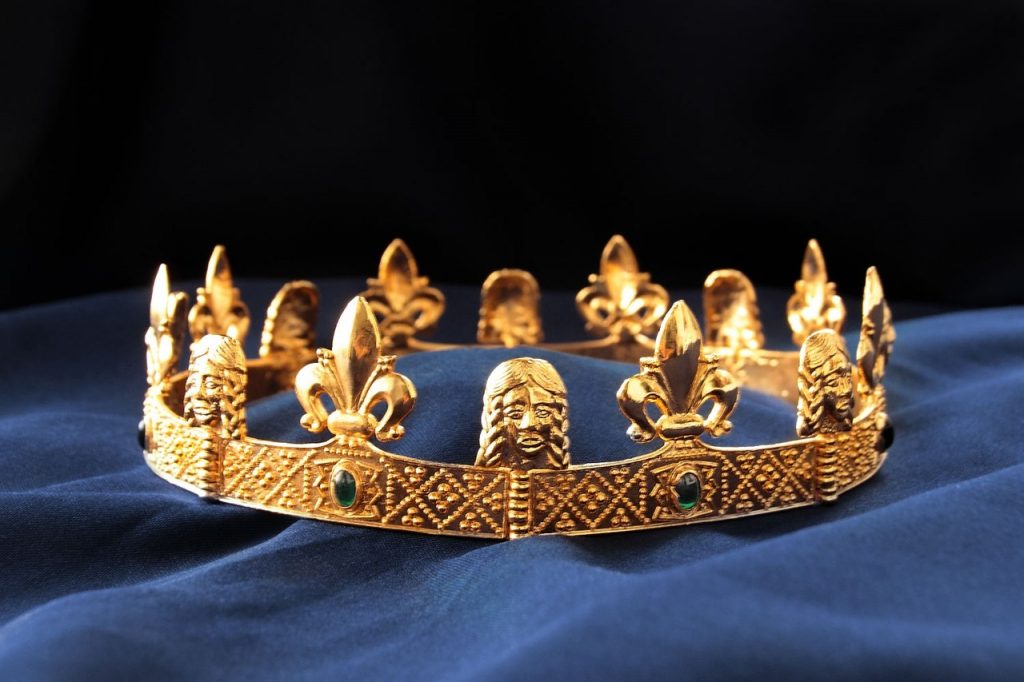
Medieval crown 5 (2020) available here – https://armourandcastings.com/en_US/products/medieval-crown-5 (accessed 11/01/21)
medieval crown (2019) available here – https://www.pinterest.co.uk/pin/831617887419446434/ (accessed 11/01/20)
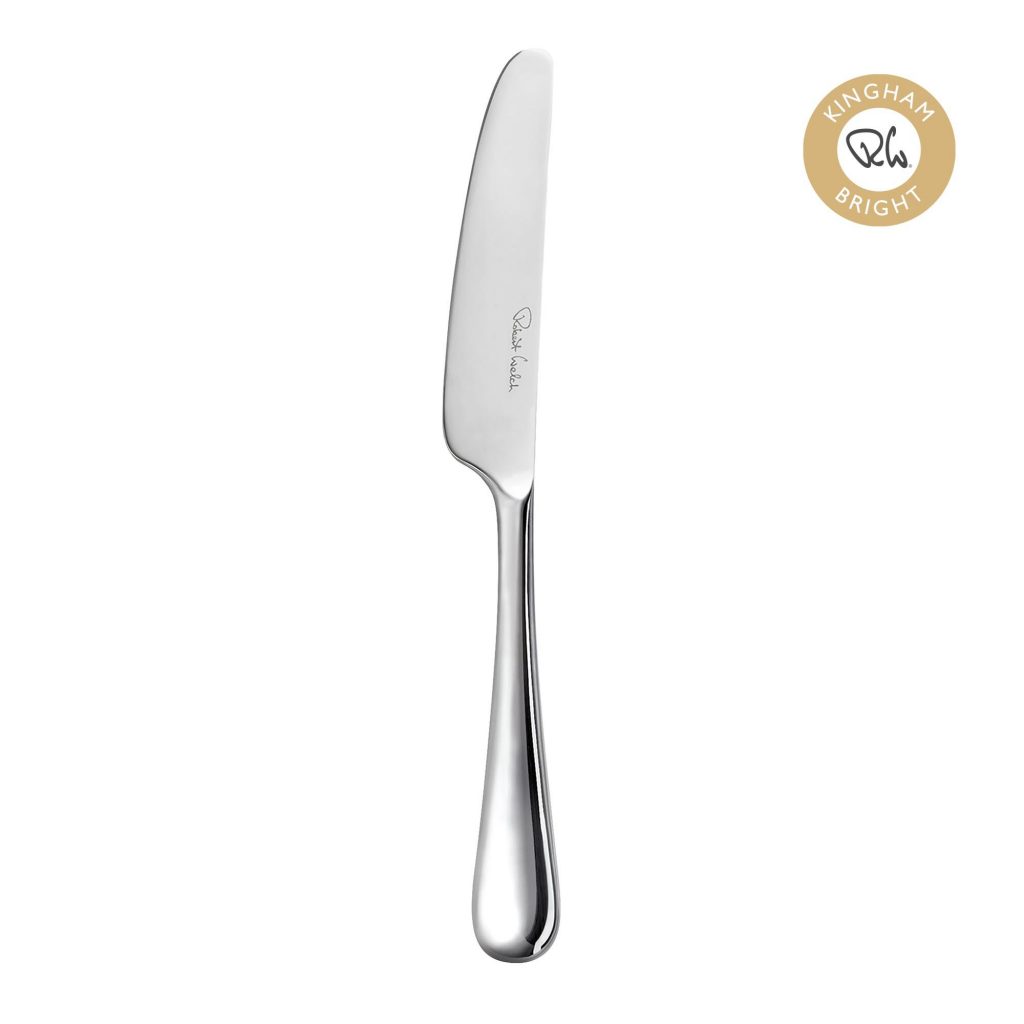
bright butter knife(2020) available here- https://www.robertwelch.com/products/kingham-bright-butter-knife (accessed 13/01/21)
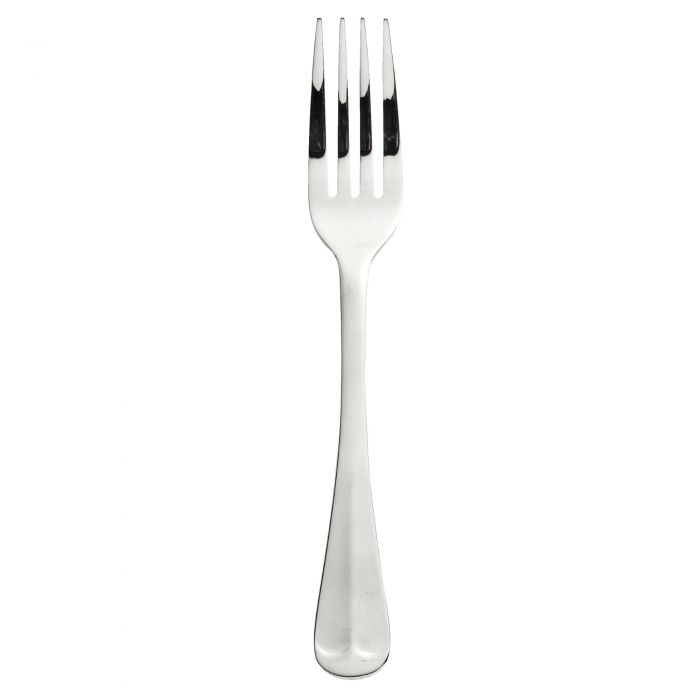
rattail silver fork(2020) available here- https://www.viners.co.uk/rattail-table-fork-18-10.html (accessed 13/01/21)
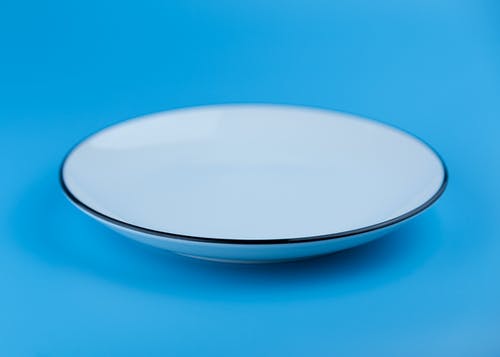
(Jamie He, round grey plate) available here- https://www.pexels.com/photo/abstract-blue-clean-container-563067/ (accessed 13/01/21)
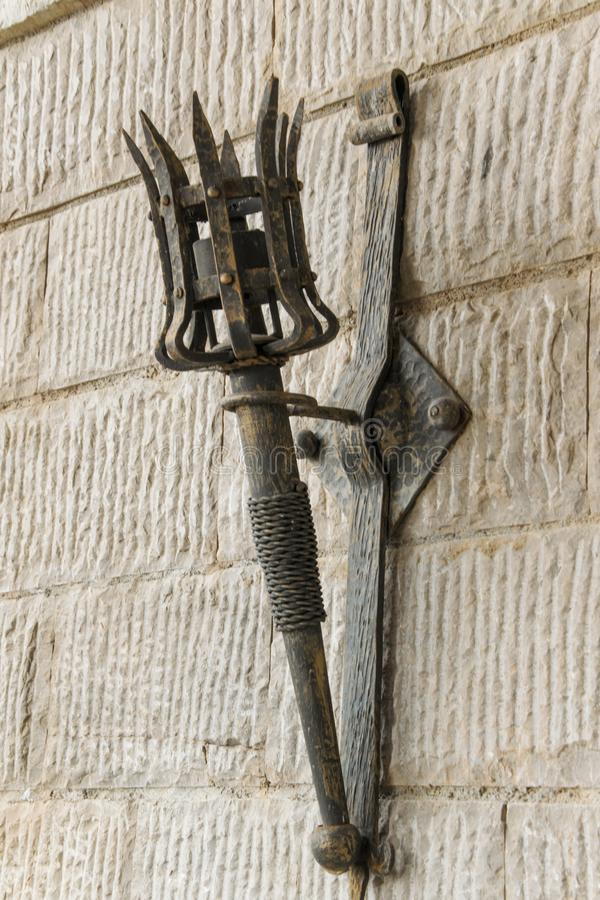
(Alikaj, medieval torch) Available here- https://www.dreamstime.com/removable-iron-torch-medieval-castle-stone-wall-removable-iron-torch-medieval-castle-stone-wall-space-text-image107247849
(Accessed 19/12/20)
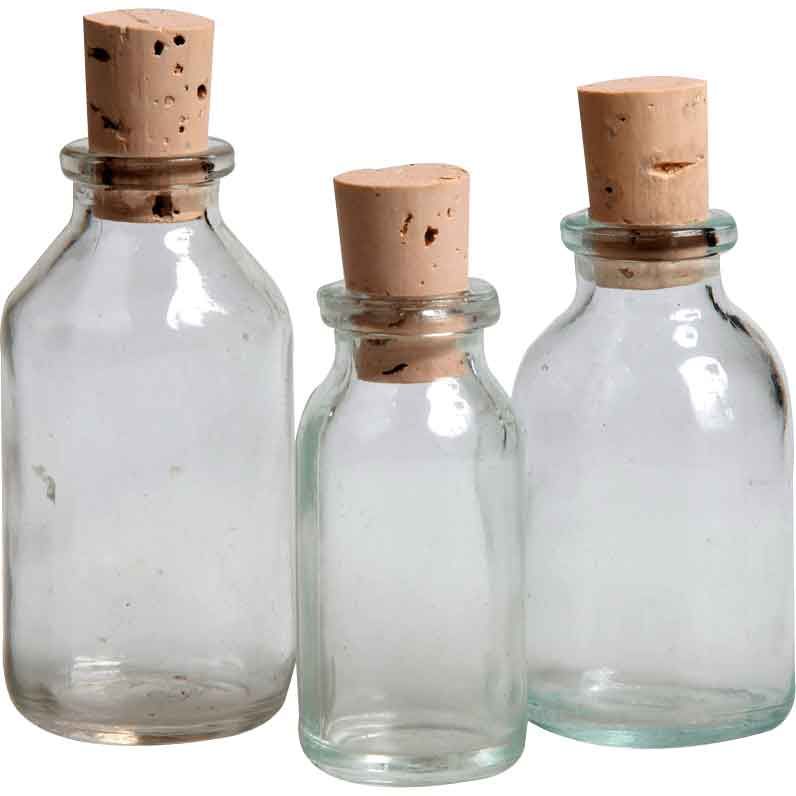
(medievalCollectables, three glass potion bottles) available here- https://www.pinterest.co.uk/pin/347269821272738844/
(accessed 23/12/20)
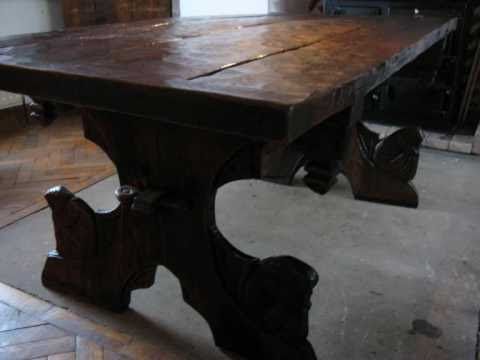
(Nicole Cabell, wooden medieval table) Available here- https://www.pinterest.co.uk/pin/14707136257172382/
(accessed 20/12/20)
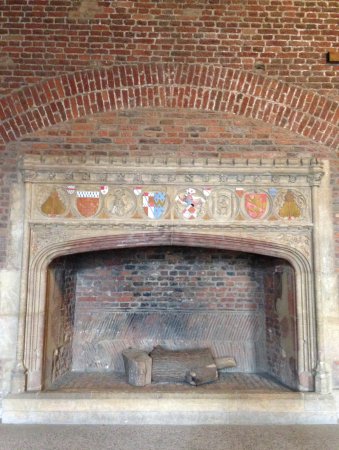
TripAdvisor, medieval fireplace) available here-https://www.tripadvisor.com/LocationPhotoDirectLink-g1646004-d638760-i217602279-Tattershall_Castle-Tattershall_Lincolnshire_England.html
(accessed 11/01/21)
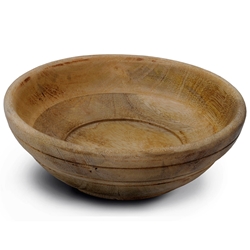
(by-the-sword, medieval bowl) available here- https://www.by-the-sword.com/p-10293-medieval-style-wooden-bowl-7-inch.aspx
(accessed 17/12/20)
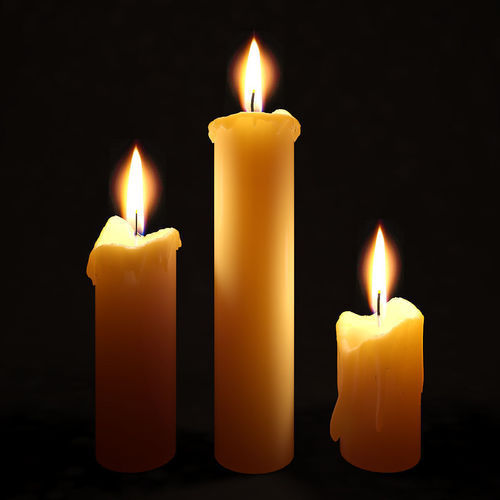
(IndiaMART, wax candle) Available here- https://www.indiamart.com/proddetail/raw-candle-wax-15728483355.html
(accessed 06/01/21)