Development Log
What makes a good character?:
When it comes to creating a good character the first thing that must be done is defining the character. This includes things like, the look of the character, their silhouette, these help to separate them from any other characters within their game world. These also help players get an understanding of possible traits/abilities that particular character might have. For example, a big muscular character, the first assumption is they are really strong, and then the opposite being a skinny smaller character being weak and frail, however these tend to fall into stereotypes which is something to avoid when it comes to making a good character.
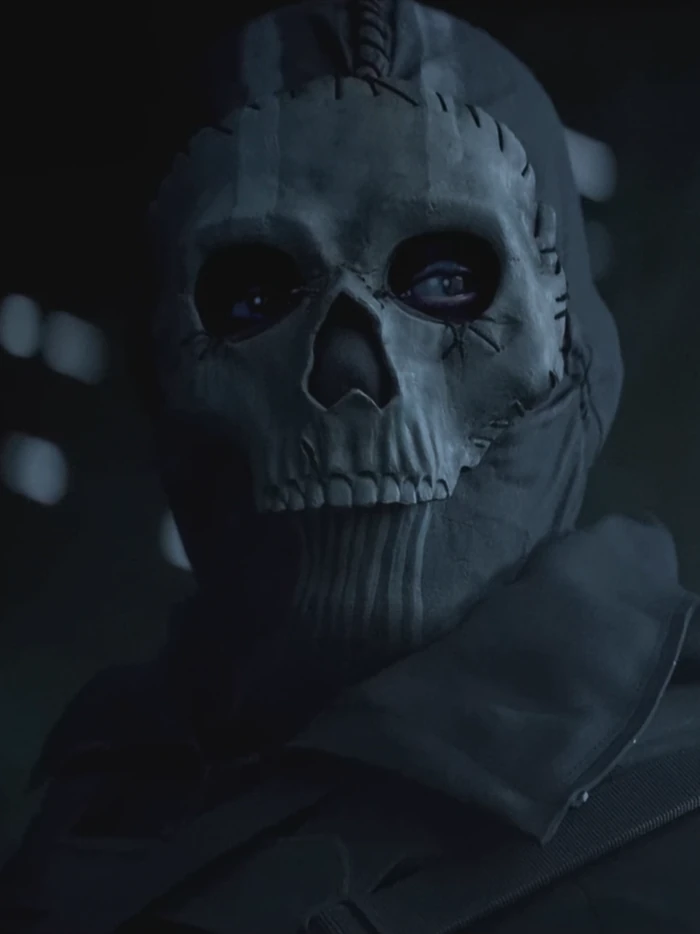
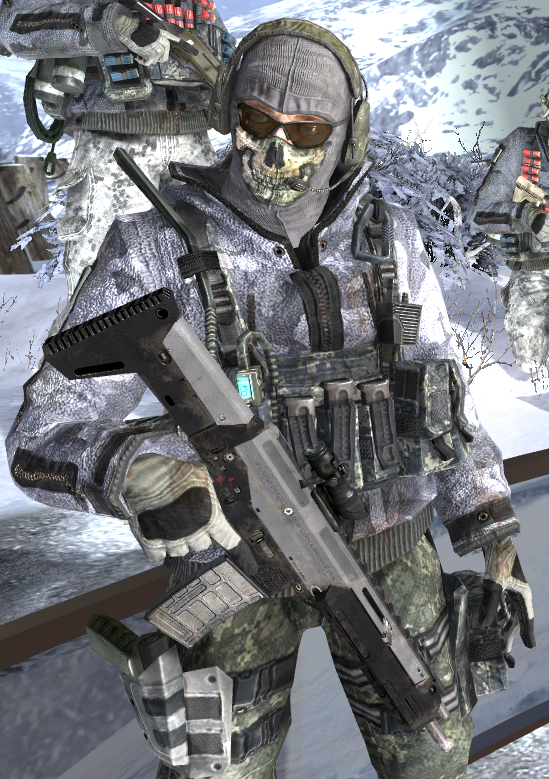
Michel Sabbagh (2015) goes on to say in his blog that “What’s worse than an uninspired character? An uninspired character that’s actually a walking stereotype. Stereotypes are the bane of good character design: they strip the character of any individuality and turn him into an absolute bore to listen to and/or look at.” He goes on to say how dead island did this and almost made him mute the games due to the one liners the characters would come out with, the butchered accents they had and the shallow personalities. A great but simple example of making a character diverse is the character Ghost from the call of duty modern warfare series, hes easily picked out by fans of the series due to the mask he wears. The images below show the mask and even though theres slight adjustments made (left 2022 MW2) compared to the original (MW2 2009) its very clear who the character is.
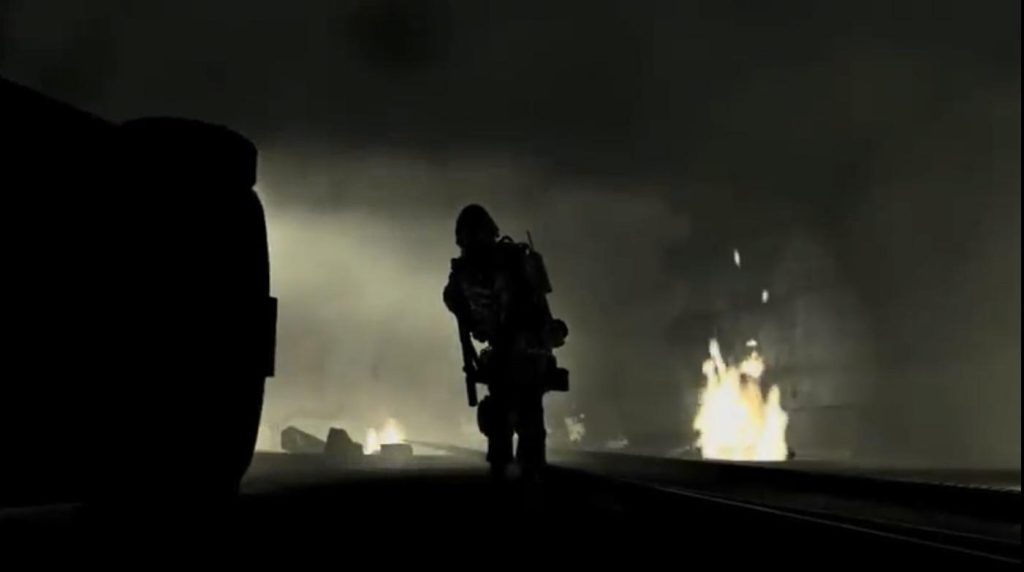
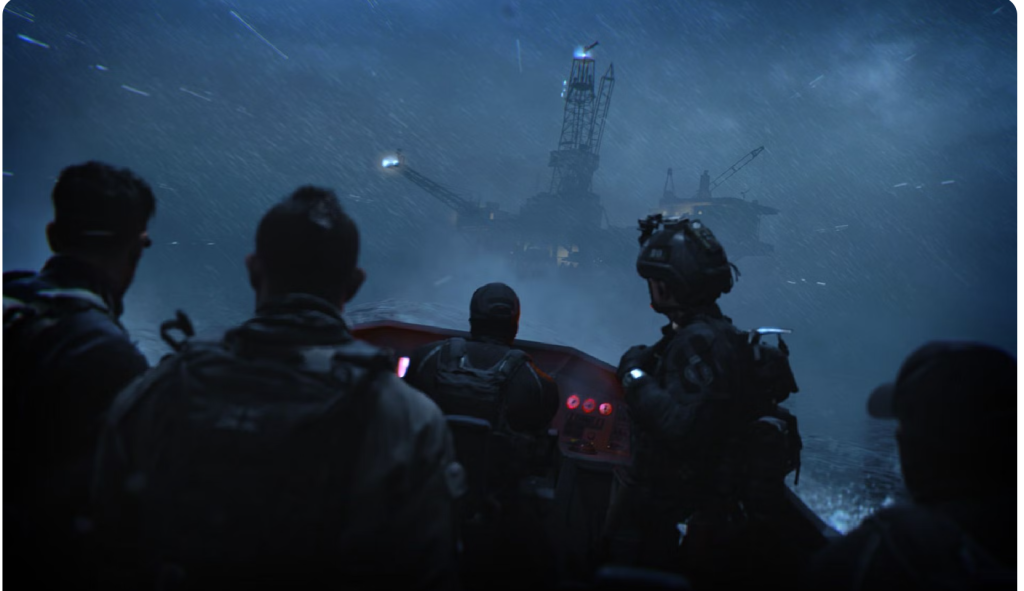
A good example of how silhouettes are very important and why you need to make sure you can differentiate between them and others characters, is when a shot during a Modern Warfare 3 trailer looked like ghost, this led fans to believe he was included in the game but it ended up being a completely different character. as the image below shows, it looks very similar to ghost in Modern Warfare 2 (2009) shown just above. A characters silhouette also helps distinguish them from the environment they are in. Here is another example from the newly released Modern Warfare 2 (2022) which is a shot from a boat but is behind the characters. Any fan of the Modern Warfare series will know that soap is the character just left of the middle based on his hair as its something he has always had. You can then apply this to all other protagonists in games.
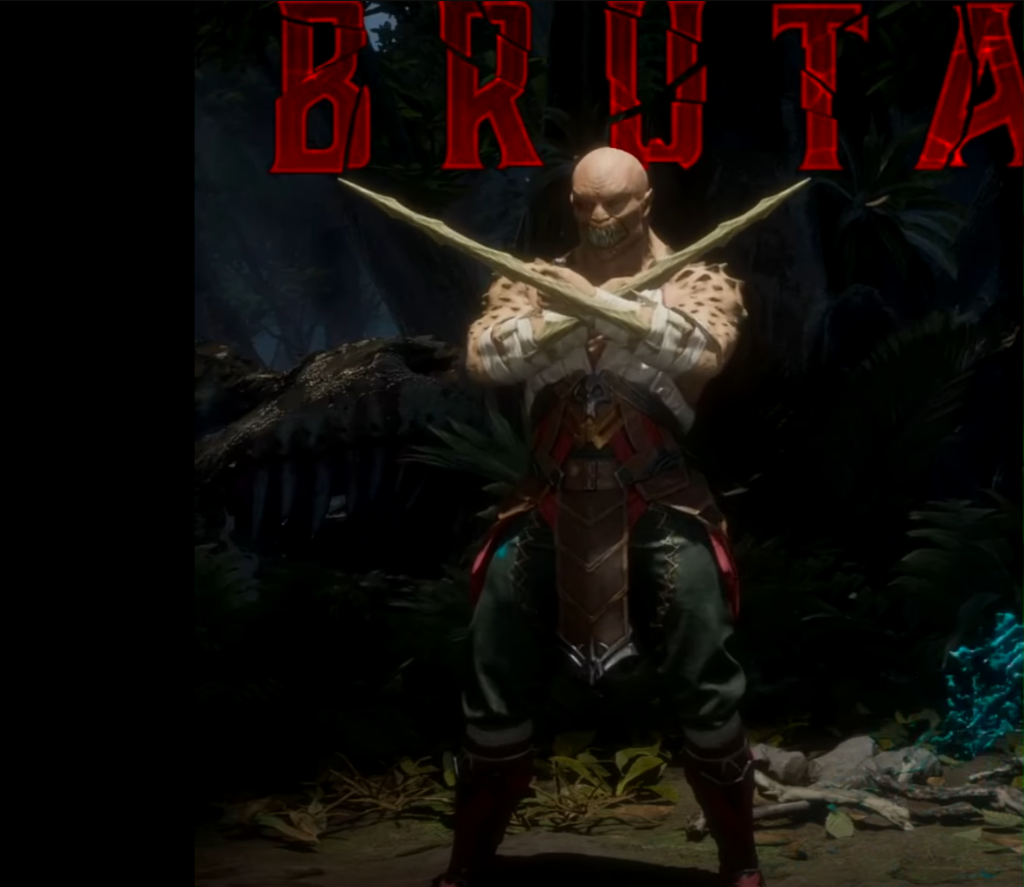
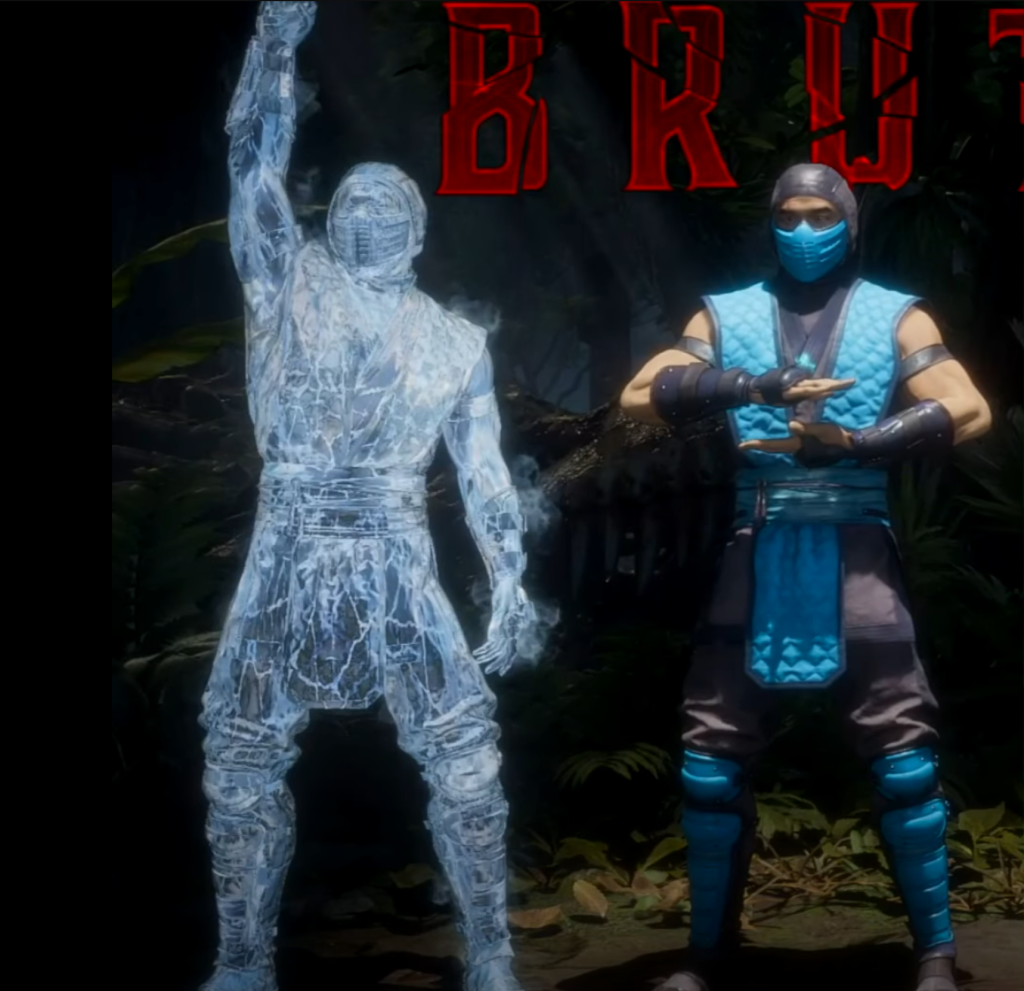
guilty gear Moving onto my next point is poses. These mainly apply to fighting games like Tekken, Mortal Kombat, street fighter, dragoon ball fighter Z, WWE2k, Fatal fury, just to name a few. These poses become a way users are able to identify the different characters, first example is a character from MK called Baraka and this is their victory pose, victory poses are probably the most popular poses with the MK user base. The next example is another from MK called sub-zero. Just like the previous areas covered, these are unique to each character and will allow users to identify that character purely based on the pose. These poses also end up deciding if a user picks that character to use, due to them finding it cool etc.
Michel Sabbagh (2015) goes on to say in his blog that “a character dual-wielding revolvers flauntingly gives us the impression that he’s going to shoot first and ask questions later. The TimeSplitters series is an excellent reference for character poses. When browsing through the multiplayer roster, you always see the characters adopt a particular pose before being selected by the player. Those poses give you a decent idea of what to expect from that character.” This reiterates my point about how poses help users identify the character and also decide if they want to use them in game.
The next point, avoid tokenism. this is when a minority character is put in purely for the sake of it instead of actually having that character fit the game world/story. Michel Sabbagh (2015) covers this in his blog saying “if you remember a minority character simply because of their minority traits, you know you made a mistake somewhere down the line” just like any other character they need depth and meaning and need to fit the world they will be in.
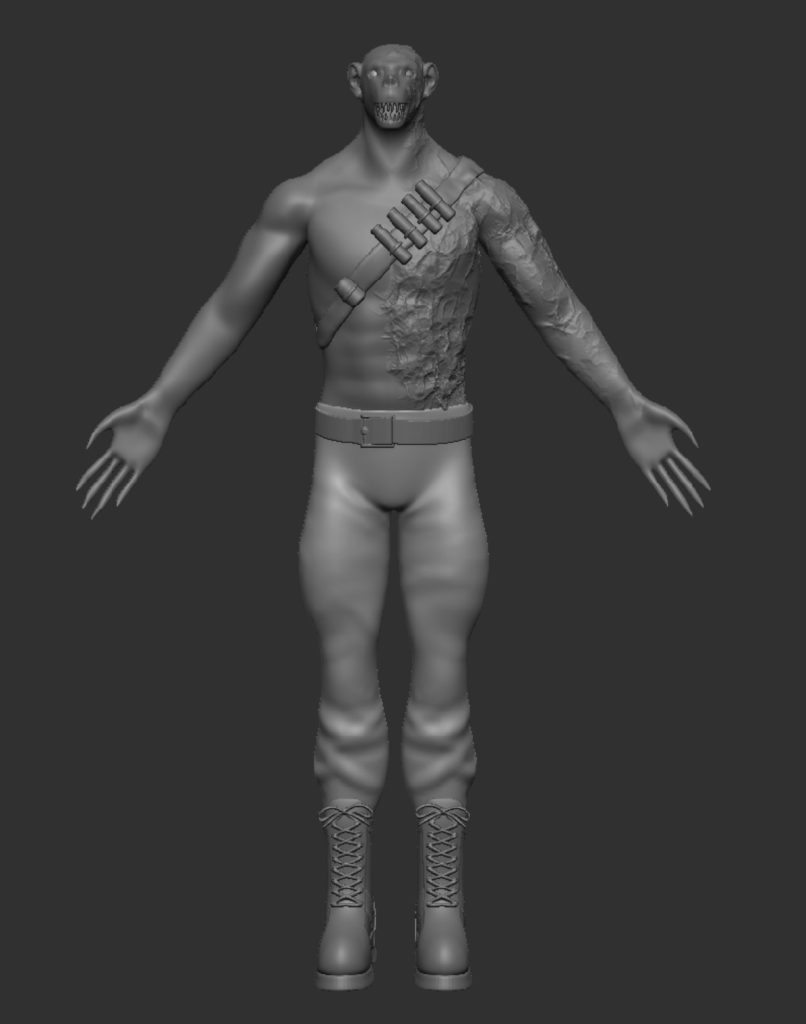
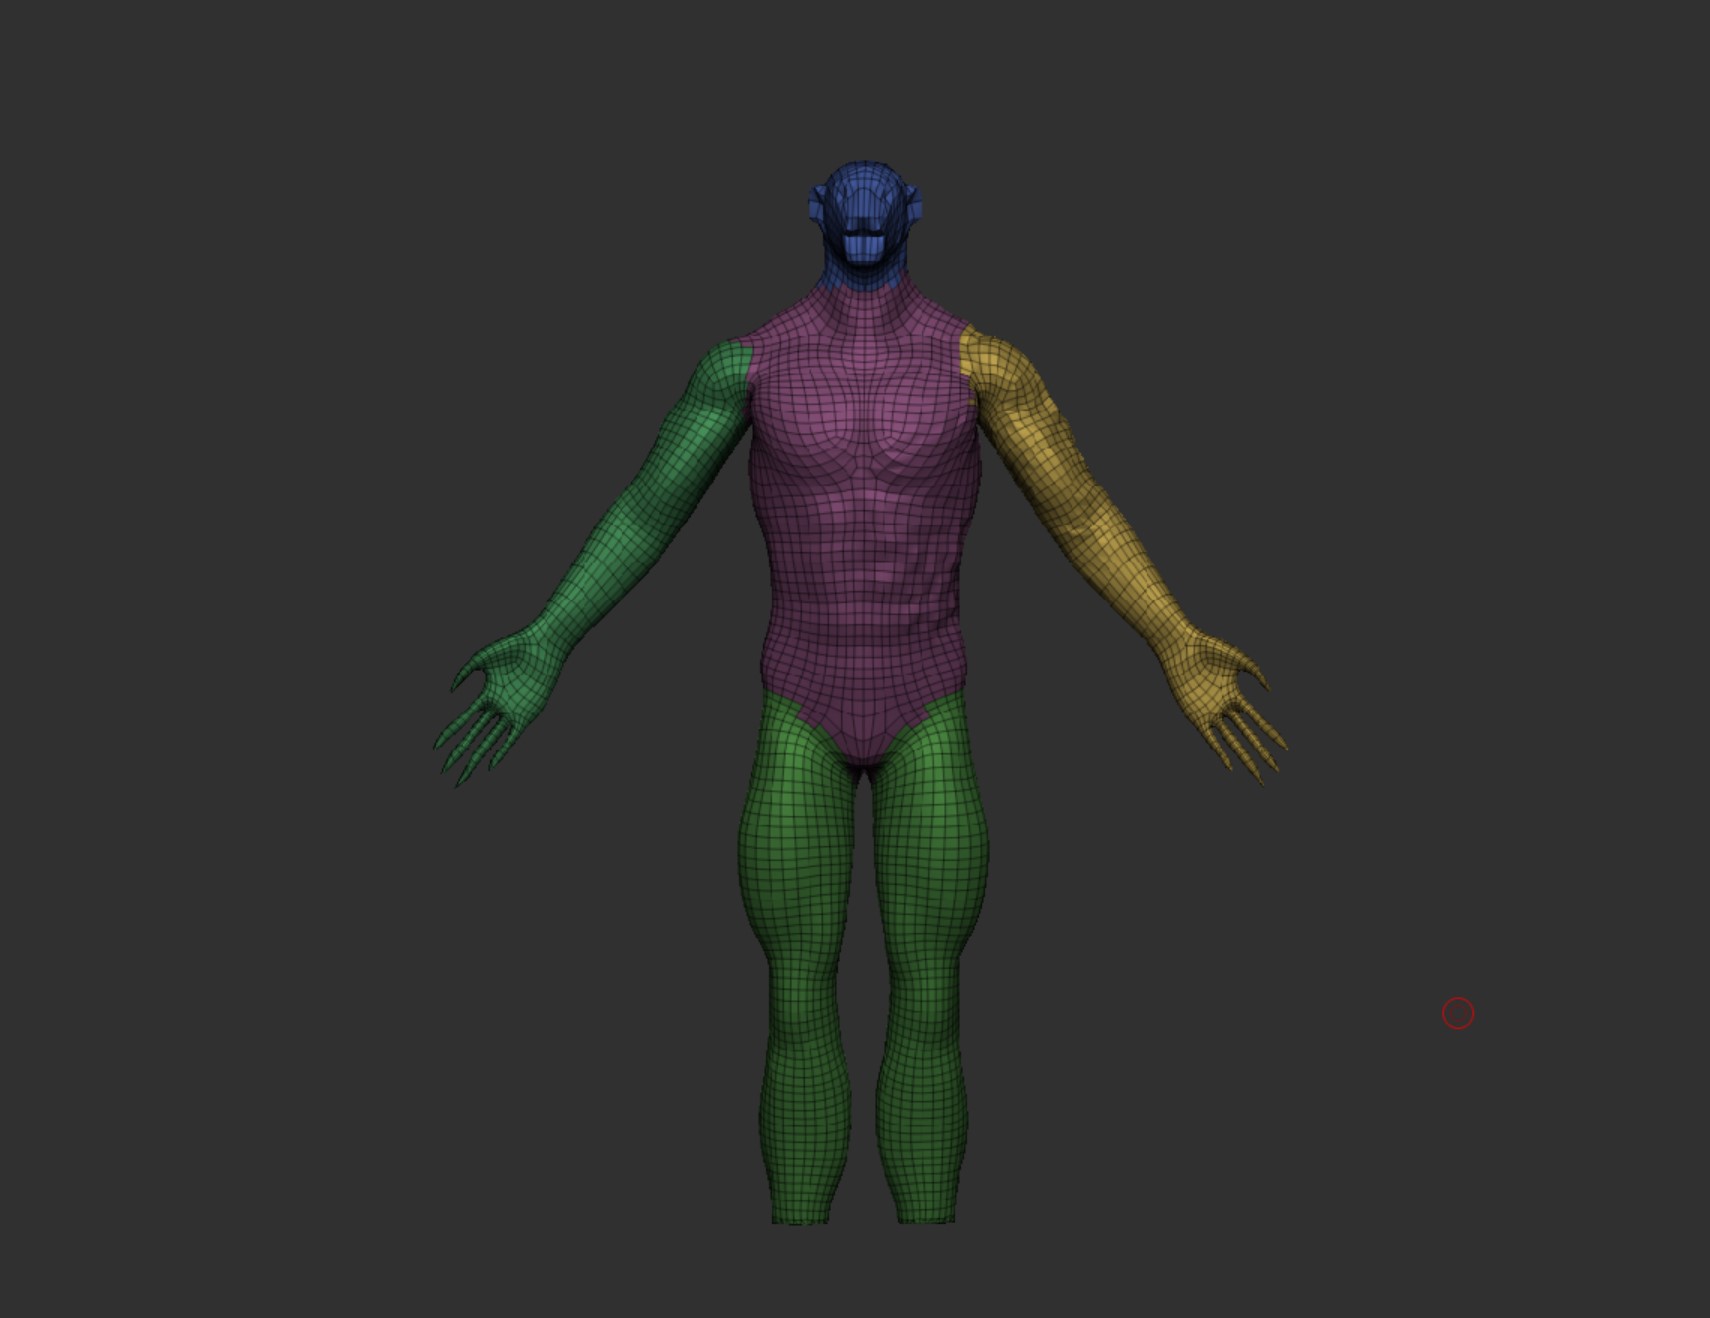
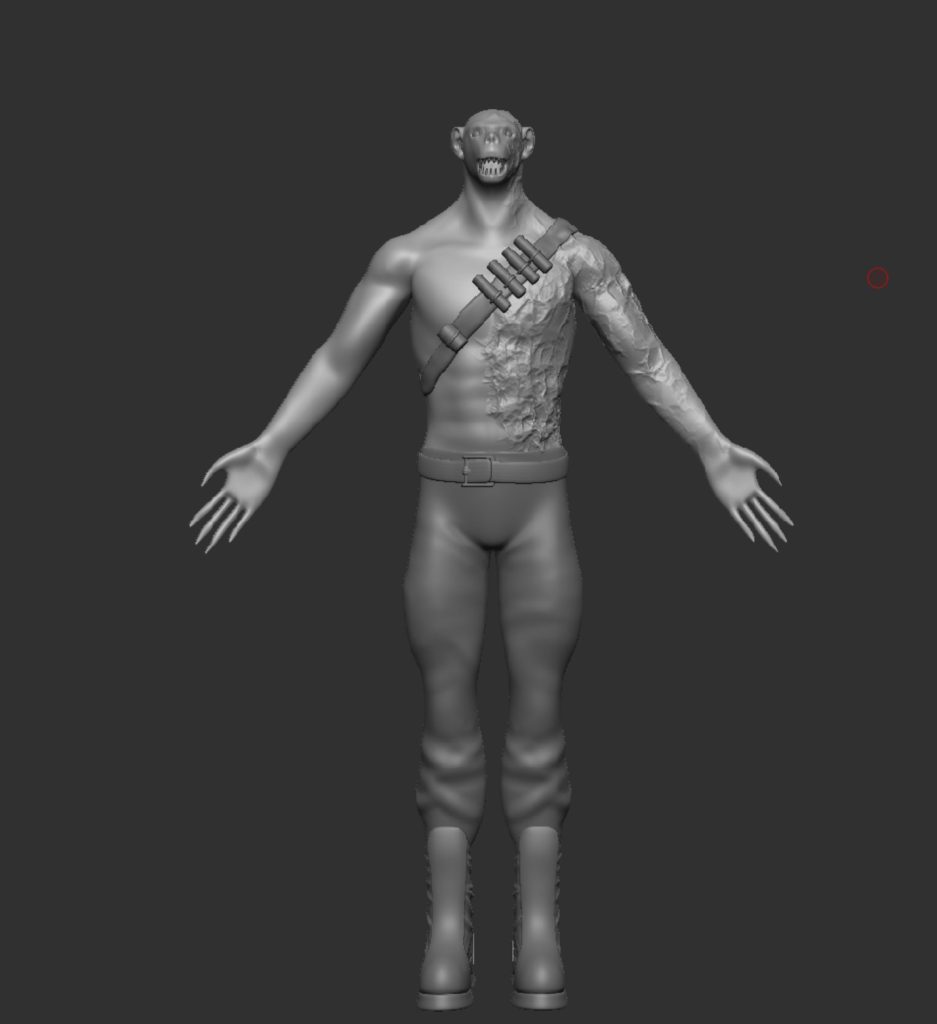
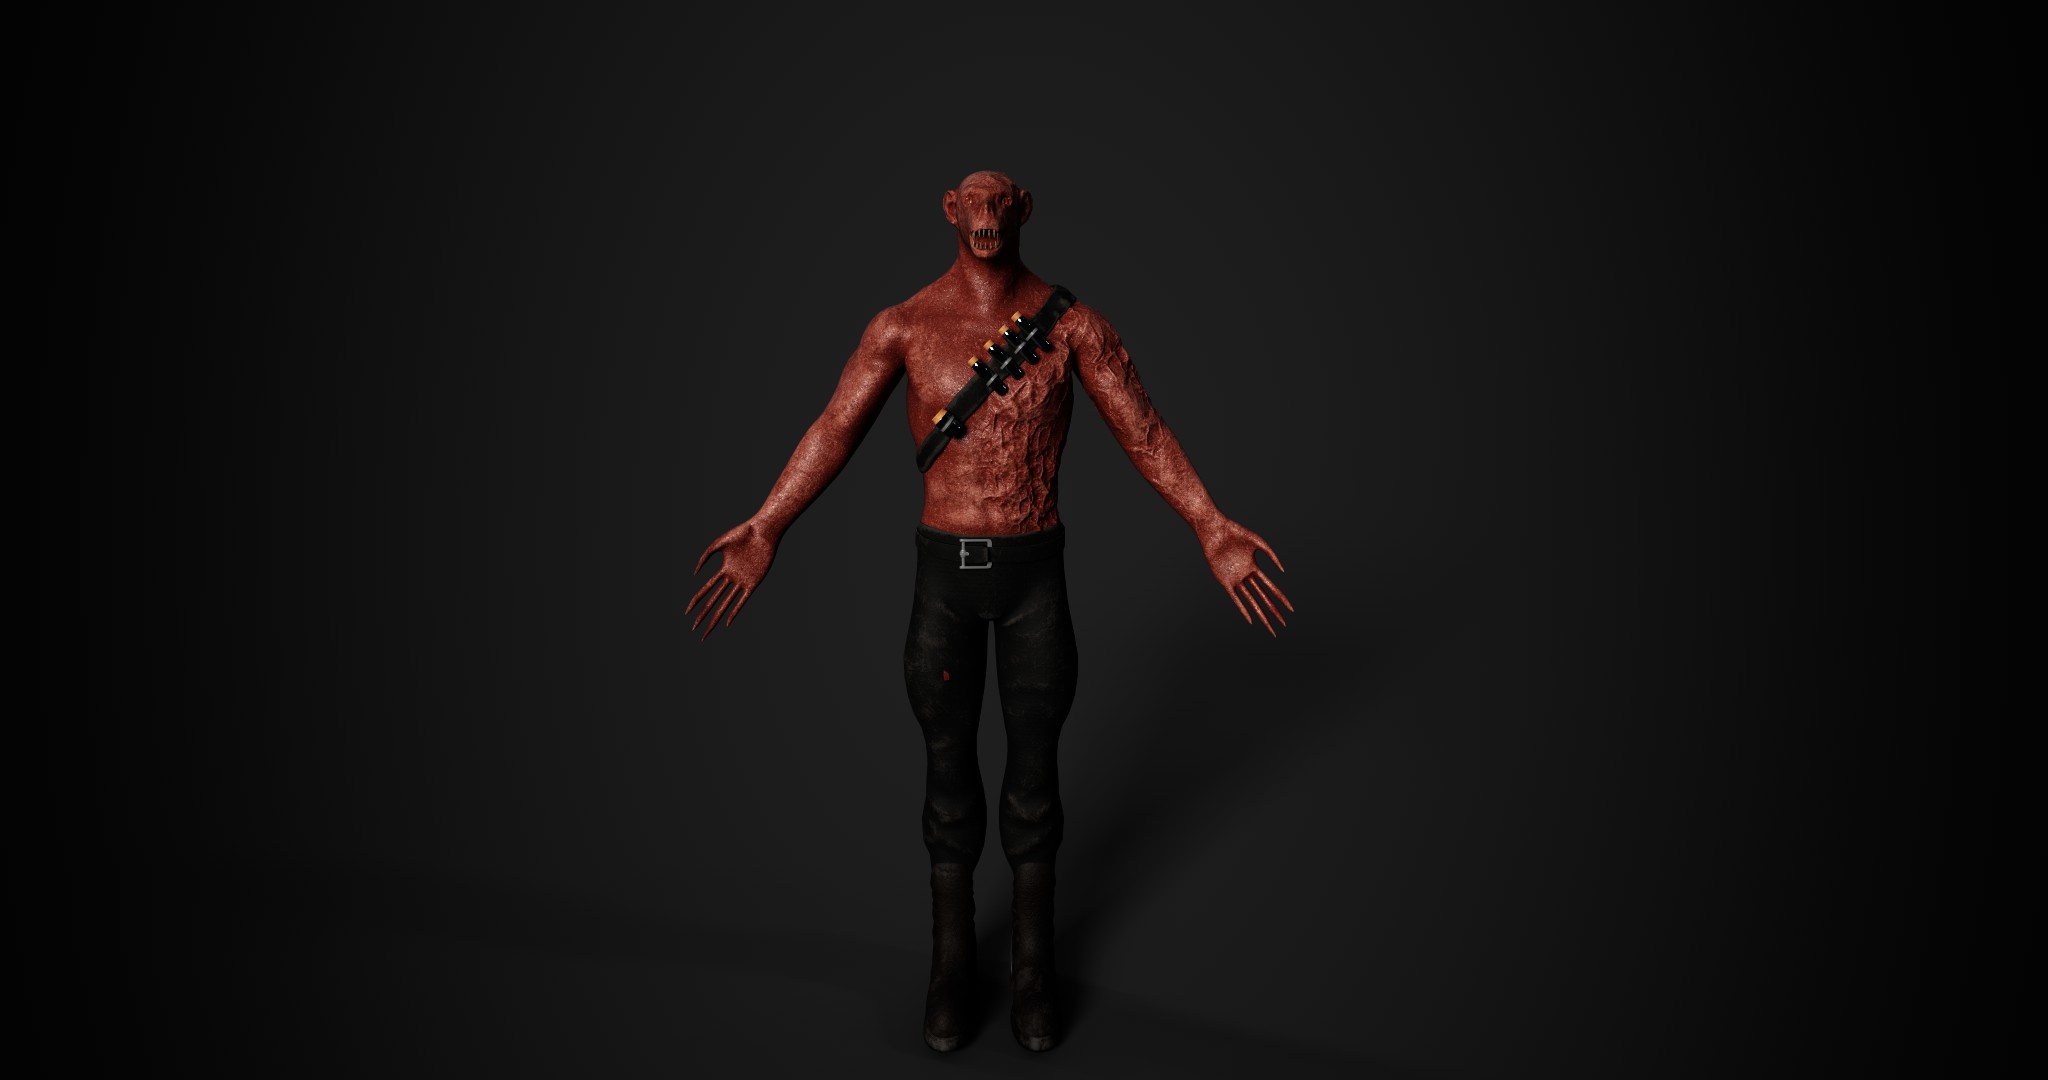
For this character one of the defining features is the muscles, they play a key part in the backstory but also make sure his silhouette is unique and stands out. This is then followed up by the other features like the claws, ape looking face, sharp teeth, and mutated body, which all links back to the story of the character. Another thing which will be similar to the mask that ghost has will be the belt that is hanging from the characters waist, which is the last remaining part of what he used to be, the doctor who once swore to save people, now he hunts them.
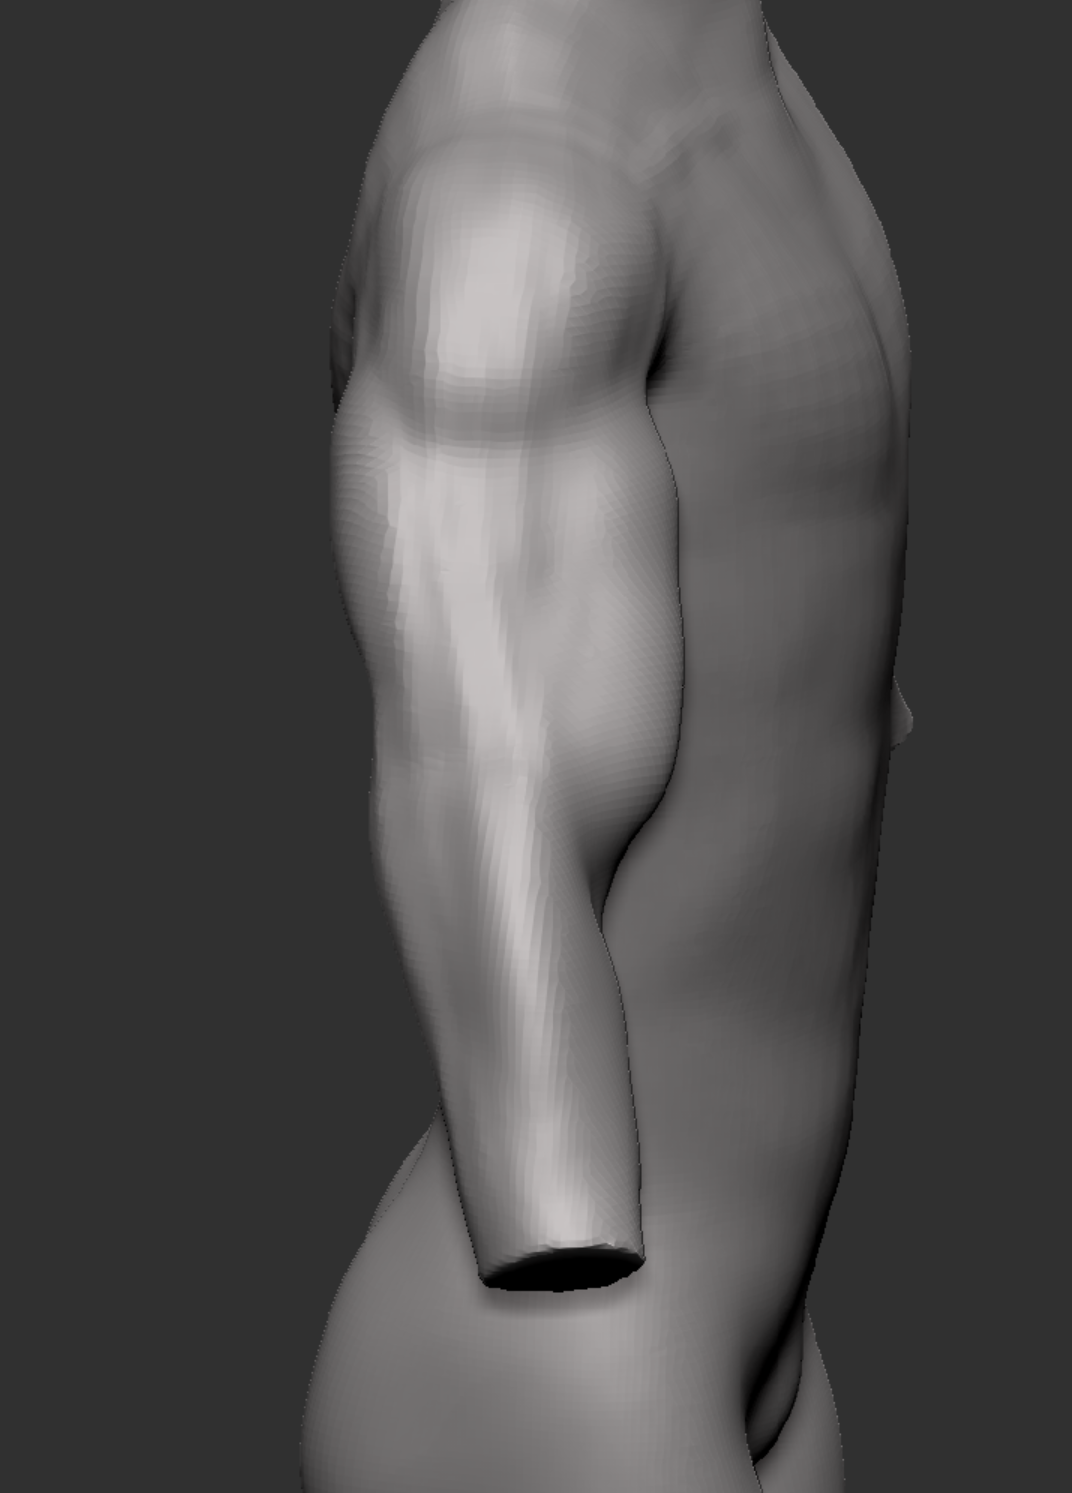
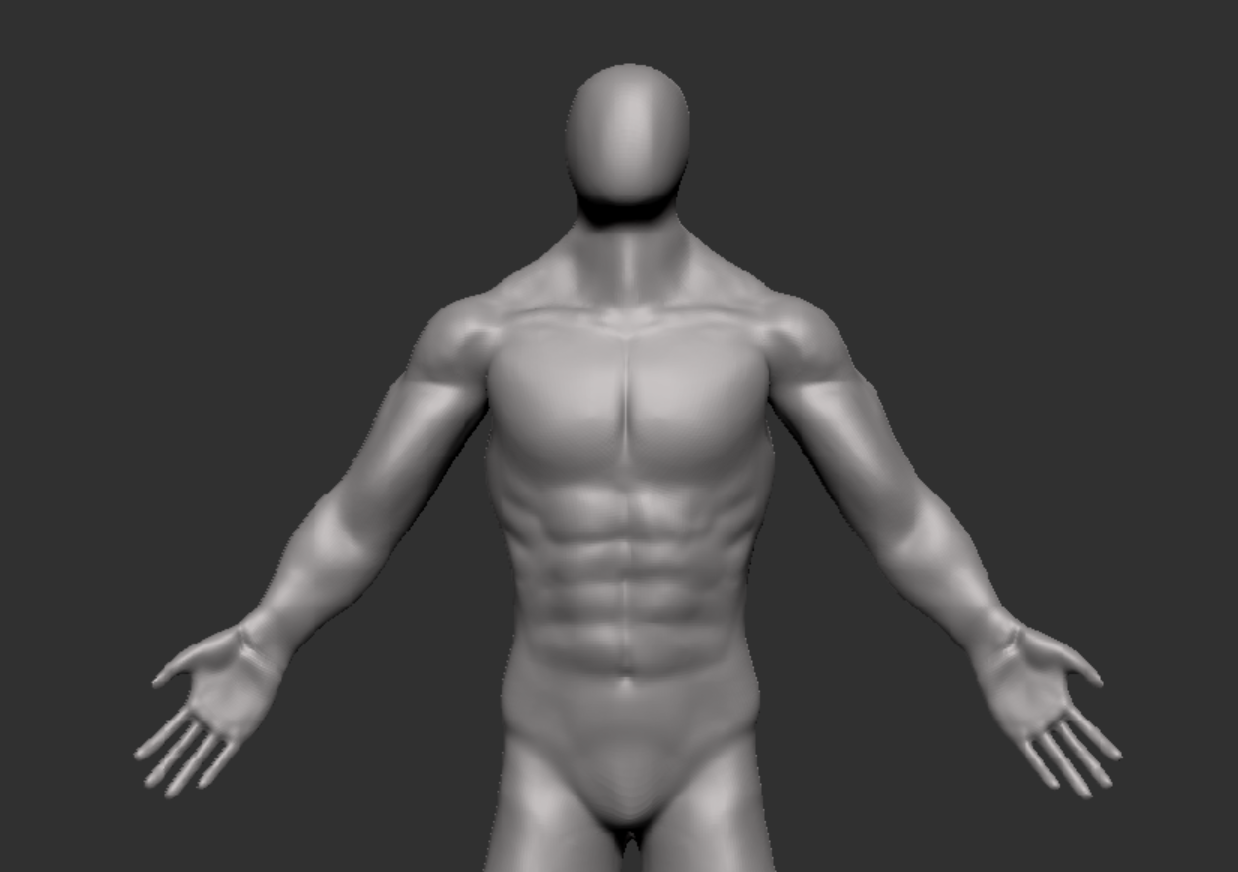
To start my first character I started with some basic sculpting to get the shape of the body. I constantly made adjustments to make sure it looks how I’m wanting it to look and how my references look too. This is when i started experimenting with muscle. Since I haven’t sculpted muscles before there were lots of changes and adjustments made as I wasn’t happy with it. The center image and the one on the right is the first attempt at adding muscle to the characters body. The tools i used to do this are the clay buildup brush, move brush, smooth brush, dam standard brush, and Inflate brush, these allowed me to shape and define each muscle shown.
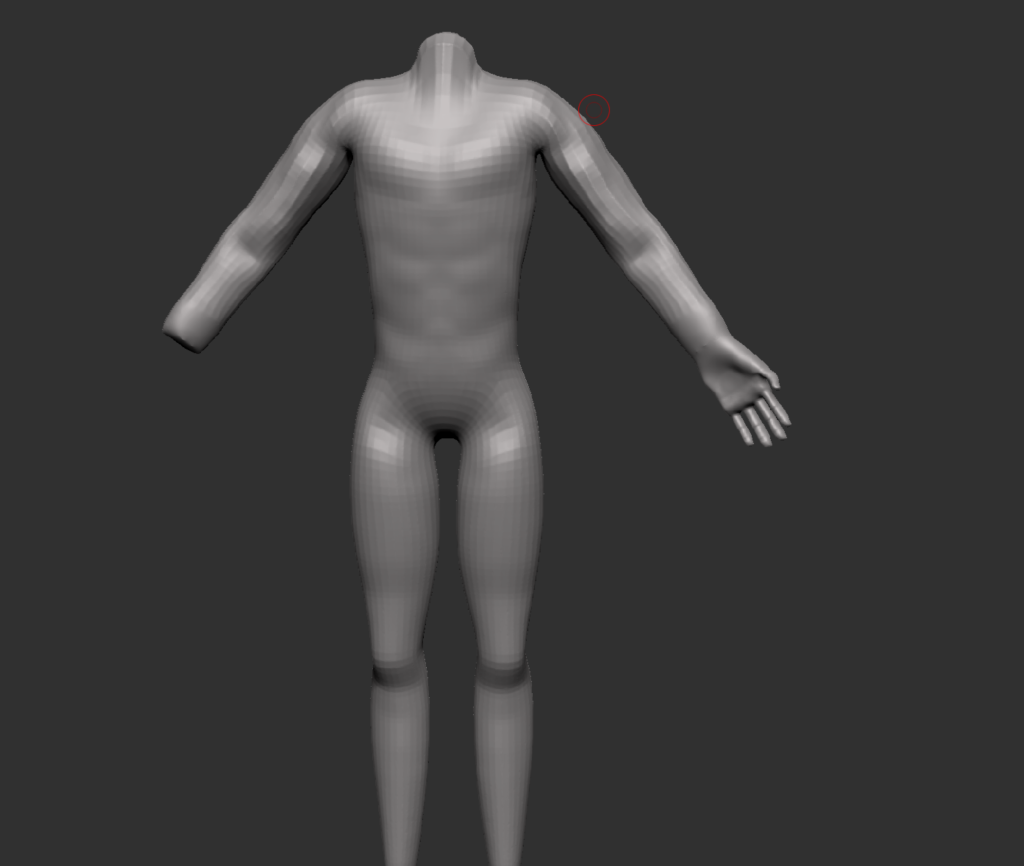
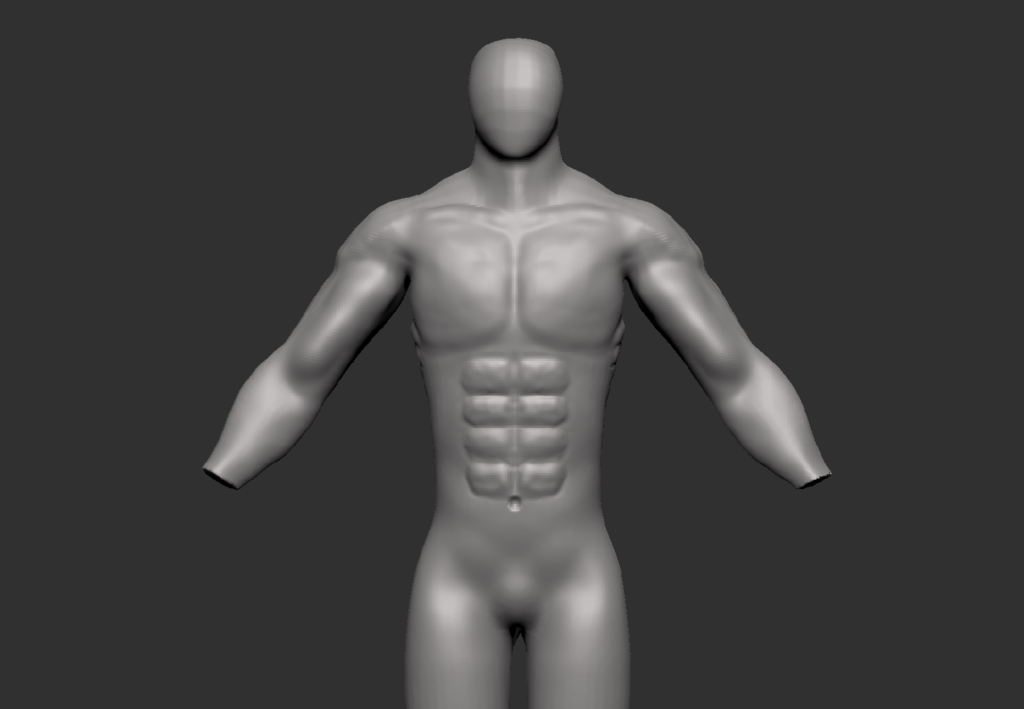
Figure 1 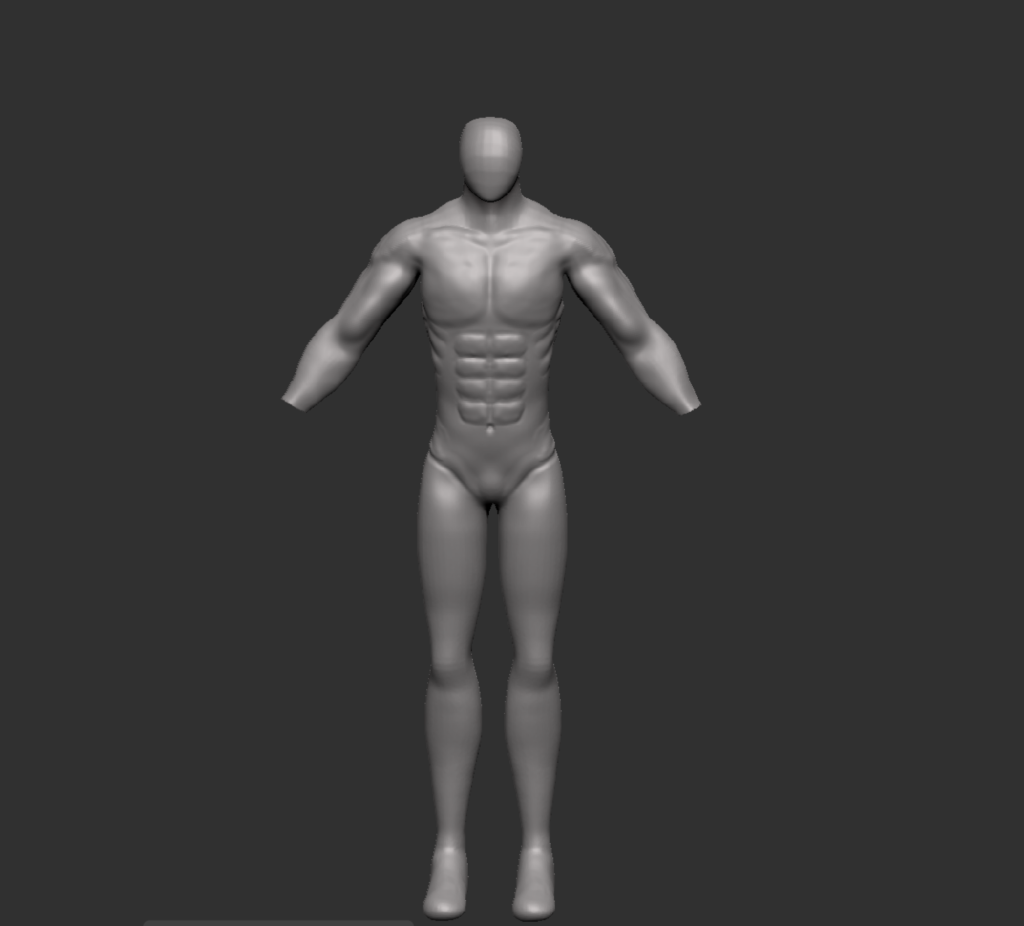
Figure 1 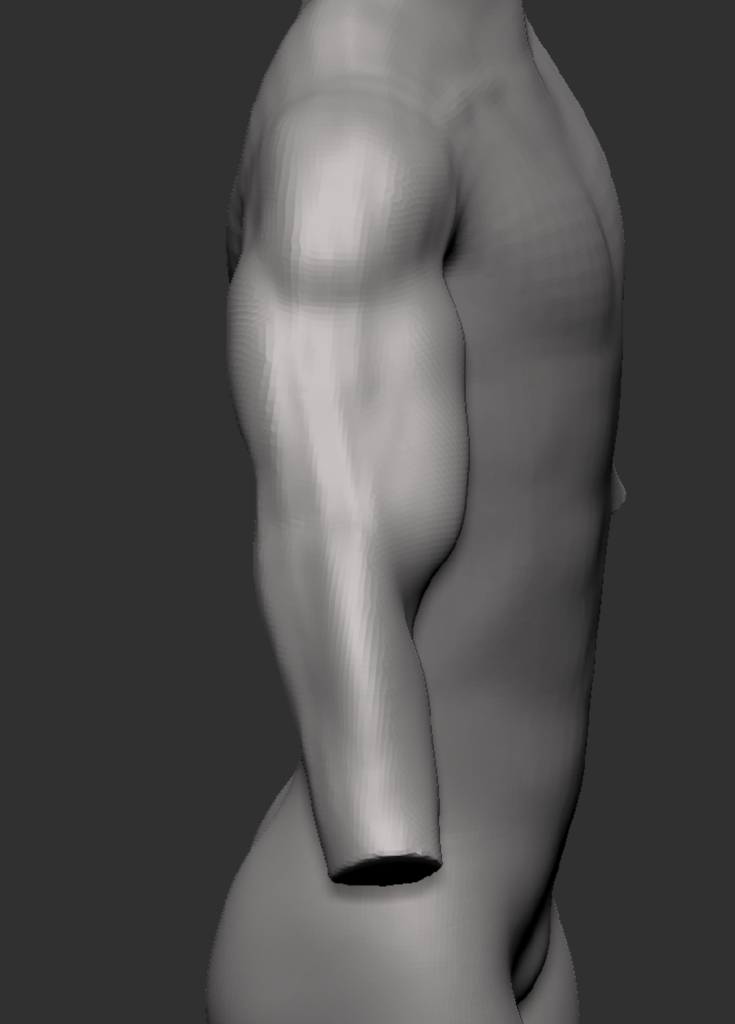
Figure 1
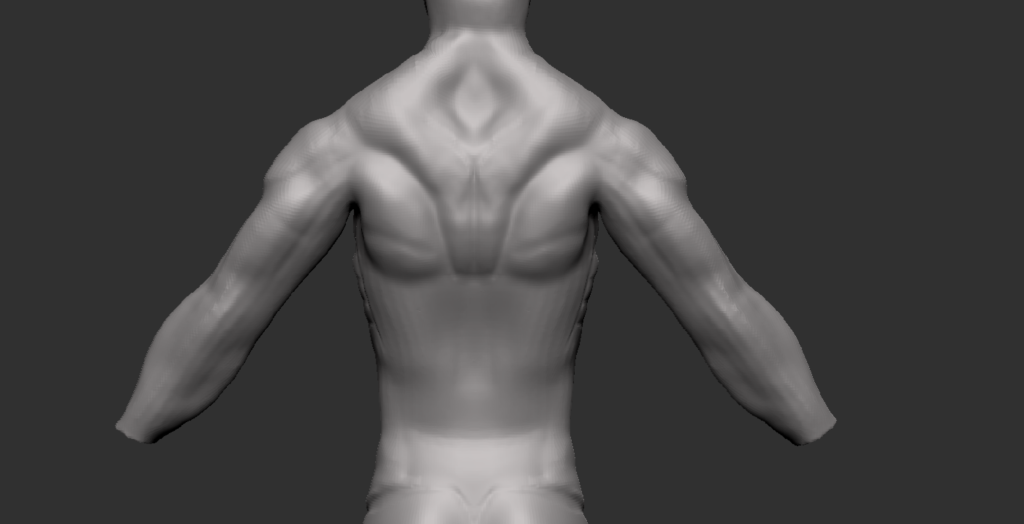
I then attempted the back muscles, similar to the muscles above this was a first attempt so changes will be made as time goes on, this was just to help me get the shape of how i wanted it to roughly look. I used the Anatomy for 3D artists book and images found online to help see what and how many muscles there are in the back.
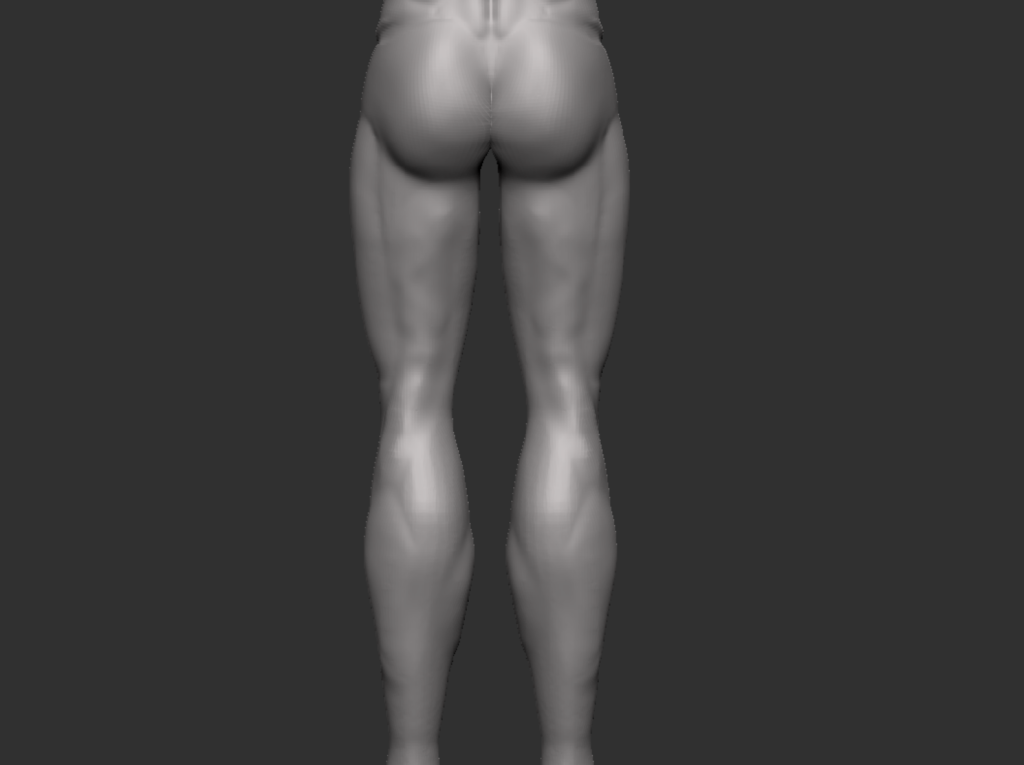
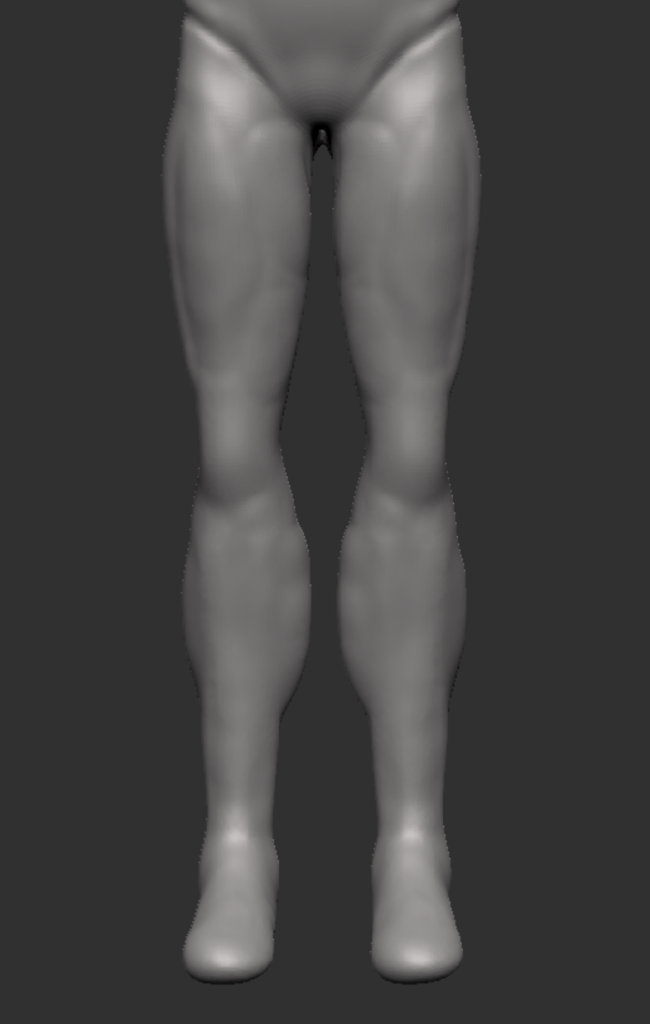
After doing the back i then moved onto the legs adding some rough muscle shapes and so the legs were not just smooth. I did this using the clay buildup brush and the smooth brush.
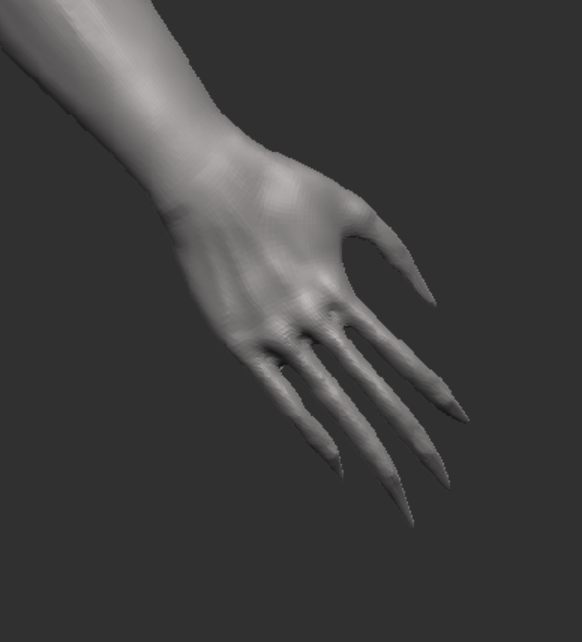
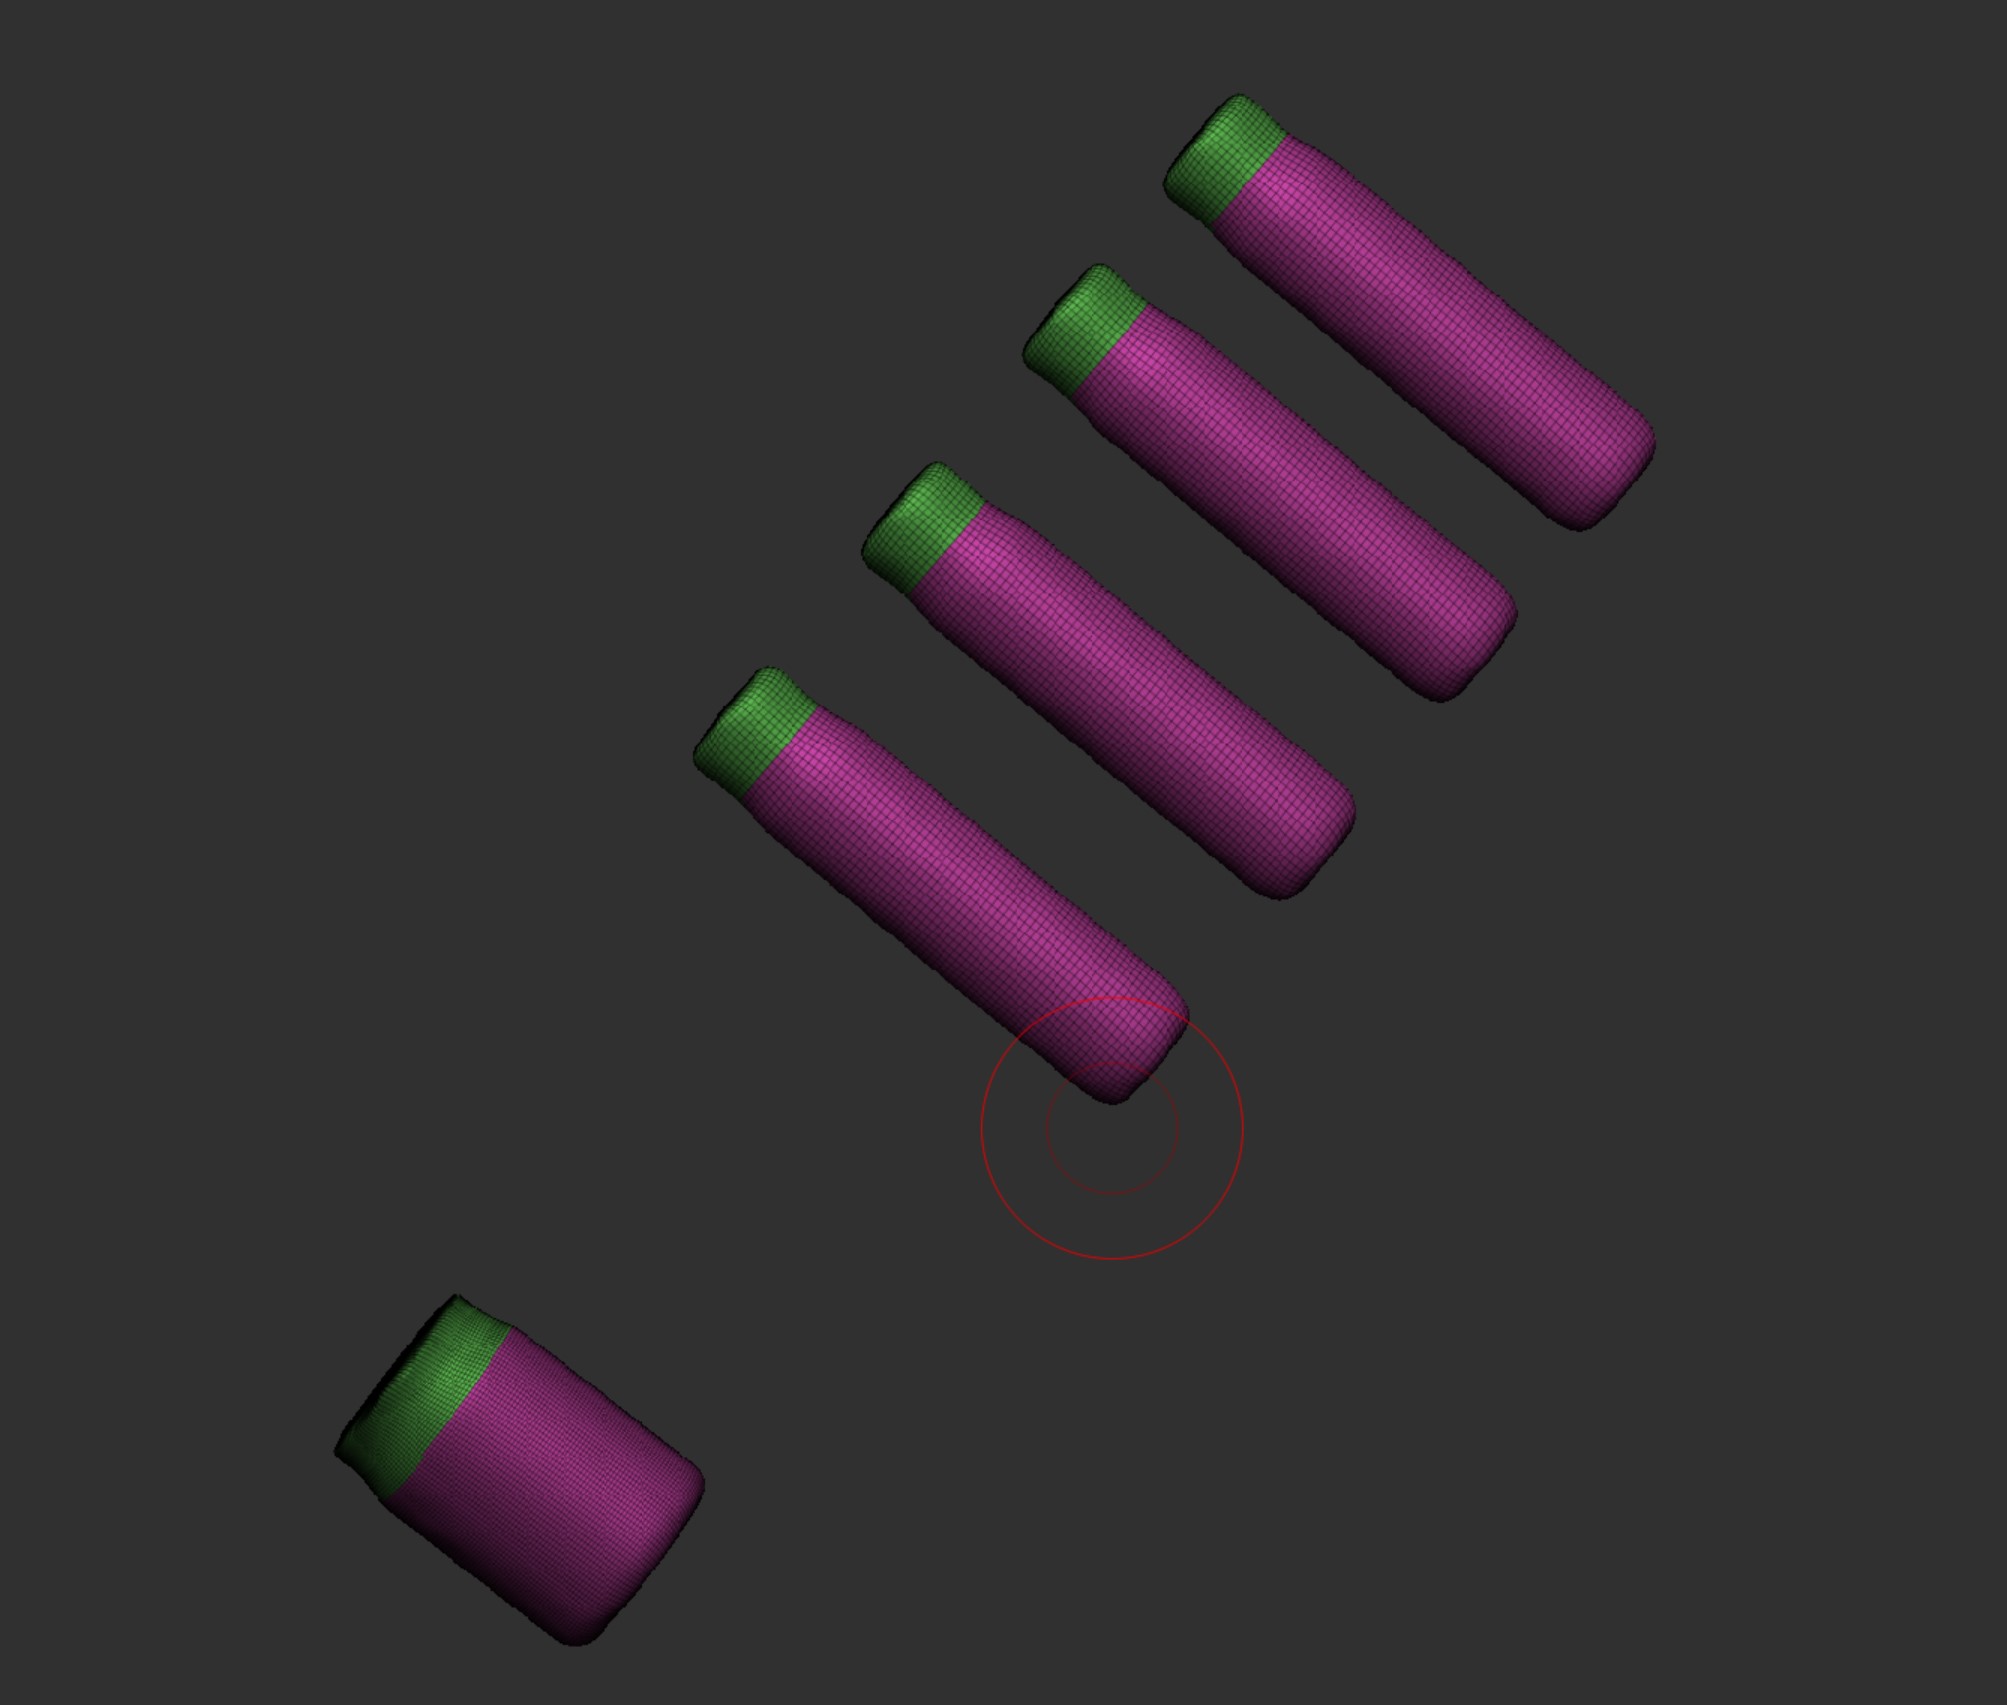
I then started working on the hands, i have made a couple hands as i wanted to see if i could make it better and see which i liked the best. The first hand (figure 1) was made using the book Anatomy for 3D artists, which has different tips and example work. I used a cube rescaled it and smoothed the corners. I then made the finger using a rescaled cube and a couple brushes, these being trim dynamic, dam standard and the smooth brush. I then duplicated and rescaled the other fingers and thumb before merging them with the hand. Finally i added a few details using the standard brush and a cylinder for the wrist.
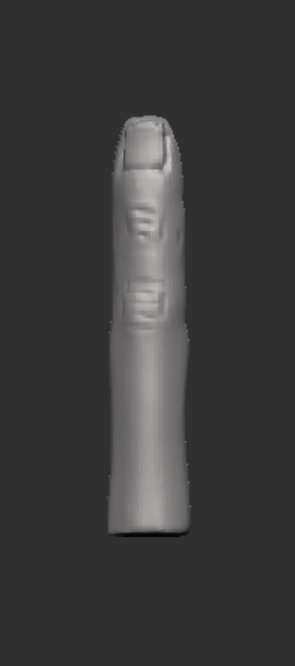
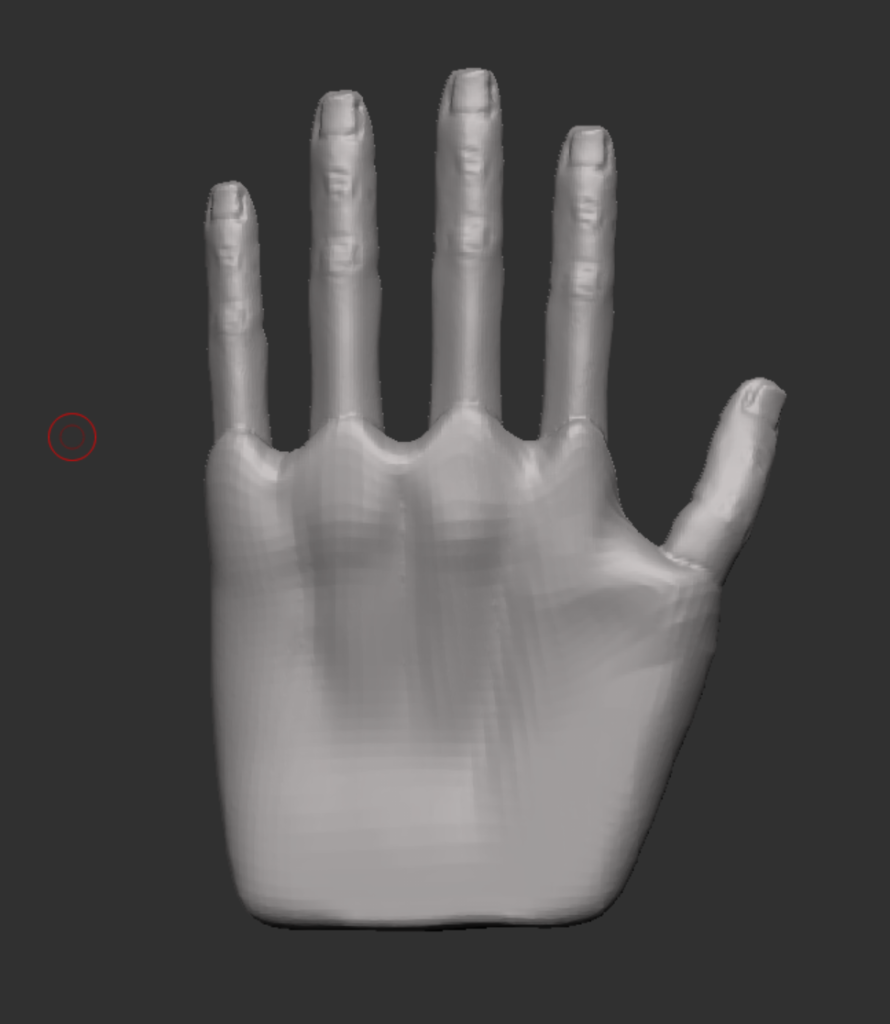
Figure 2 
However since I haven’t really worked on hands before and since it was not a in depth tutorial it didn’t come out too well, so I decided to look online for a video to see where i was going wrong.
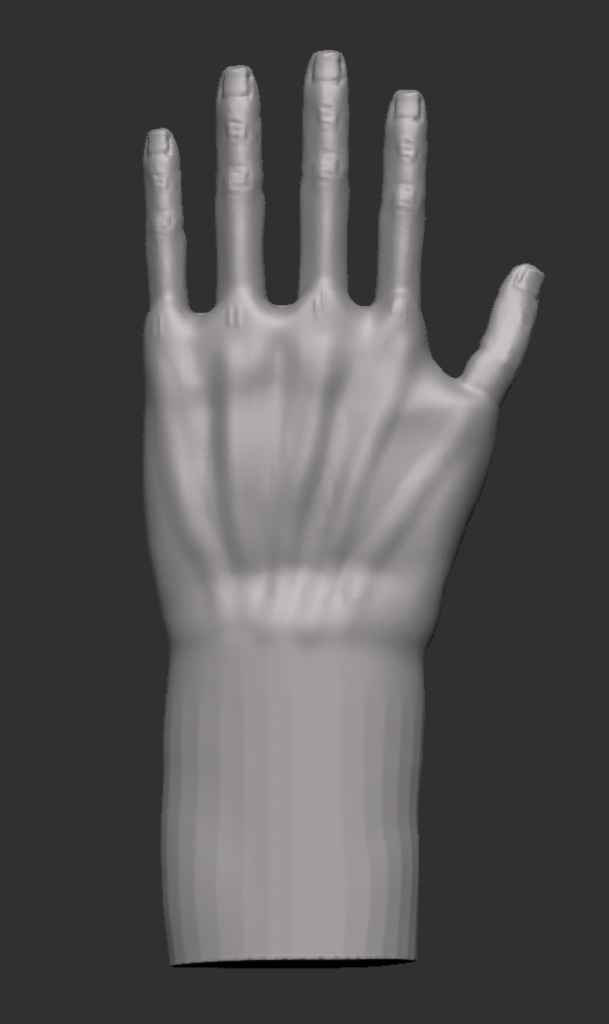
I then started the second hand (Figure 2) similar to the first hand i started with a cube and rescaled it so it was thinner before using the trim dynamic brush to round out the corners, and give the curve at the top of the hand where the knuckles would be. I then pulled out a part for where the thumb will be and same for the wrist. I then added the knuckles and some other details like the bone that can be felt on the left side of the wrist. Instead of making a new finger i used the one i made for the first hand. I connected it the same way using merge and dynamesh. The thumb was then added last using the curve tube brush and the trim dynamic brush to help make the shape.
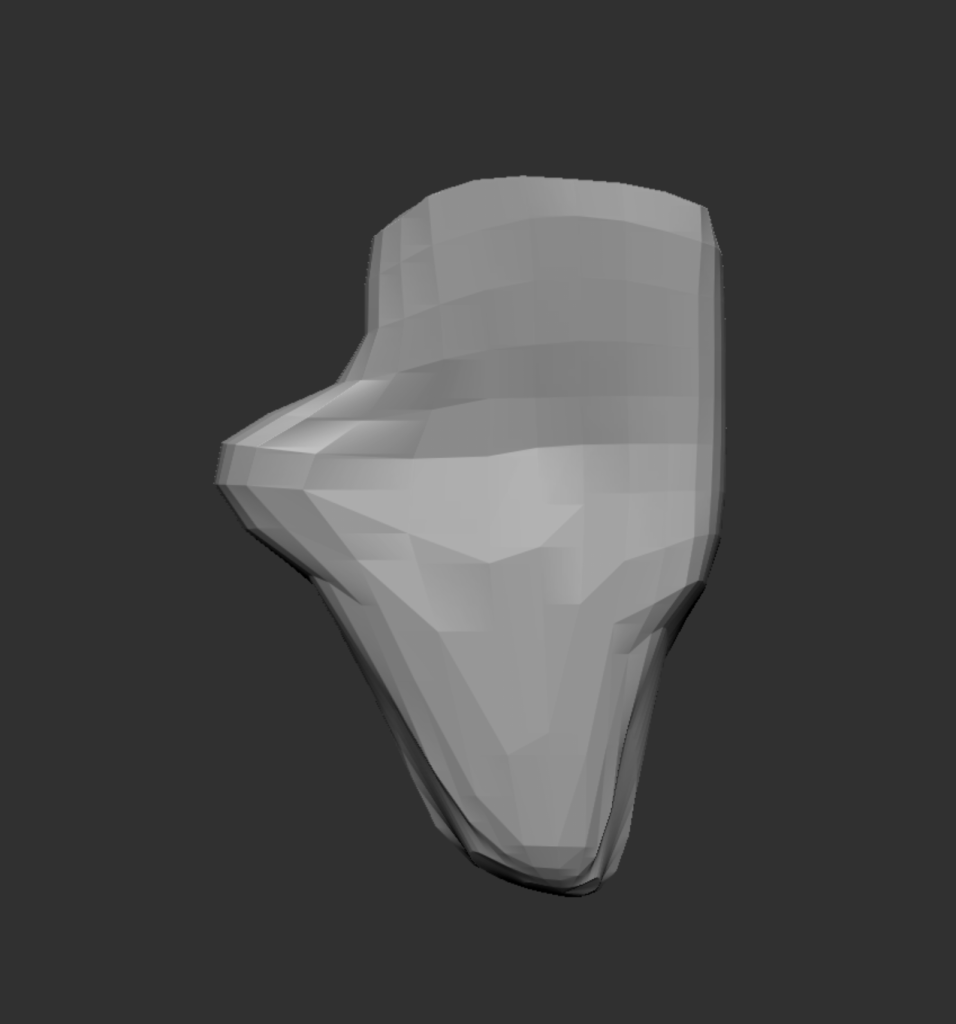
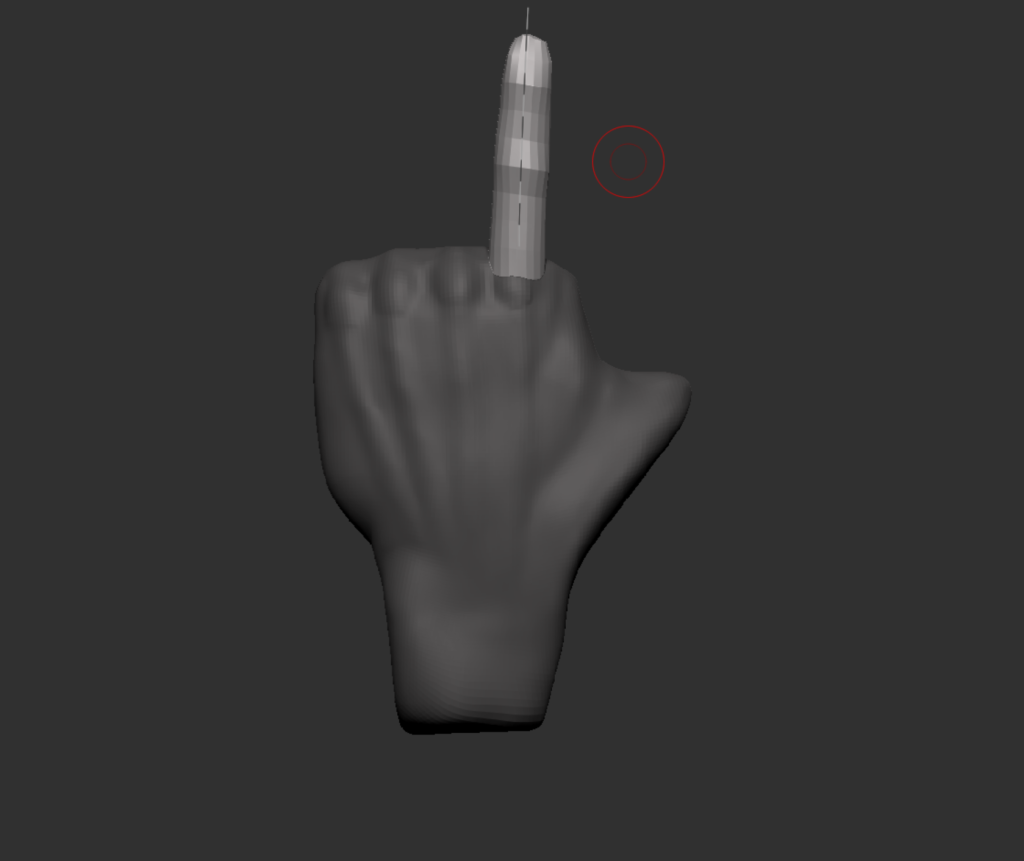
Figure 3 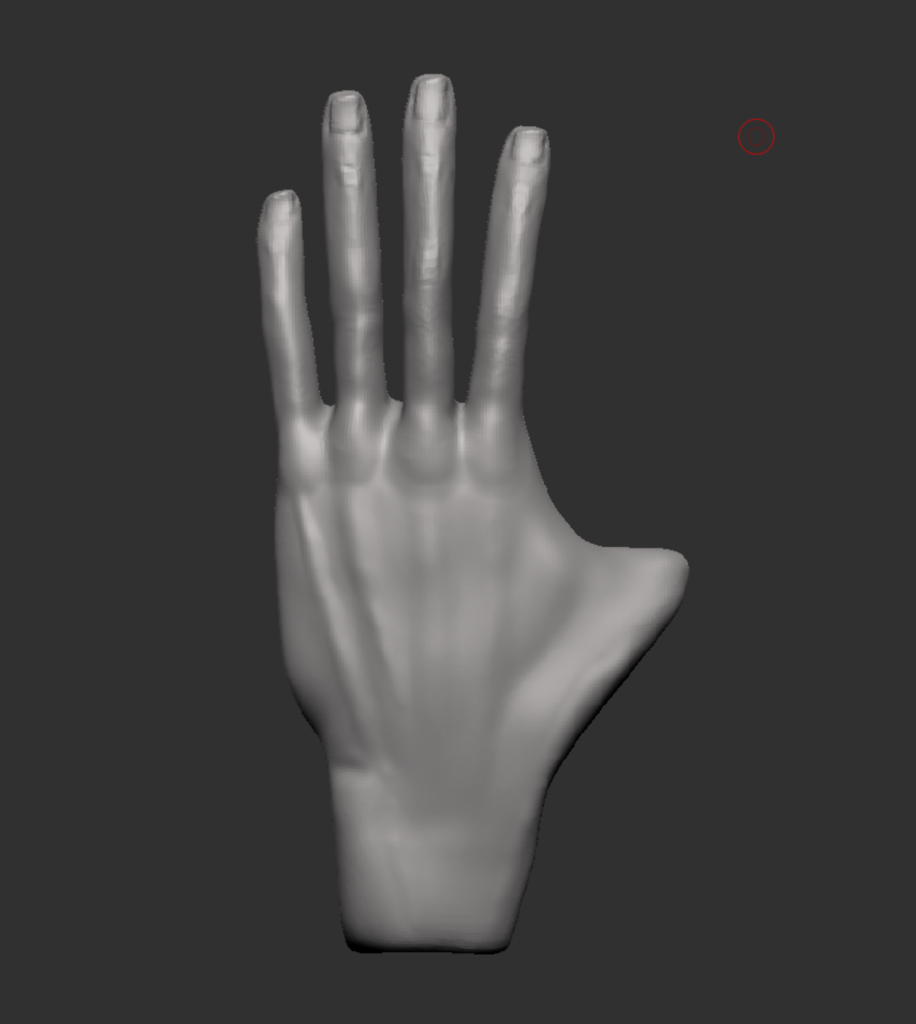
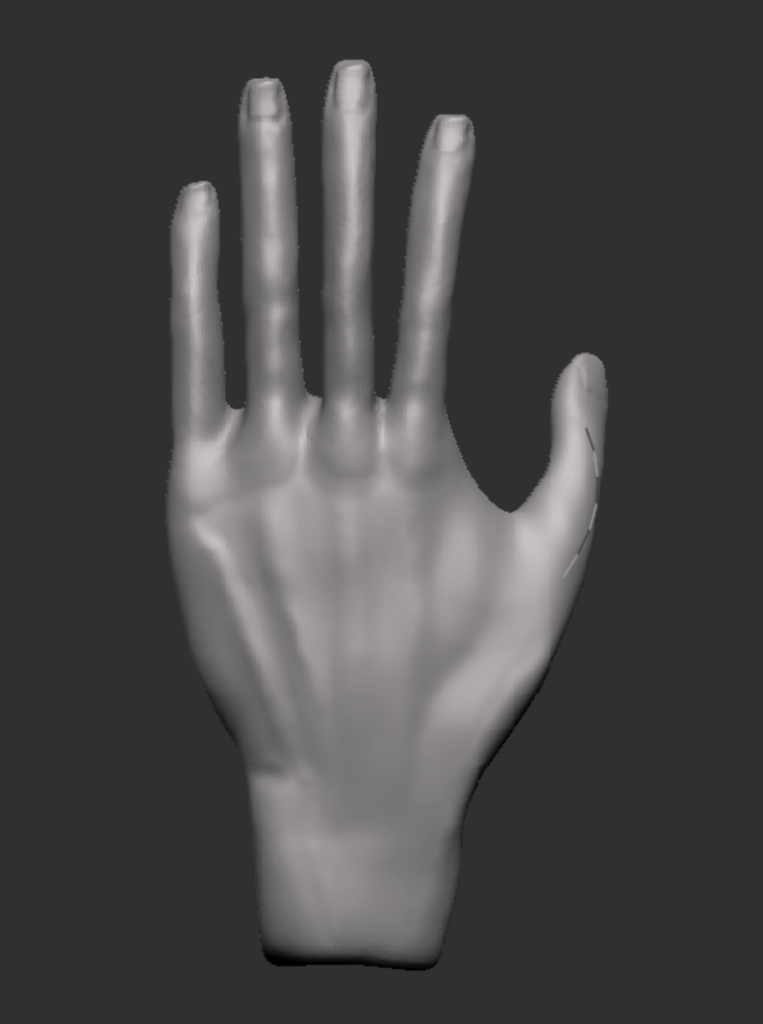
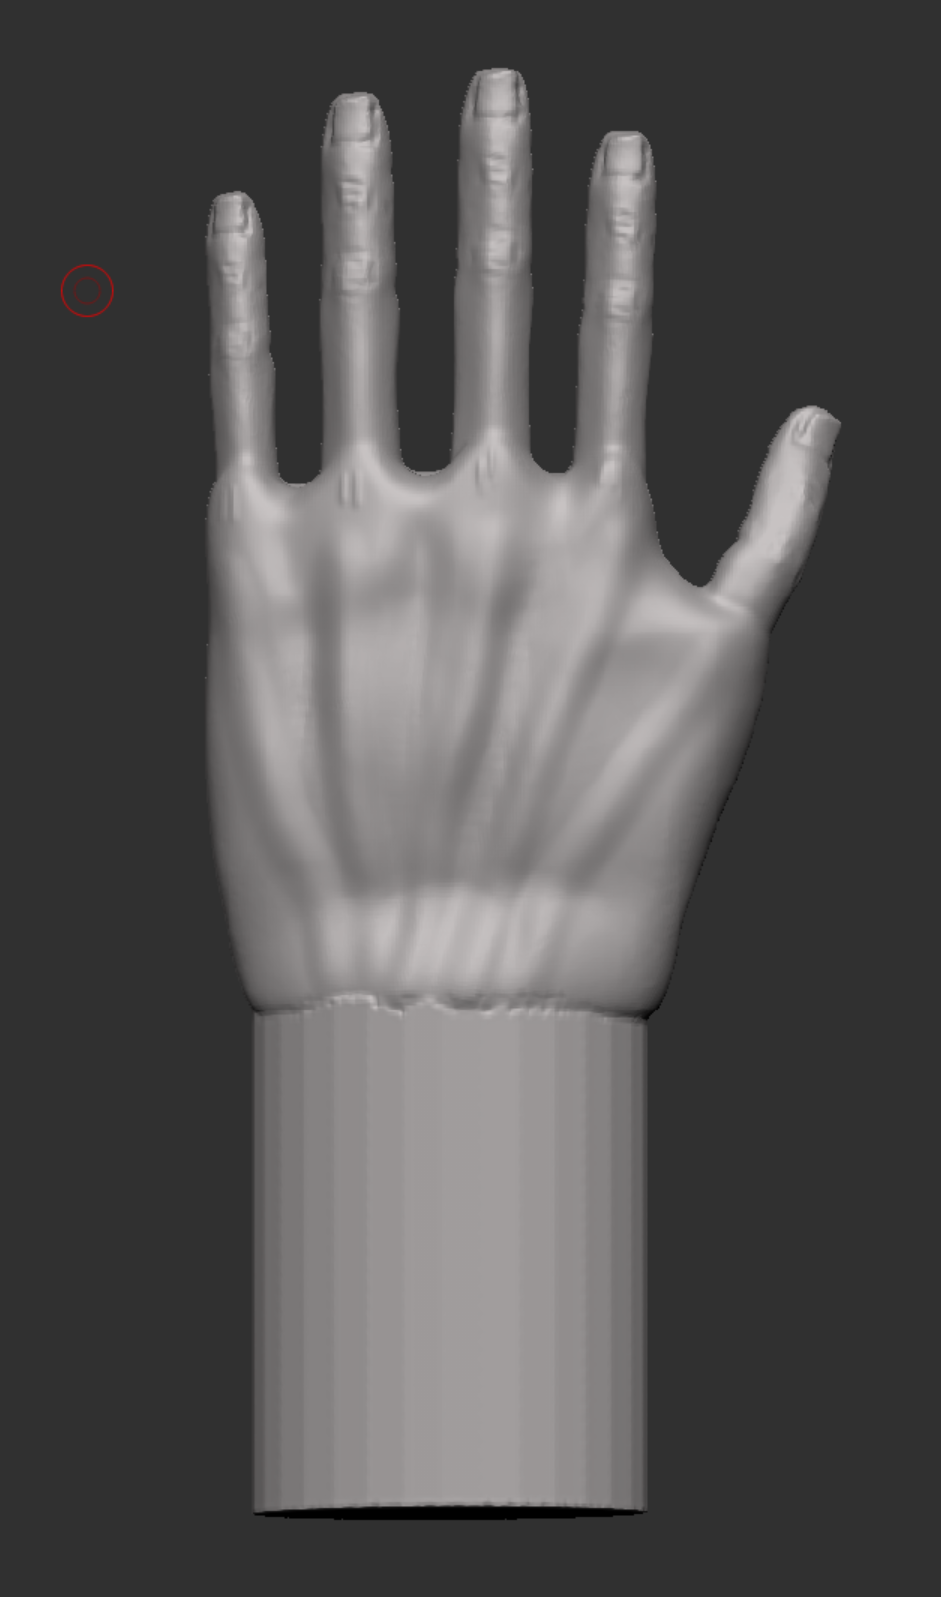
The full body screenshots below shows the new hands (left) compared to the old hands (right), however the claws have not been added so there is a slight difference to the finger tips. I’m a lot happier with the new hand, its shape and the size of the fingers are better and gives it a more realistic look.
I also reshaped the head to trial a possible wolf/beast idea but i don’t think i will stick with it as i want to give the character a plague doctor mask.
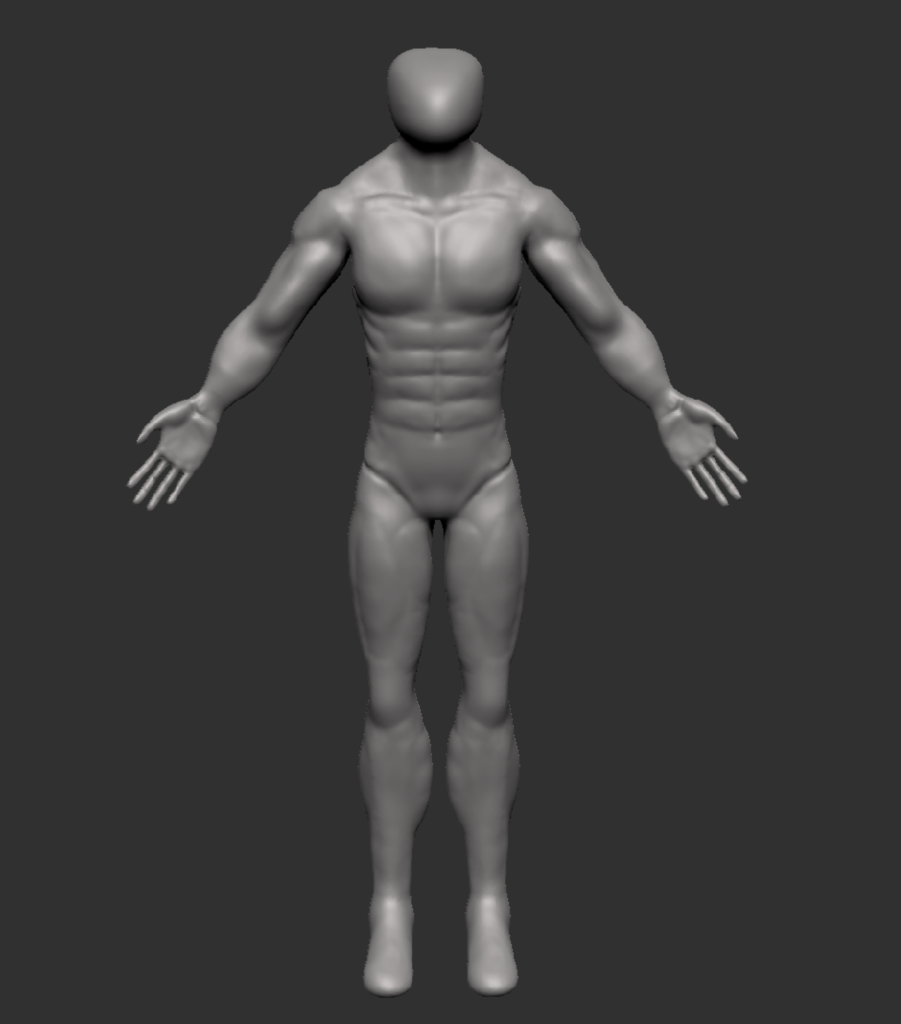
Figure 4 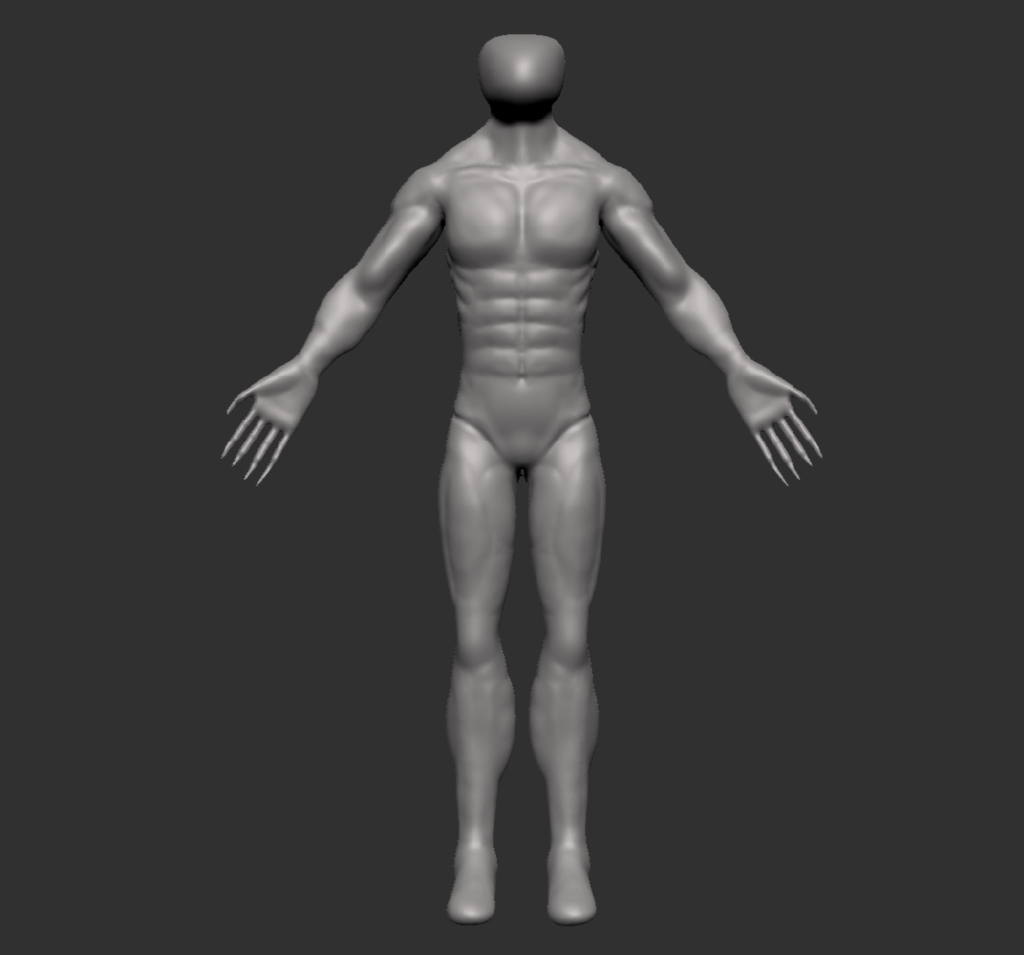
Figure 4 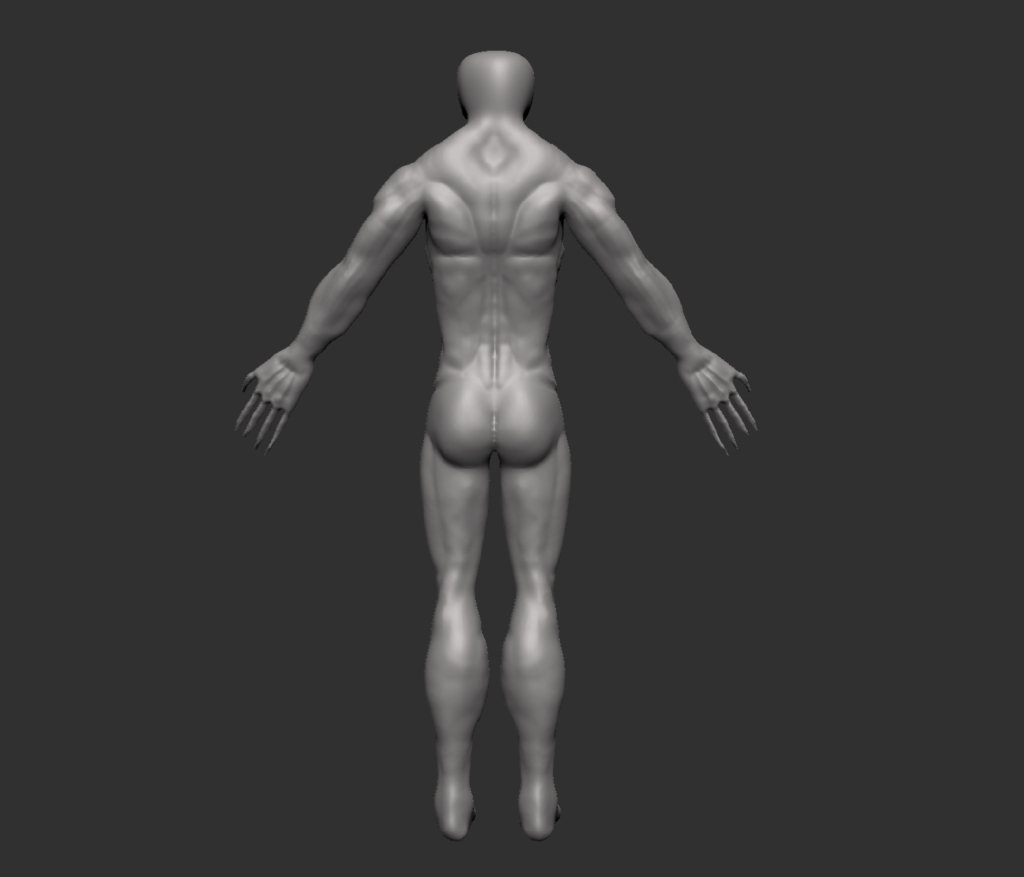
Figure 4

Now that i had the base shapes there i started doing some research for pictures that i could use to help me define the muscles properly. I started off with the legs as i didn’t like how they looked currently. Using the images below i have been able to start giving definition to the muscles and making sure they are positioned correctly. The tools i used for this are the clay buildup brush, dam standard brush and the smooth brush.
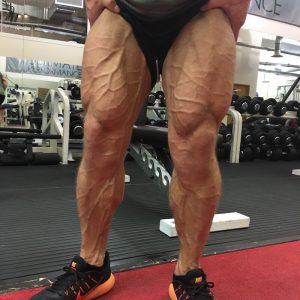
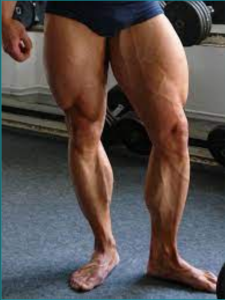
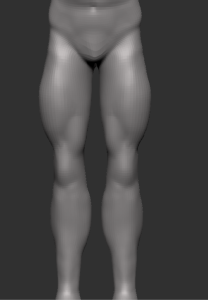
Figure 5

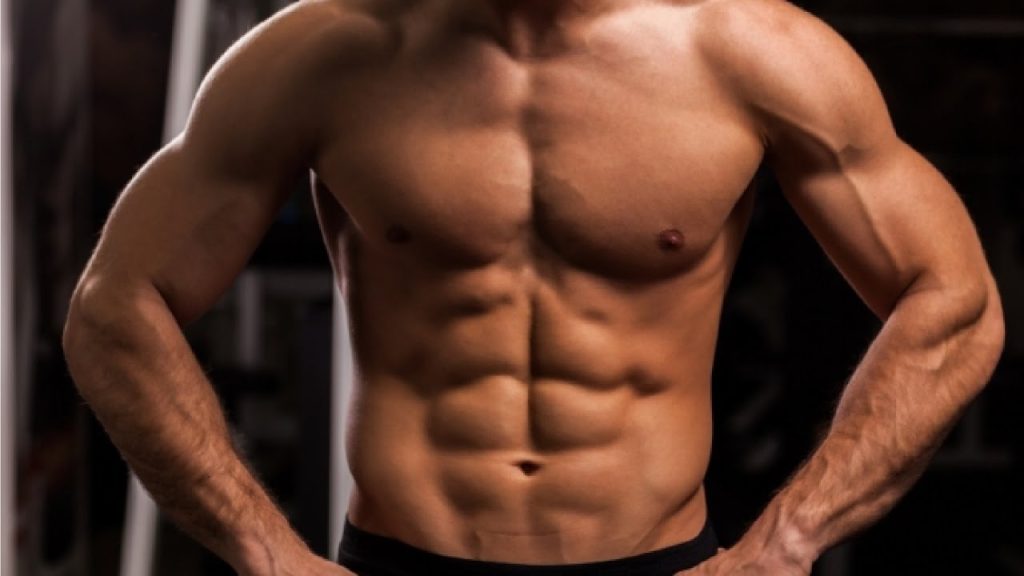
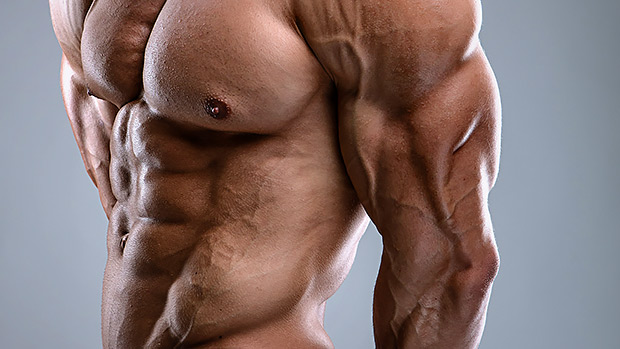
I then repeated this with the torso, making the abs less symmetrical, gave the pecs more of a curve at the bottom as they were quite square before and did not look right. I also made changes to the shoulder so it goes into the arm instead of being above it like it was in earlier screenshots (figure 3).
After making these changes i decided the polycount was quite high and wanted to have sub divisions to work with, so i used Zremesher selected the point in my history i was at. I then sub divided before using the project tool, i then repeated this a couple more times to make sure i had the detail from before but with lower polys.
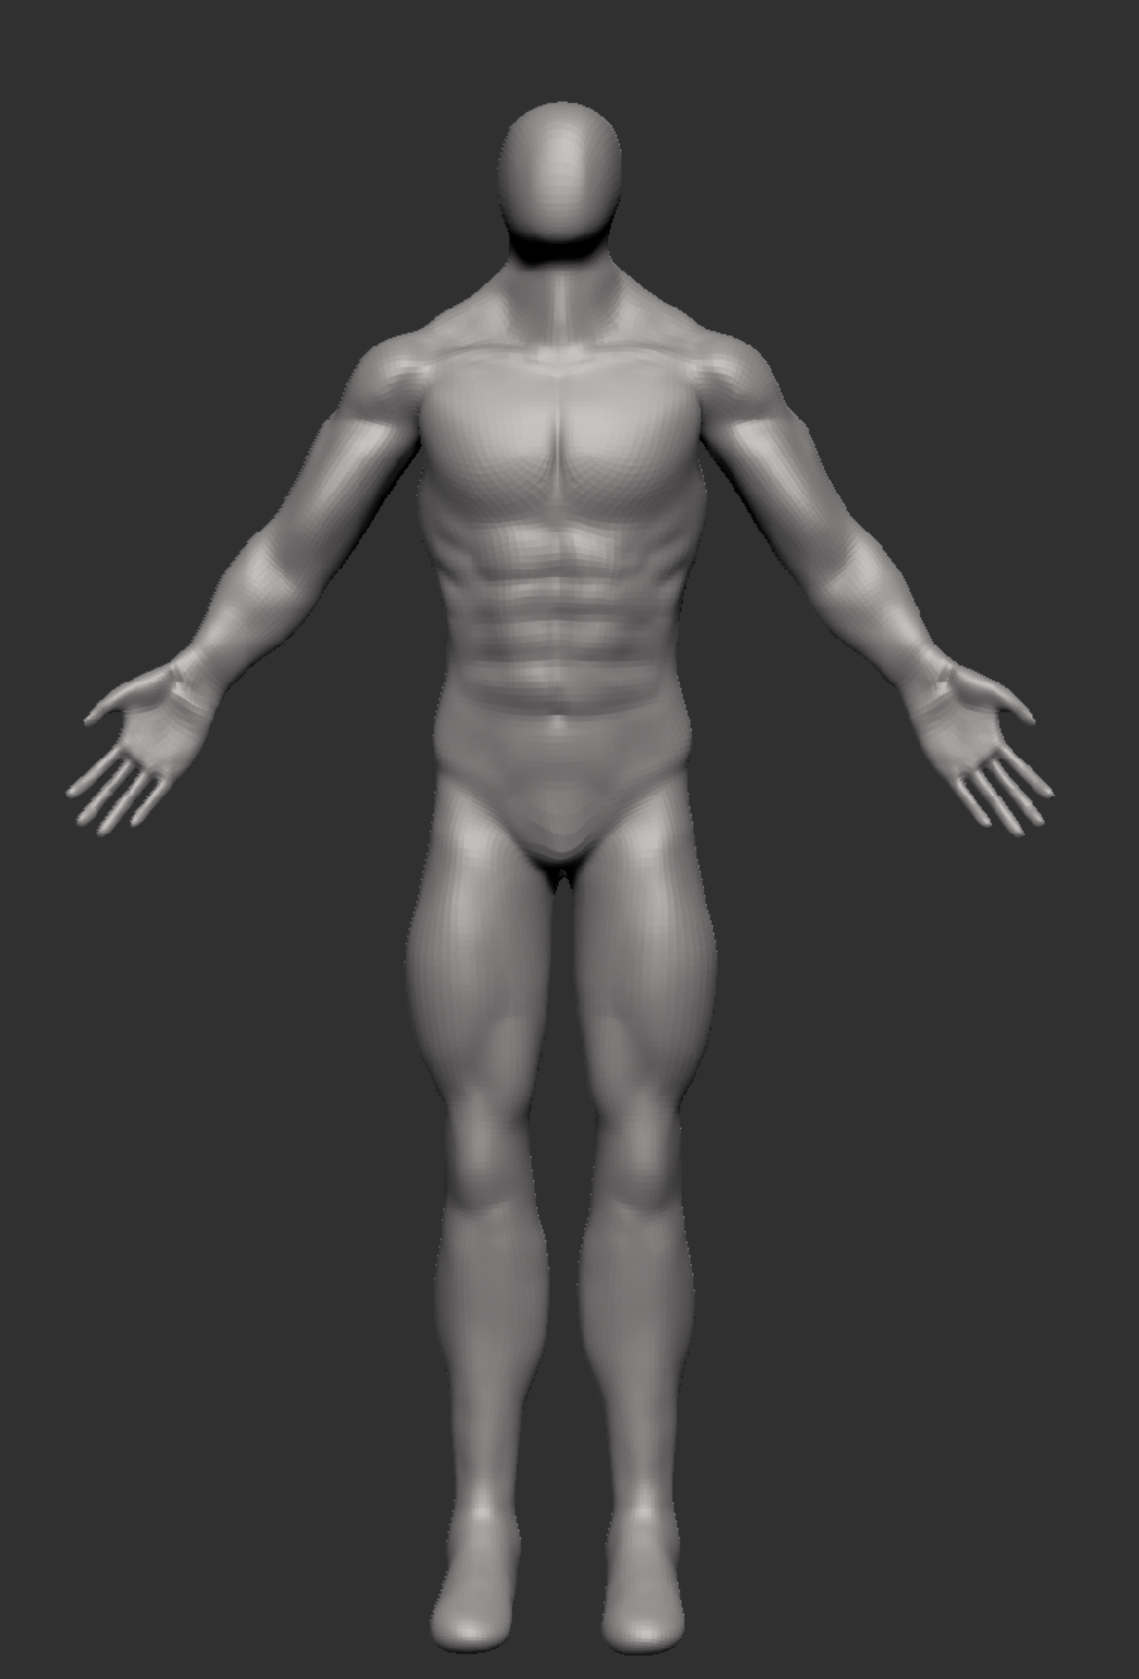
Figure 6 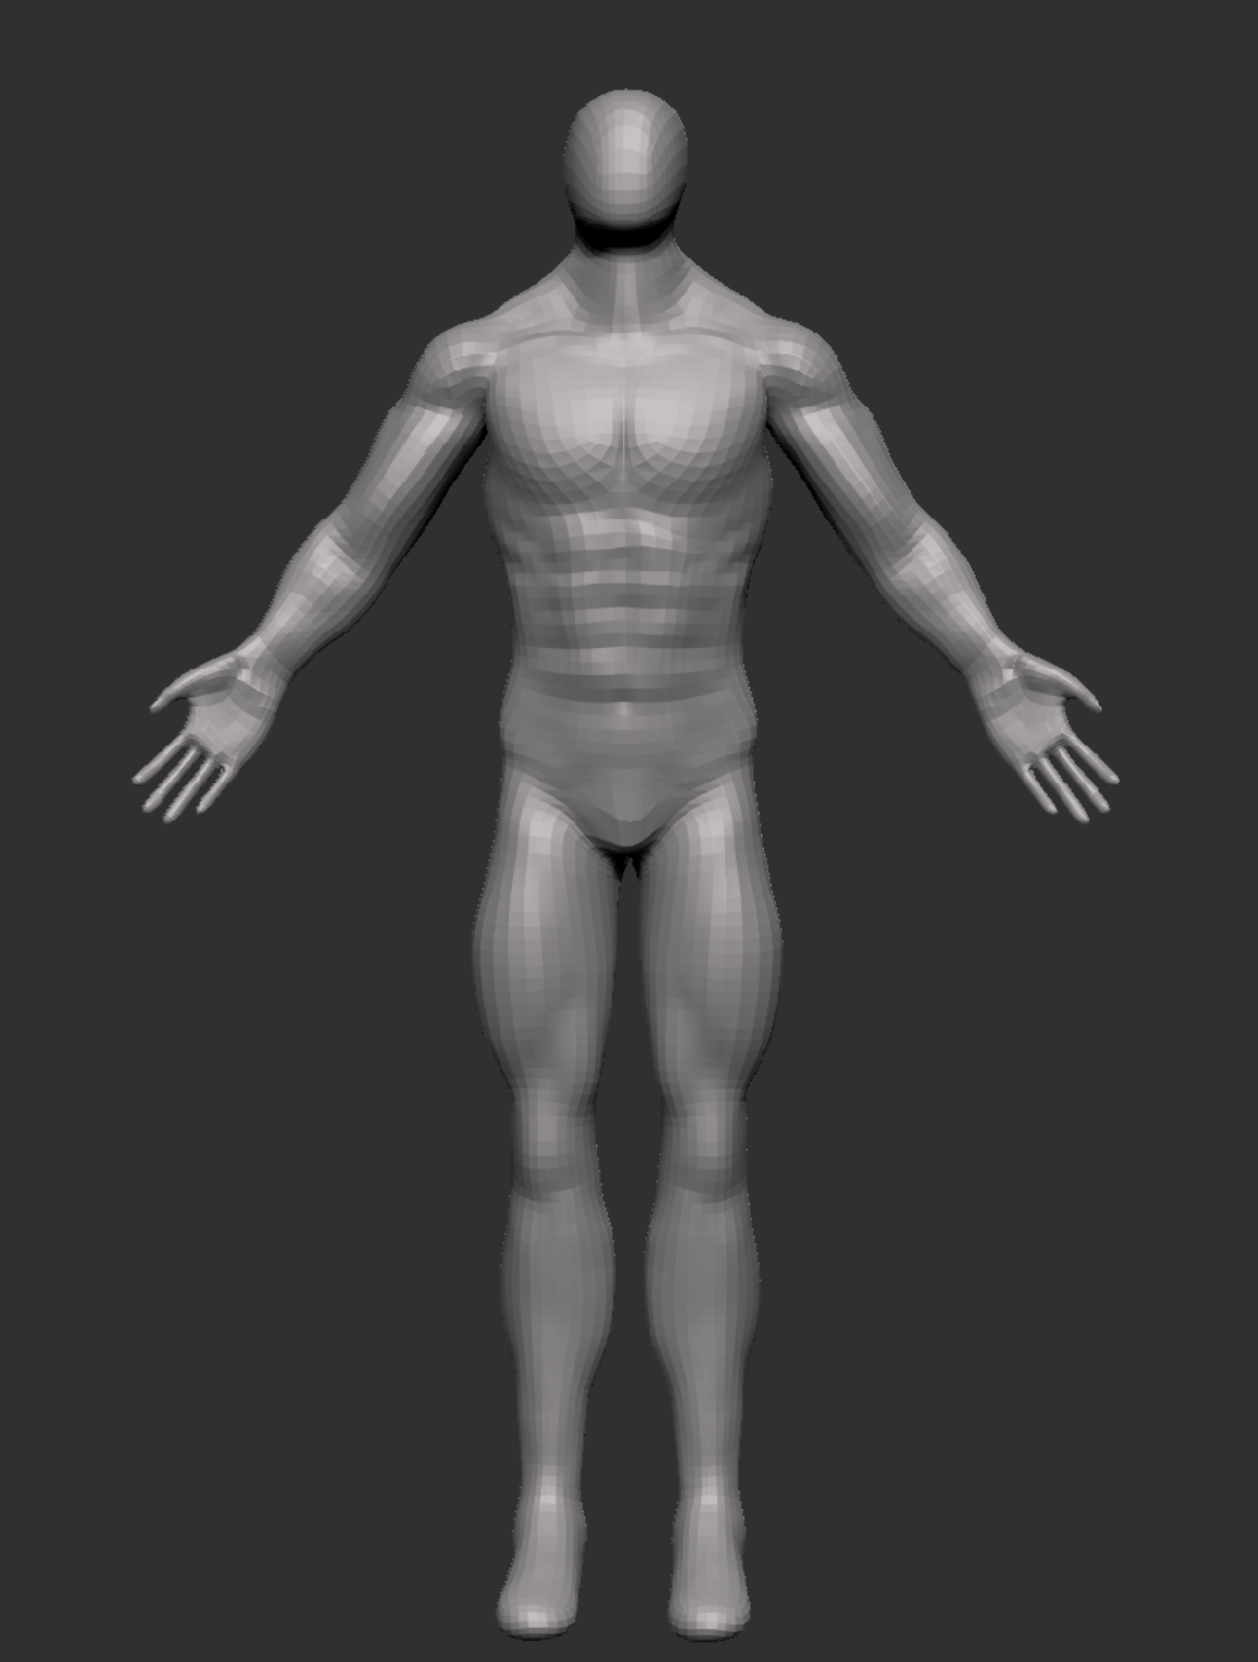
Figure 6 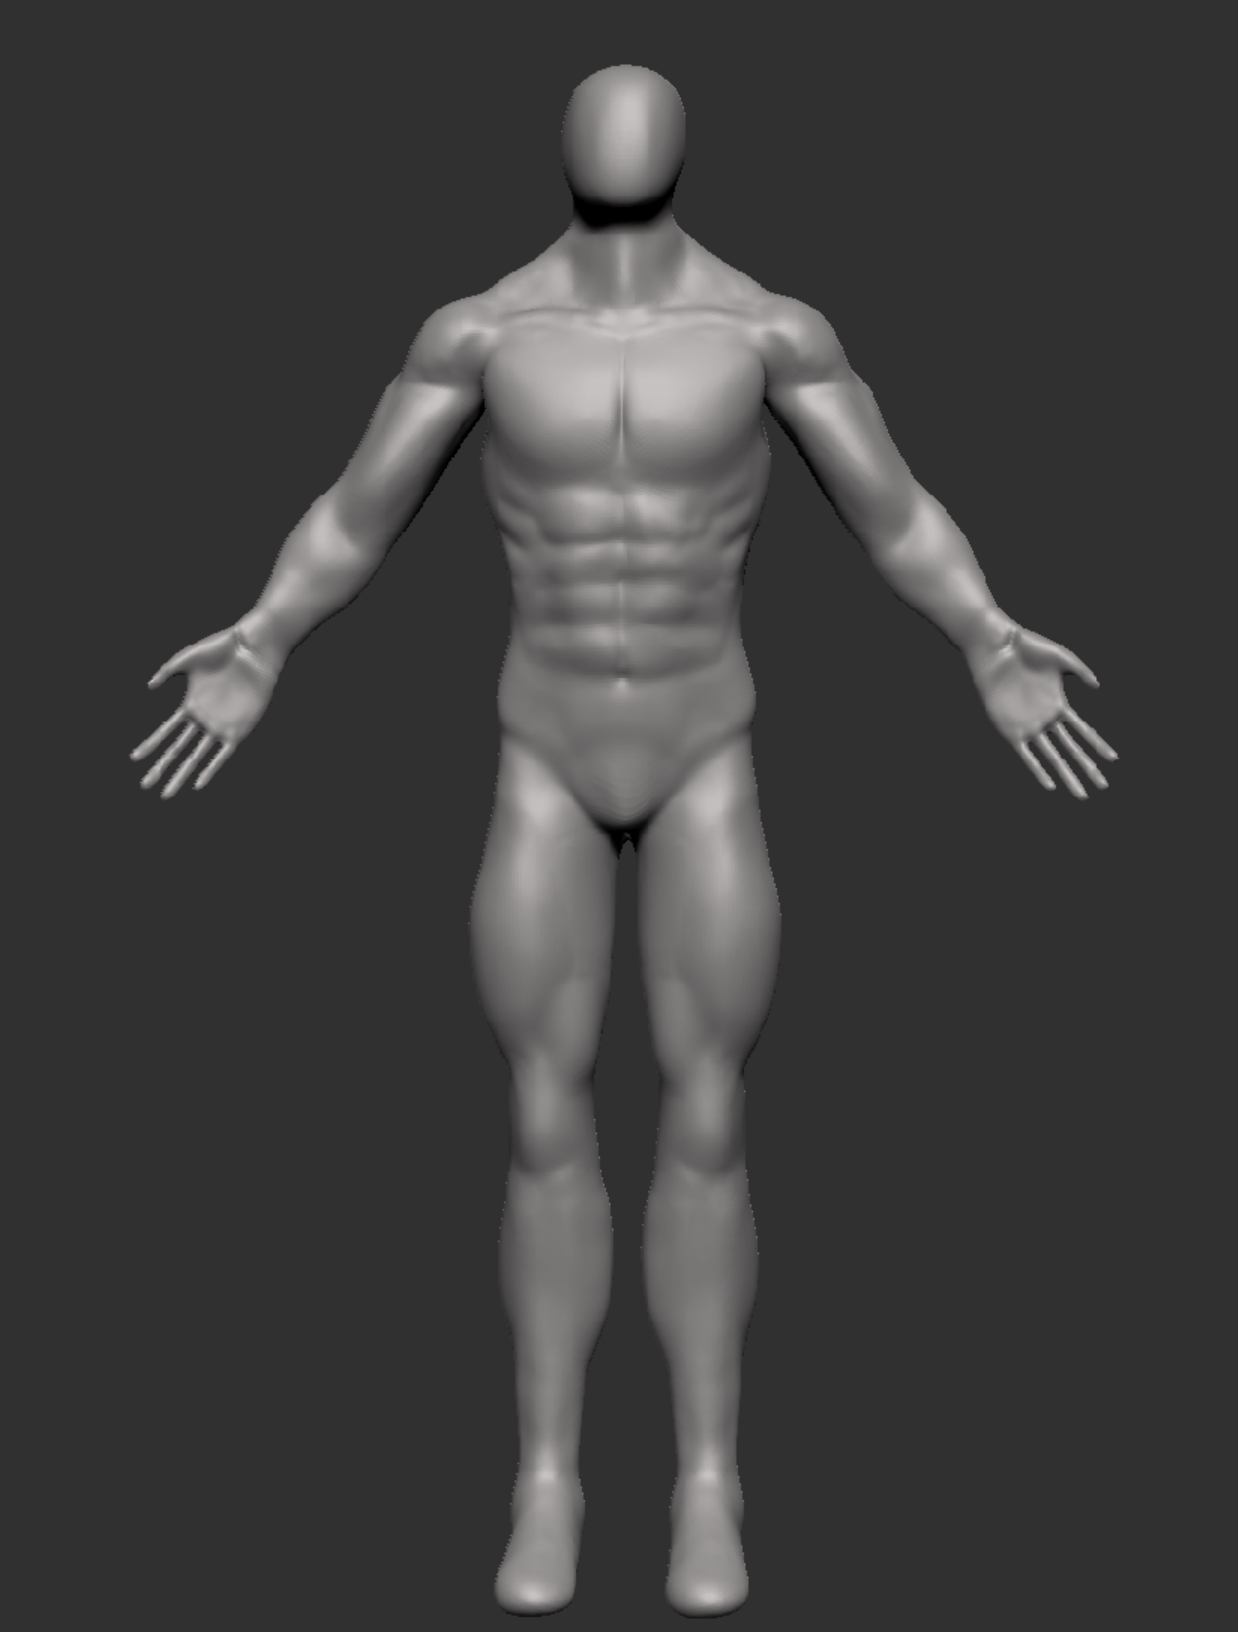
Figure 6
When I first started adding the muscles I struggled with making them look real and they started to look drawn on and more like a toy soldier than a person (figure 1), so I had to go back and look at my reference images and make sure I really pay attention to how they all fit into the arms and torso, making adjustments using the move brush, dam standard brush and smooth brush which made it look a lot more like a person (Figure 6). This was the same for the legs, so using the reference images above (figure 5) I was able to create the shape of the quads.
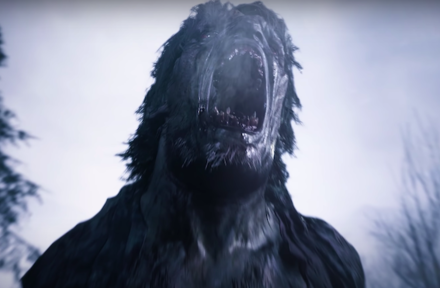
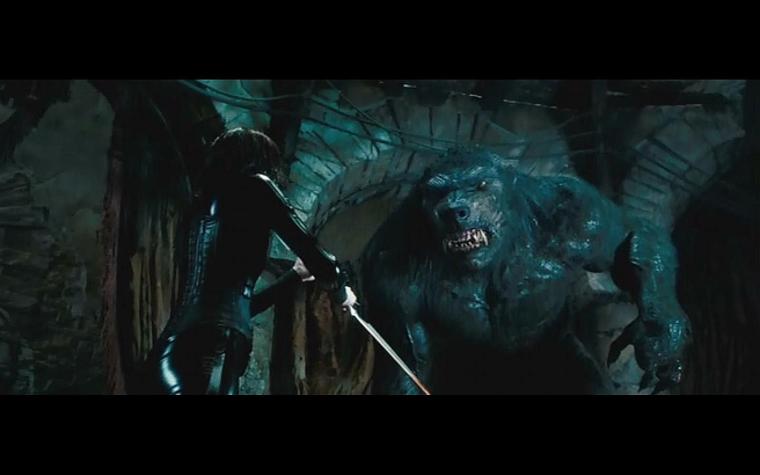
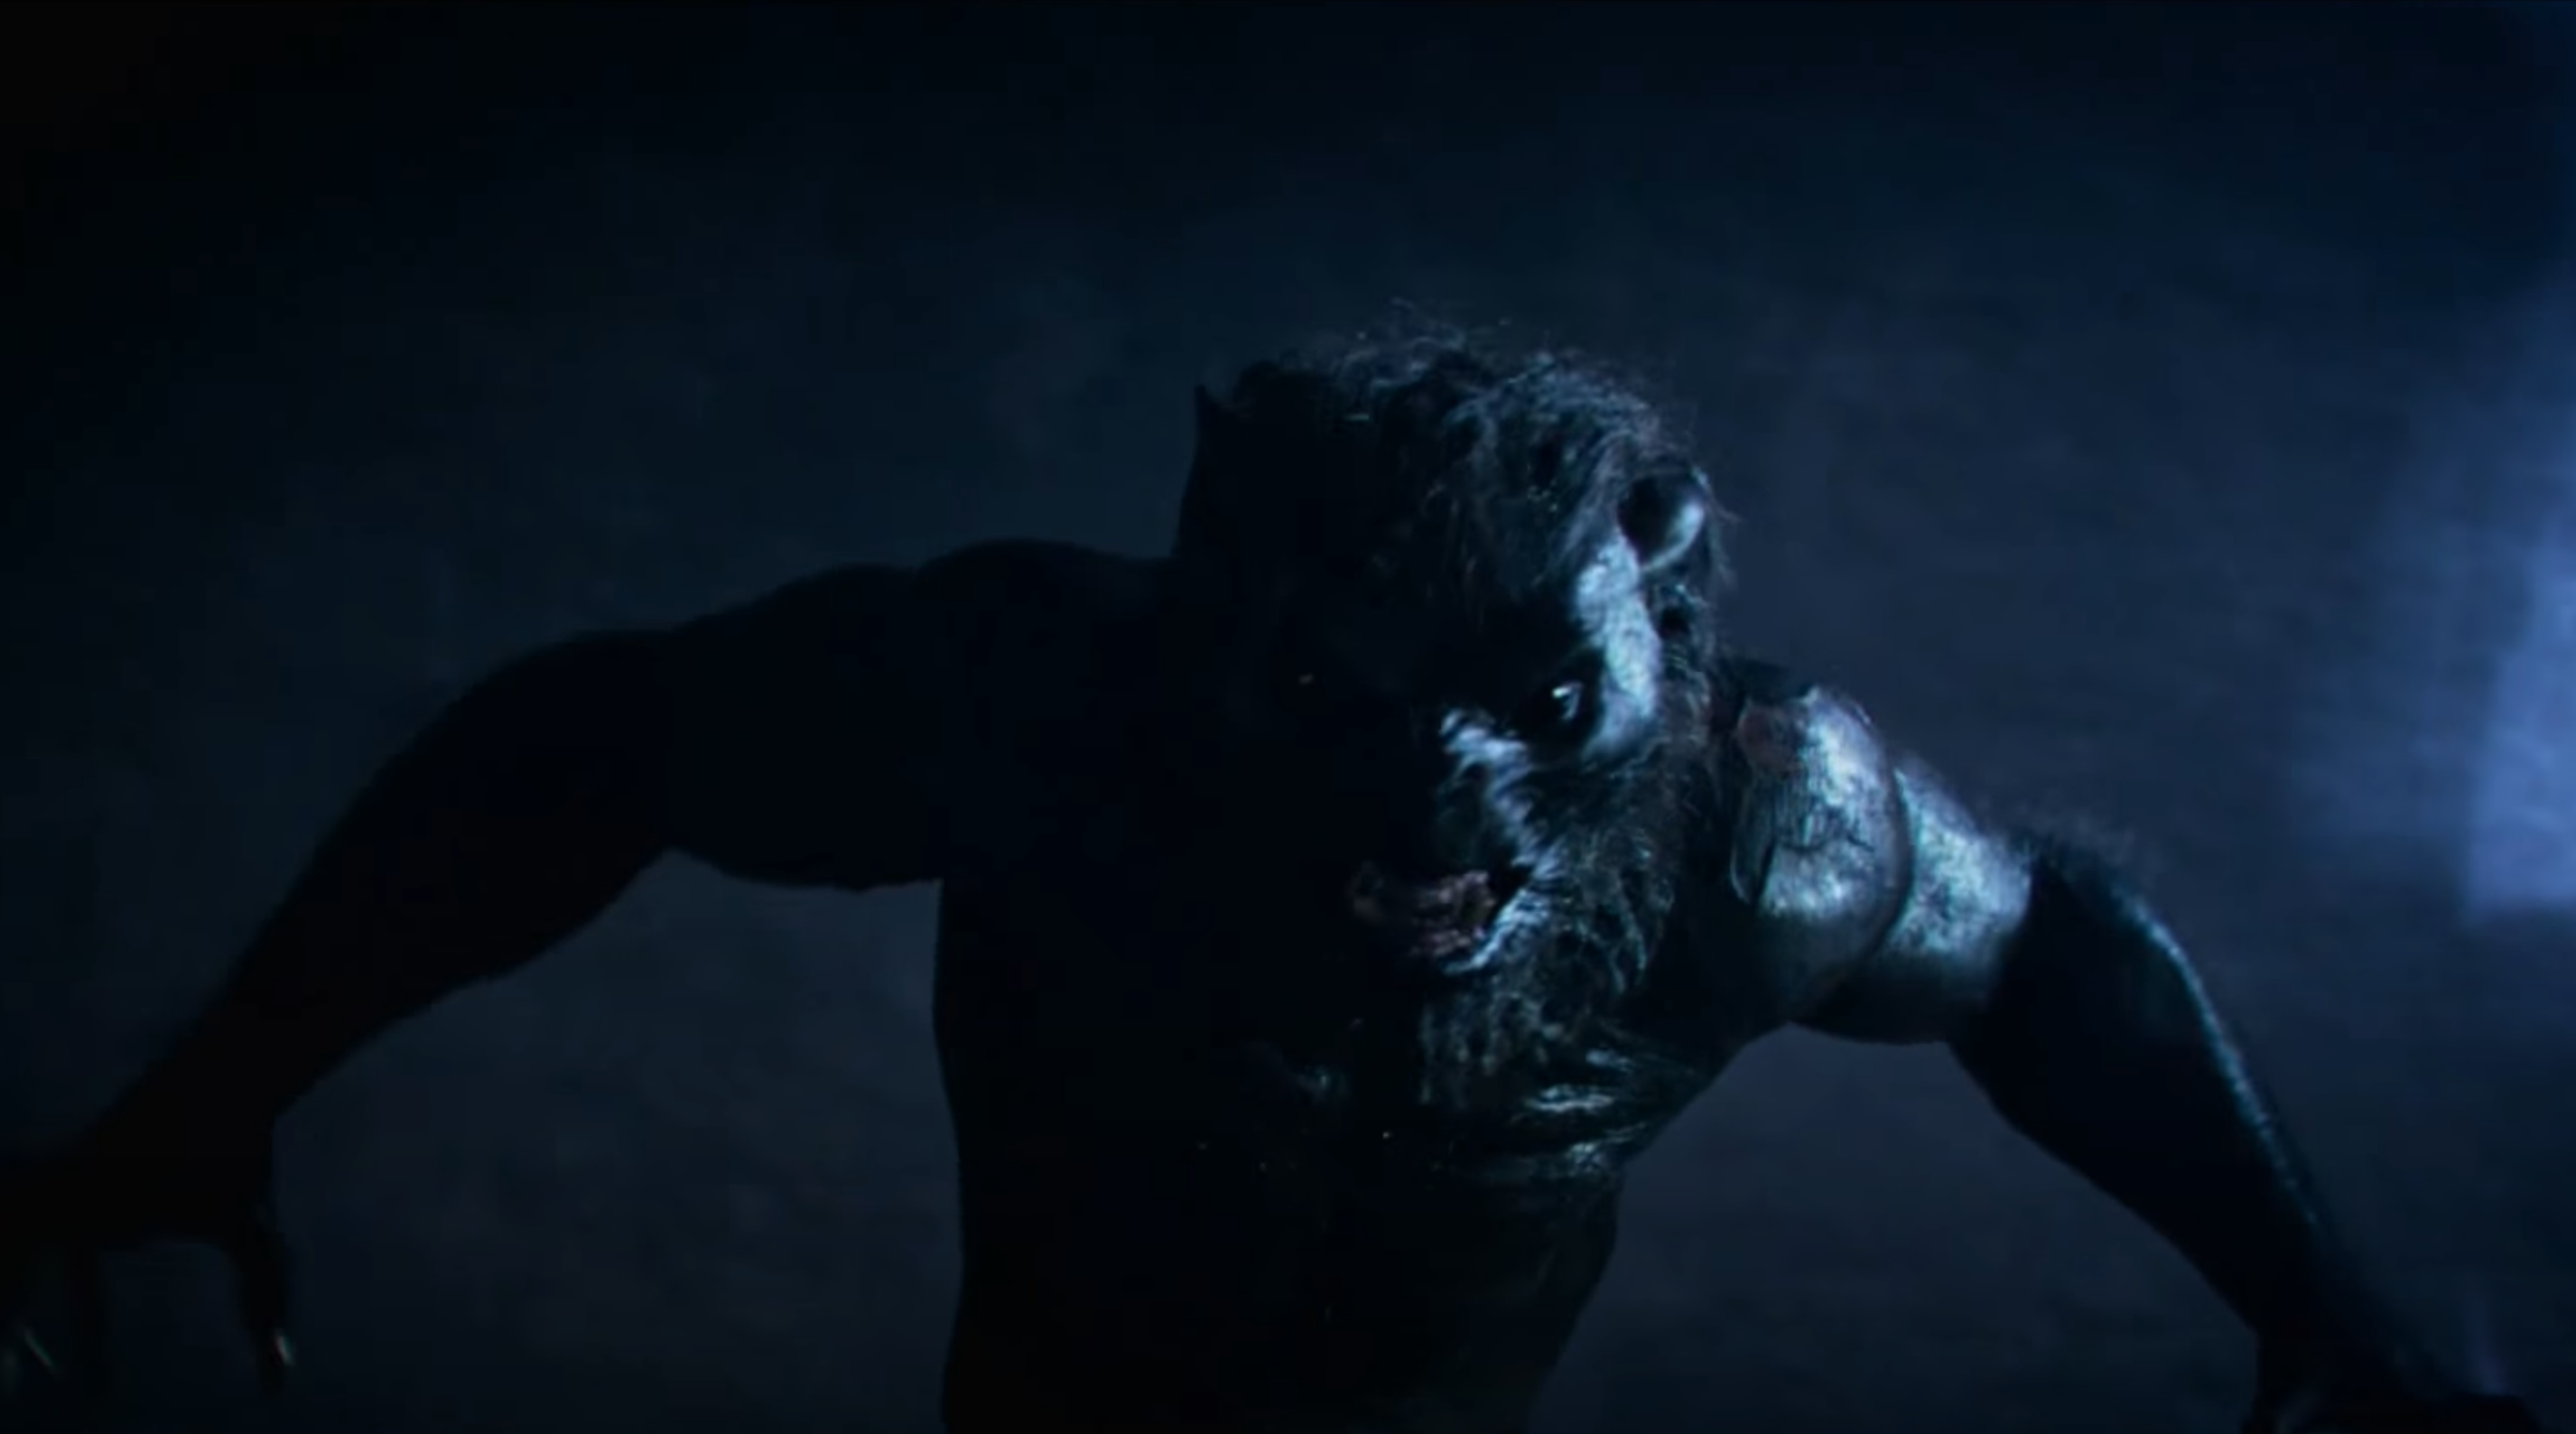
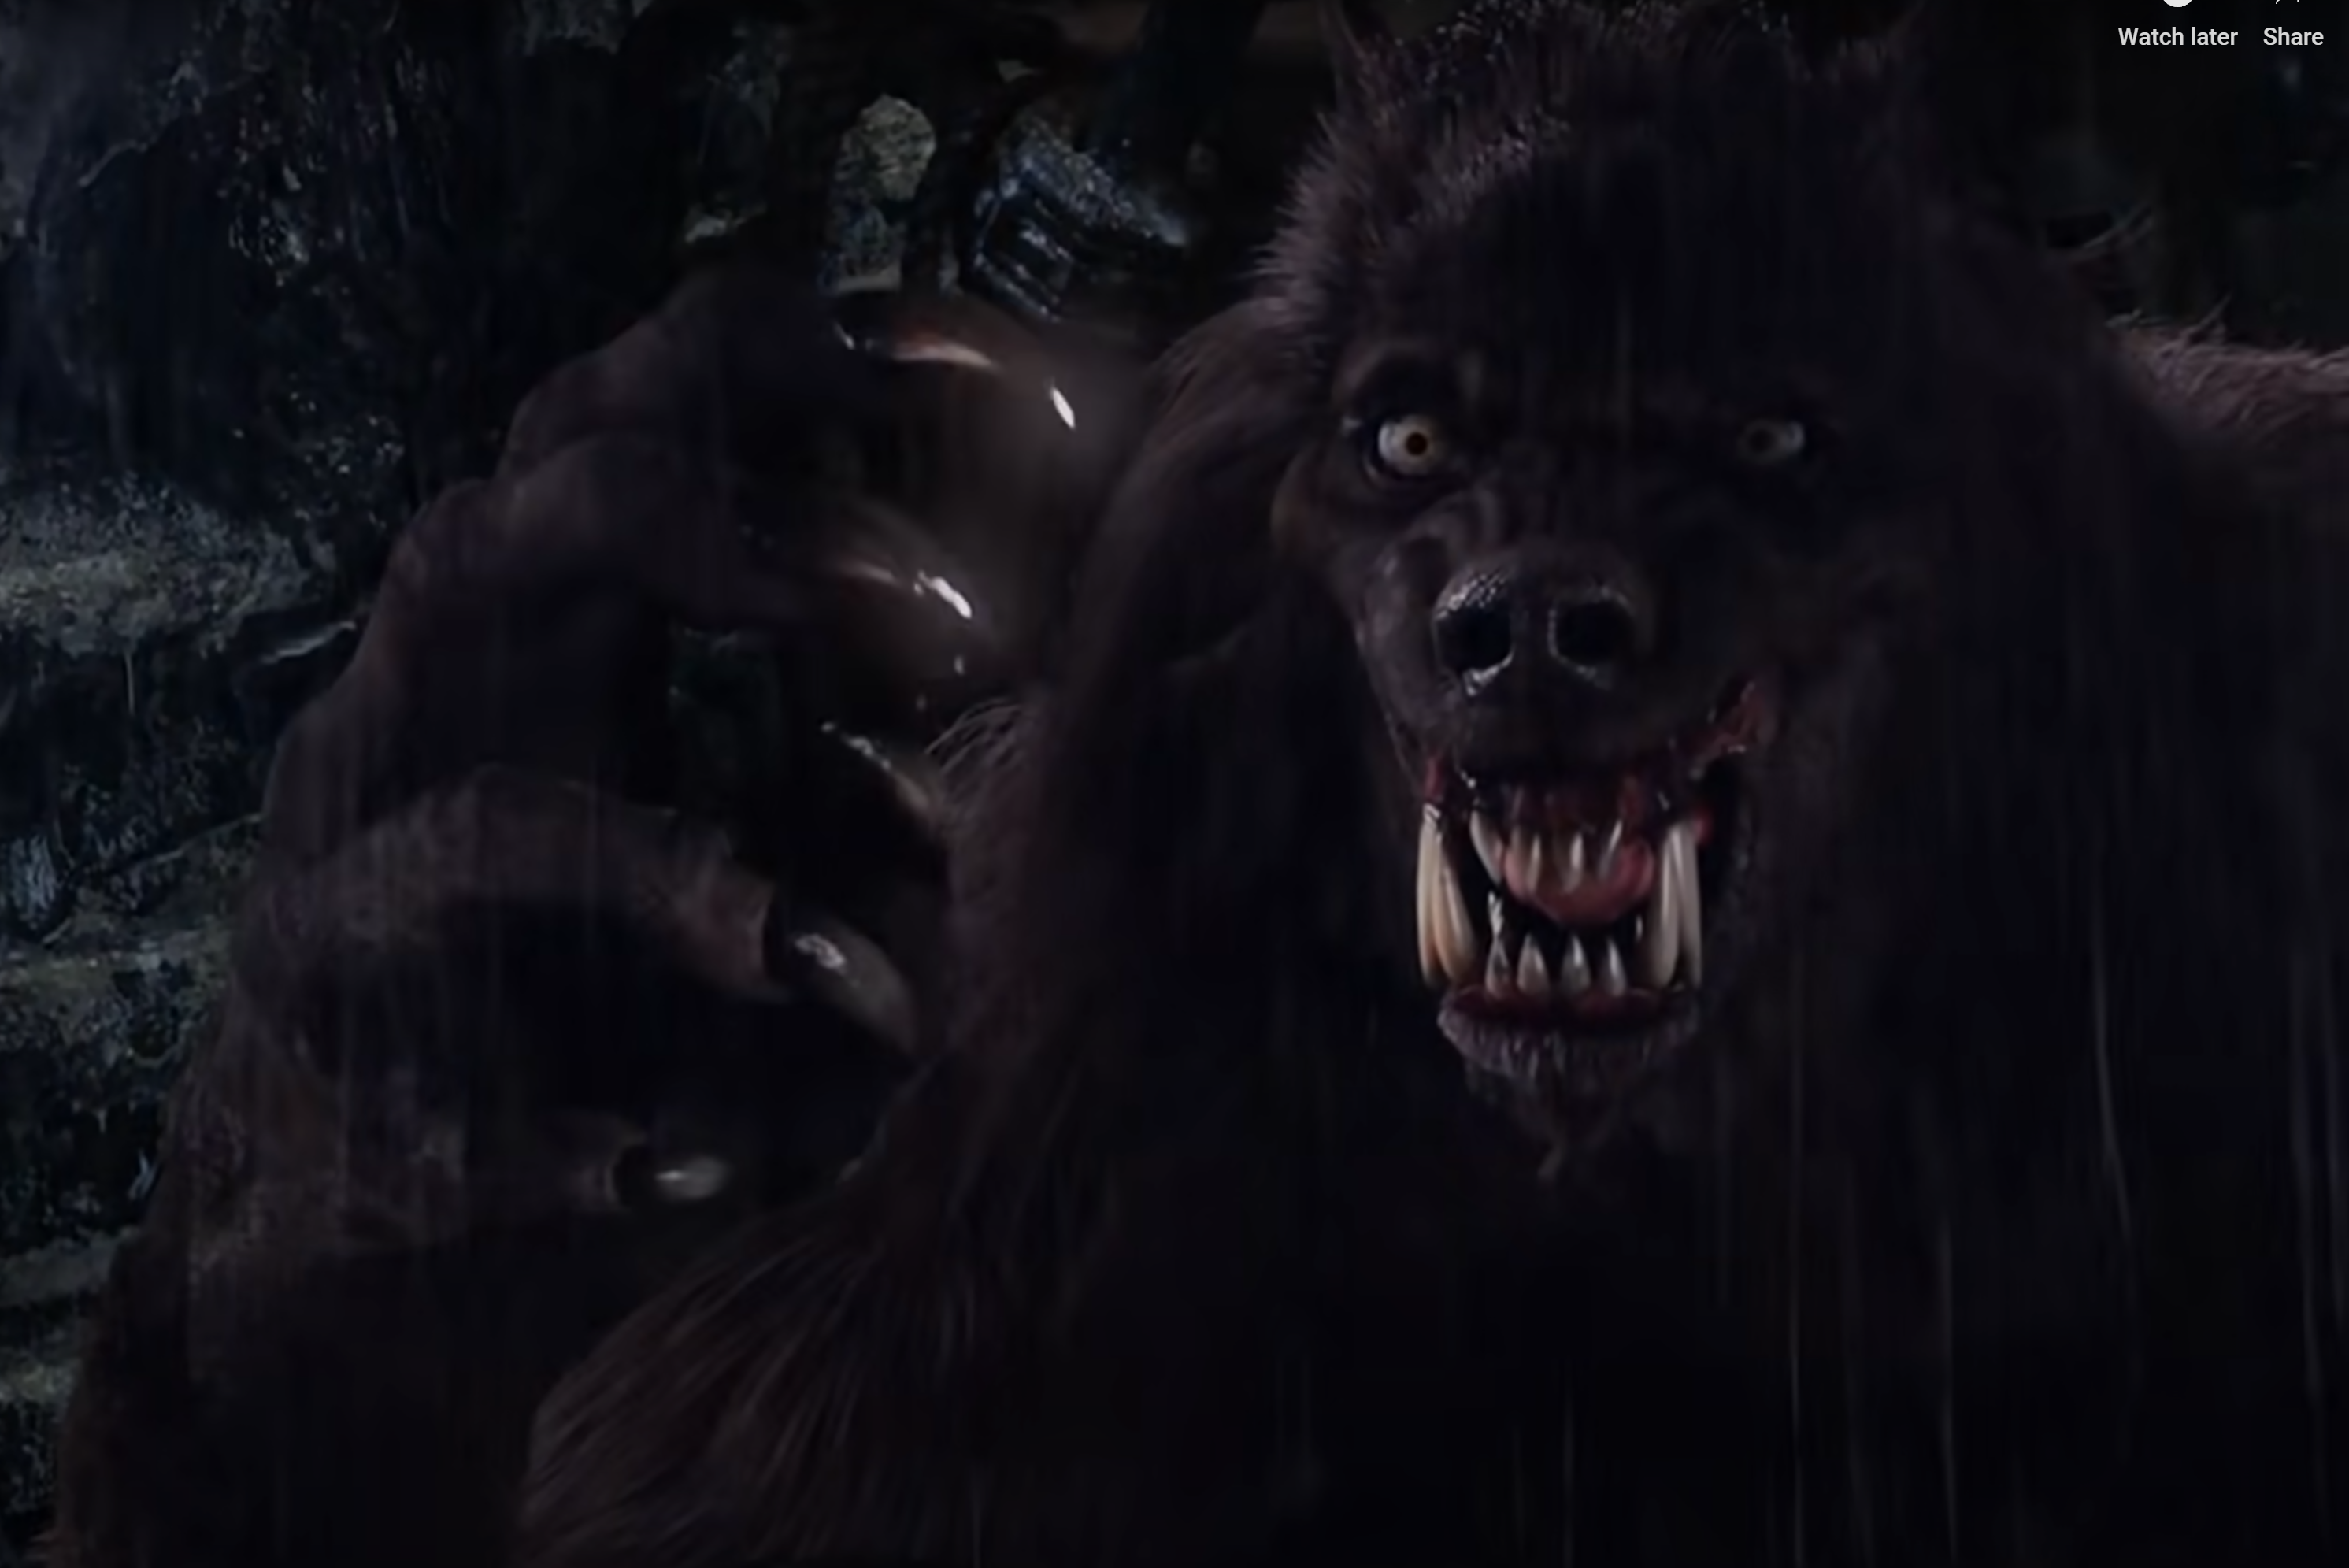
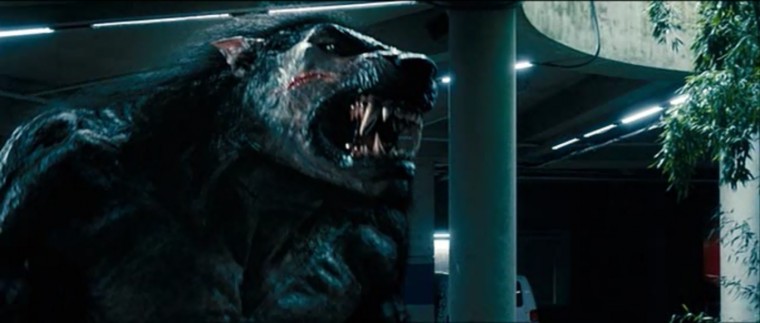
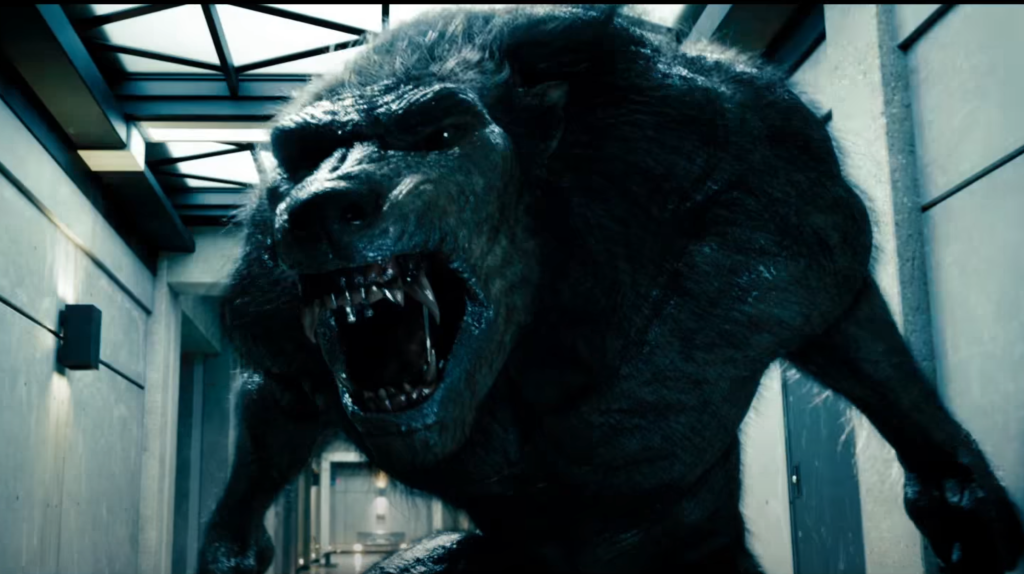
The muscles are very important as it represents the strength the character possesses and there is also some inspiration from the depiction of Lycans who are more muscular than werewolf’s. They have also featured in many forms of media one being the game resident evil village, another being the movie underworld: Rise of the Lycans.

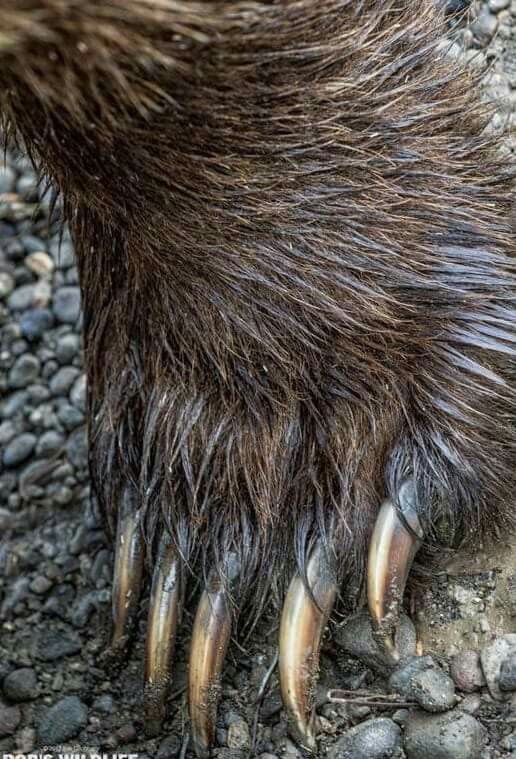
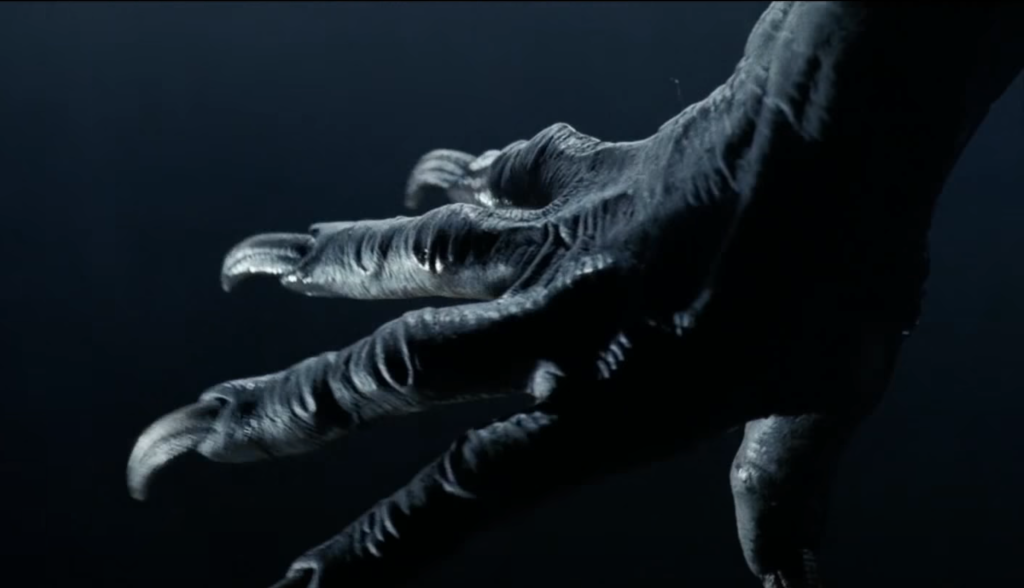
Since the character has mutated I started adding & adjusting features to match the planning I have done for the character and the back story. The first thing was the claws, I wanted to do have these due to them being razor sharp, intimidating and adds to the scare factor of the character. I took inspiration from bear & lycan claws and a few characters I had seen on Artstation.
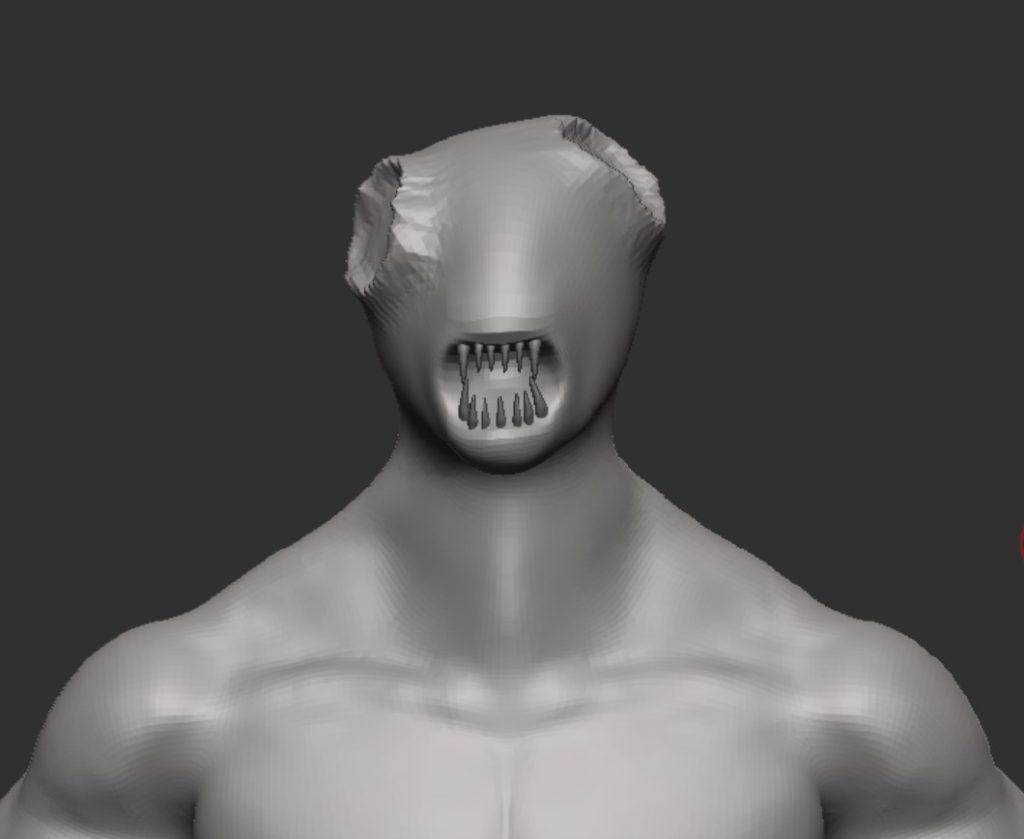
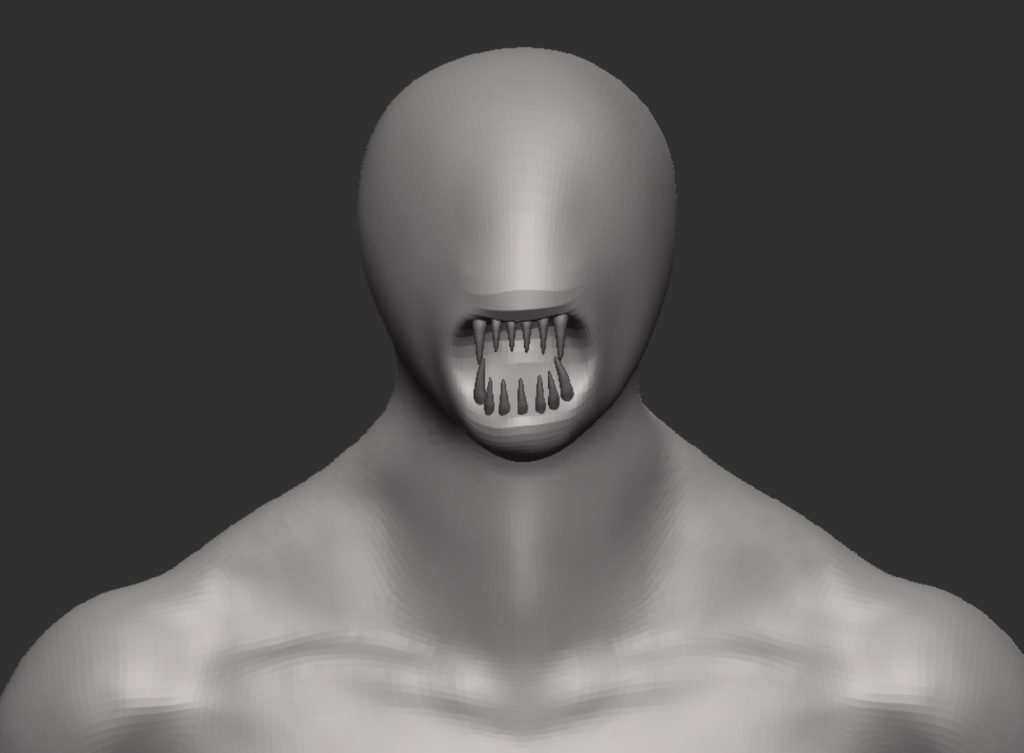
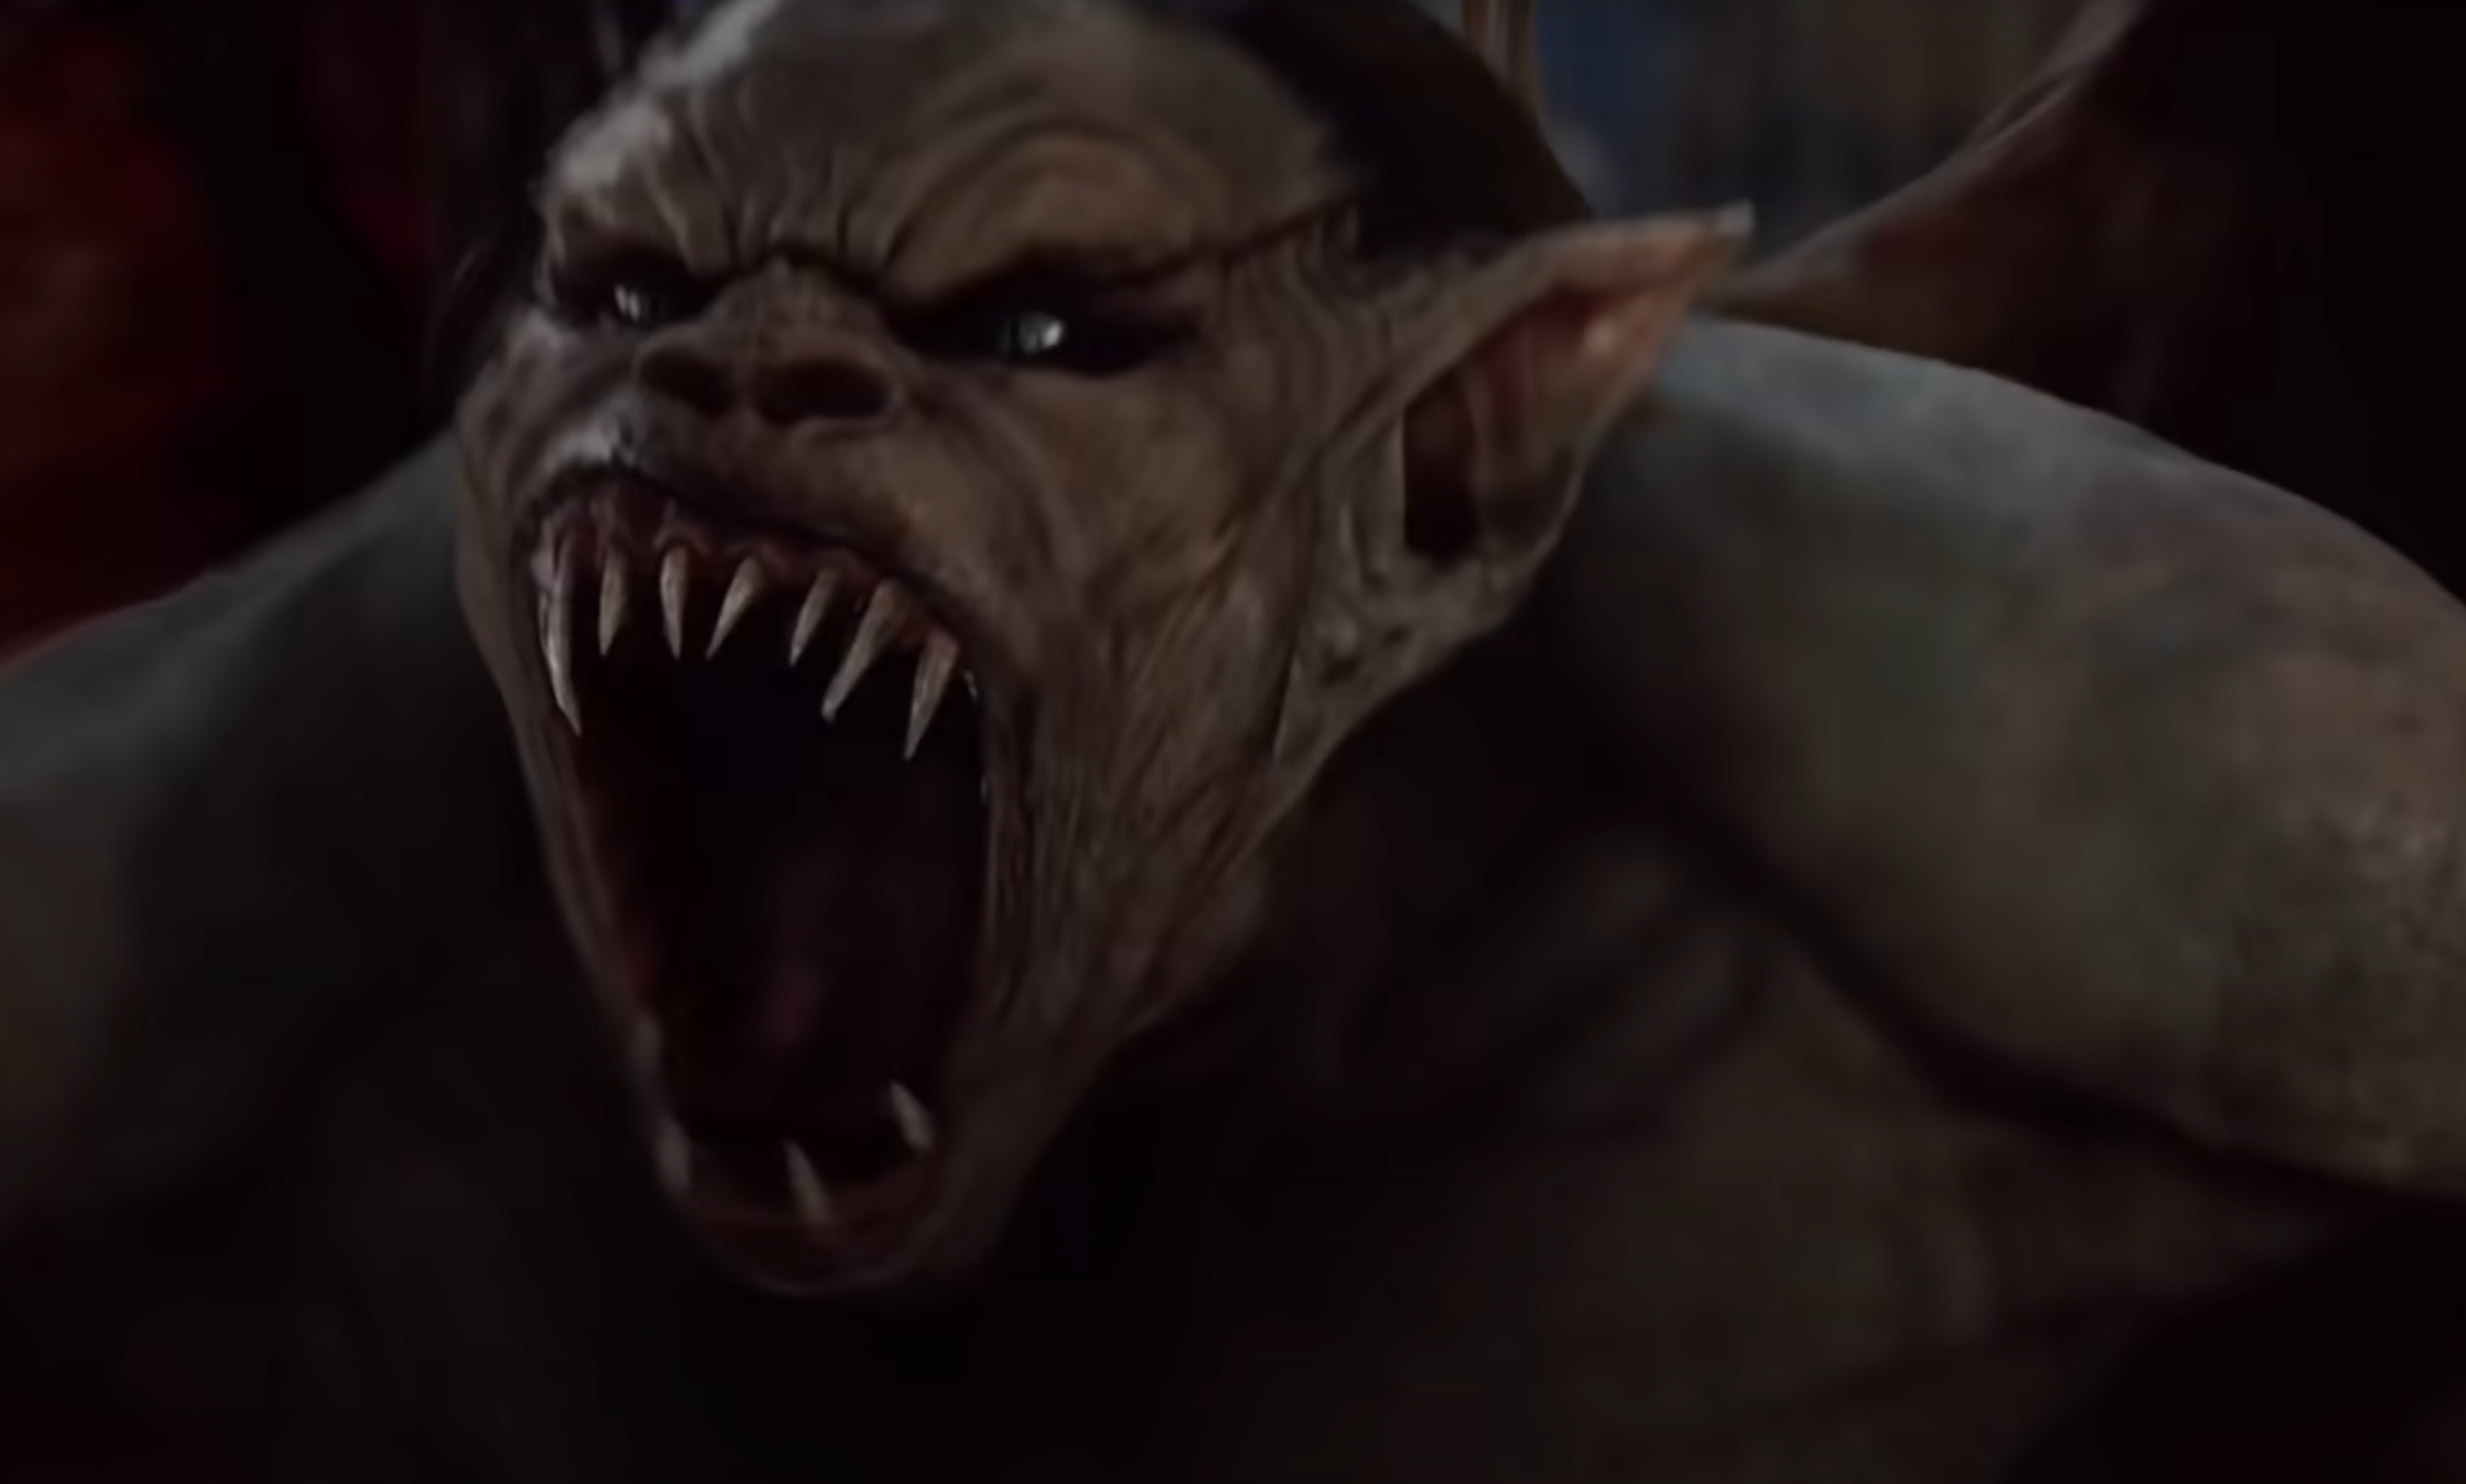
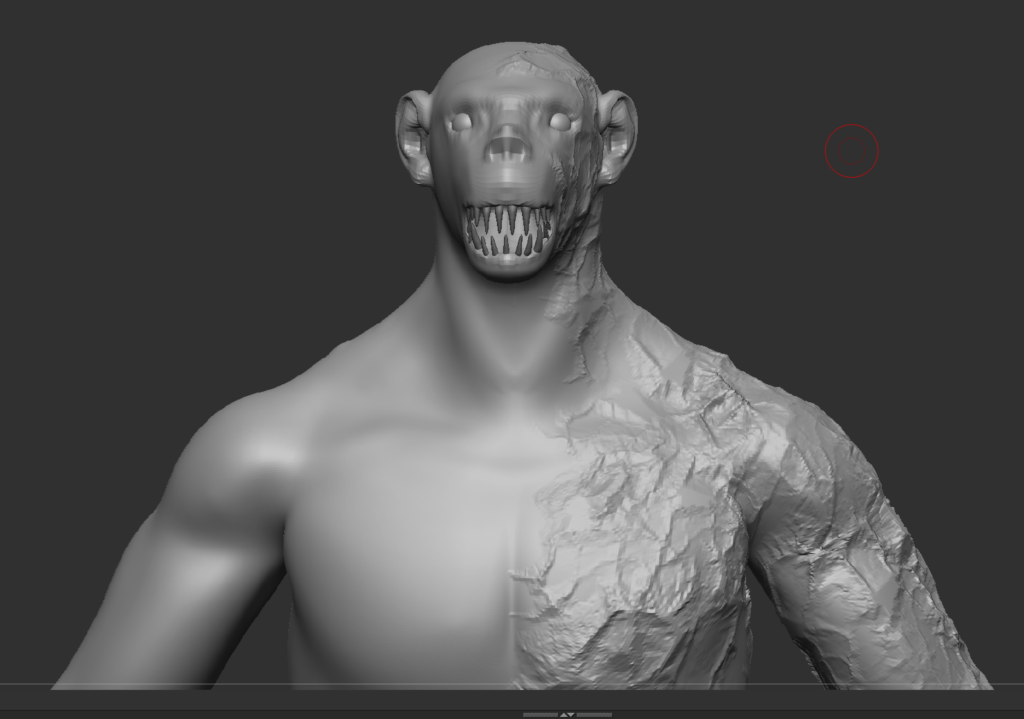
The head was something I was undecided with for a while but I have decided to stick with the werewolf/Lycan look. Its currently just a very basic head with a “snout” that was created by pulling out the mesh from above and below the indent I made for the mouth. I then added the teeth this was done by pulling out the bottom of a sphere scaling the sides in and shaping the top to be sharp. To stay on the mutation side I tested an alpha I download from Artstation that creates things like craters (as shown in the first image) however I wont be keeping them on the head but may use them on other parts of the body if it fits visually.

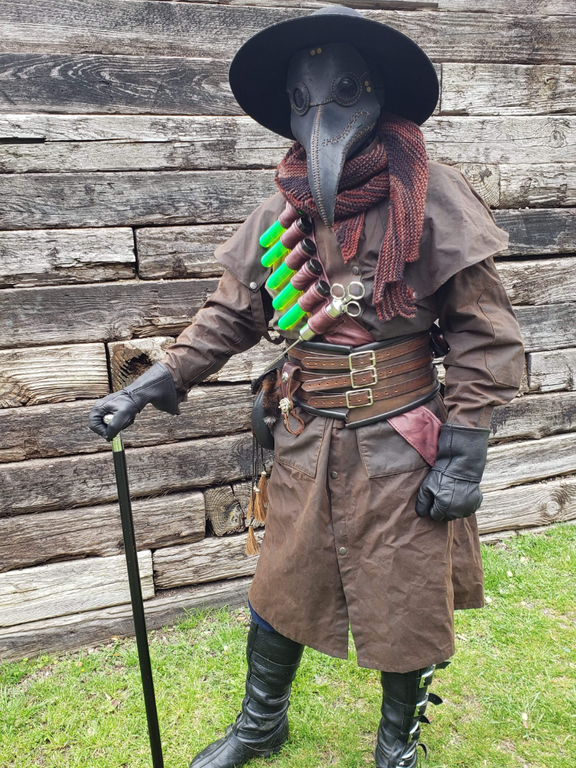
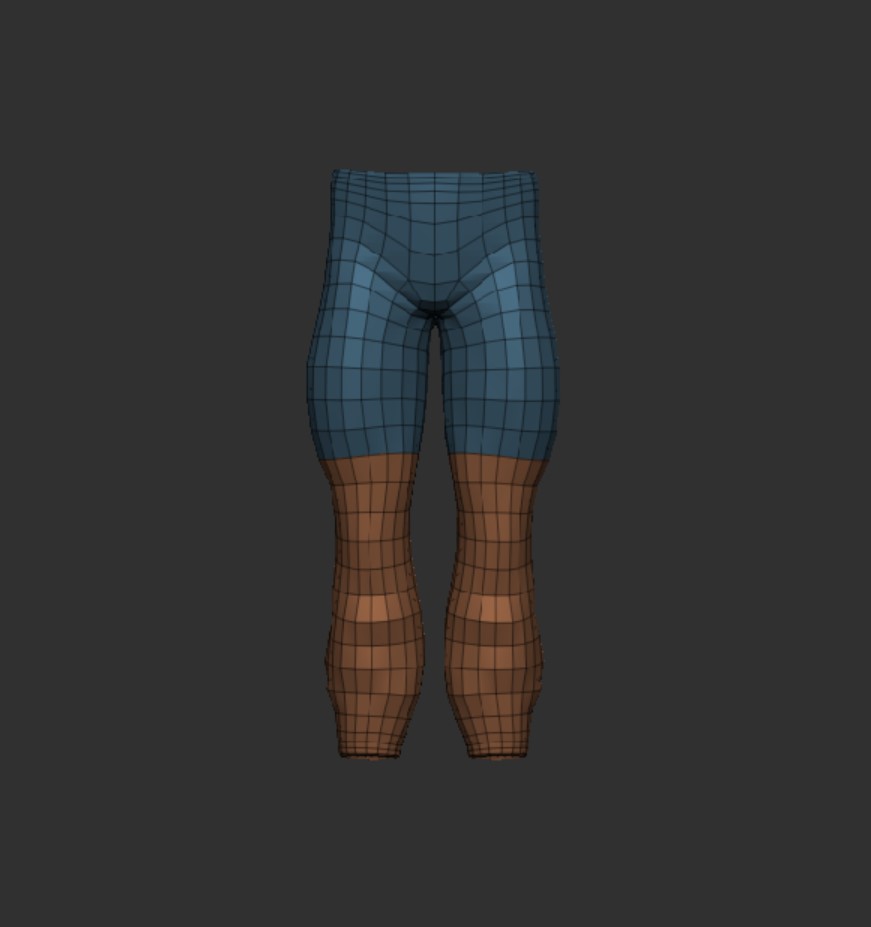
The clothing for this character will be quite limited due to the back story and how much emphasis I want on the muscles. Since this character is based on a plague doctor he might have the classic plague doctor mask (possibly the hat too) and he will also have boots and trousers. I also have to take into account that I want to be able to put this character into Unreal engine (in the future), so positioning of certain clothing items for example a belt with pouches on has to be thought about to avoid too much clipping etc.
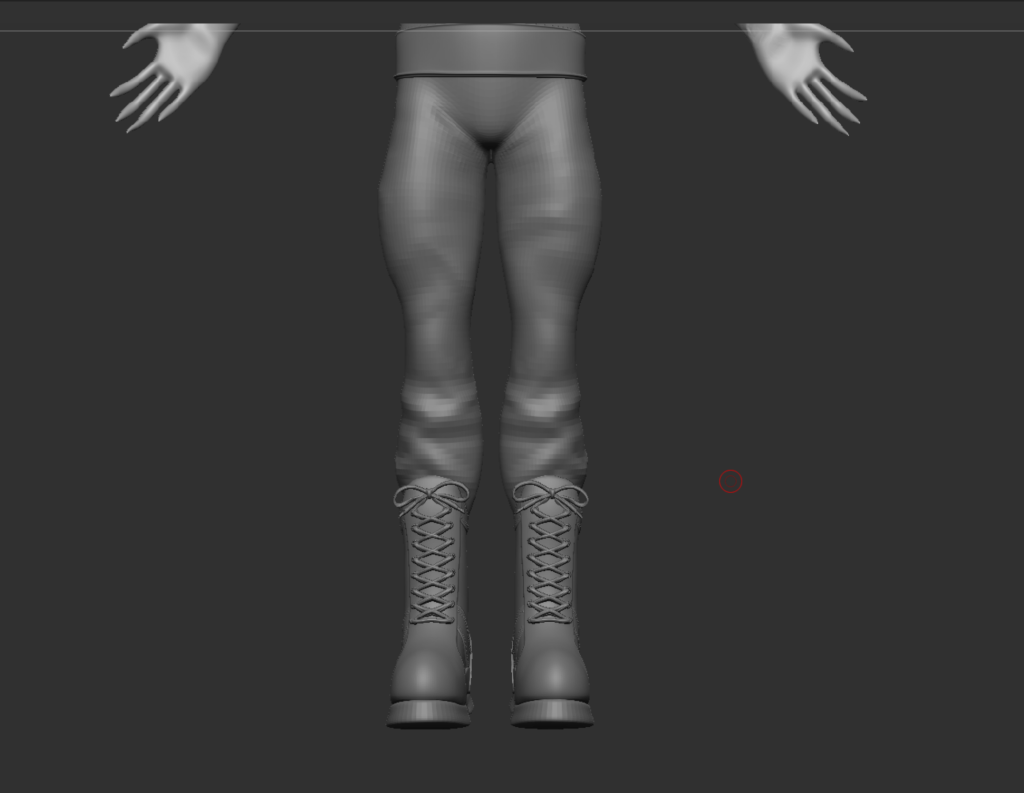
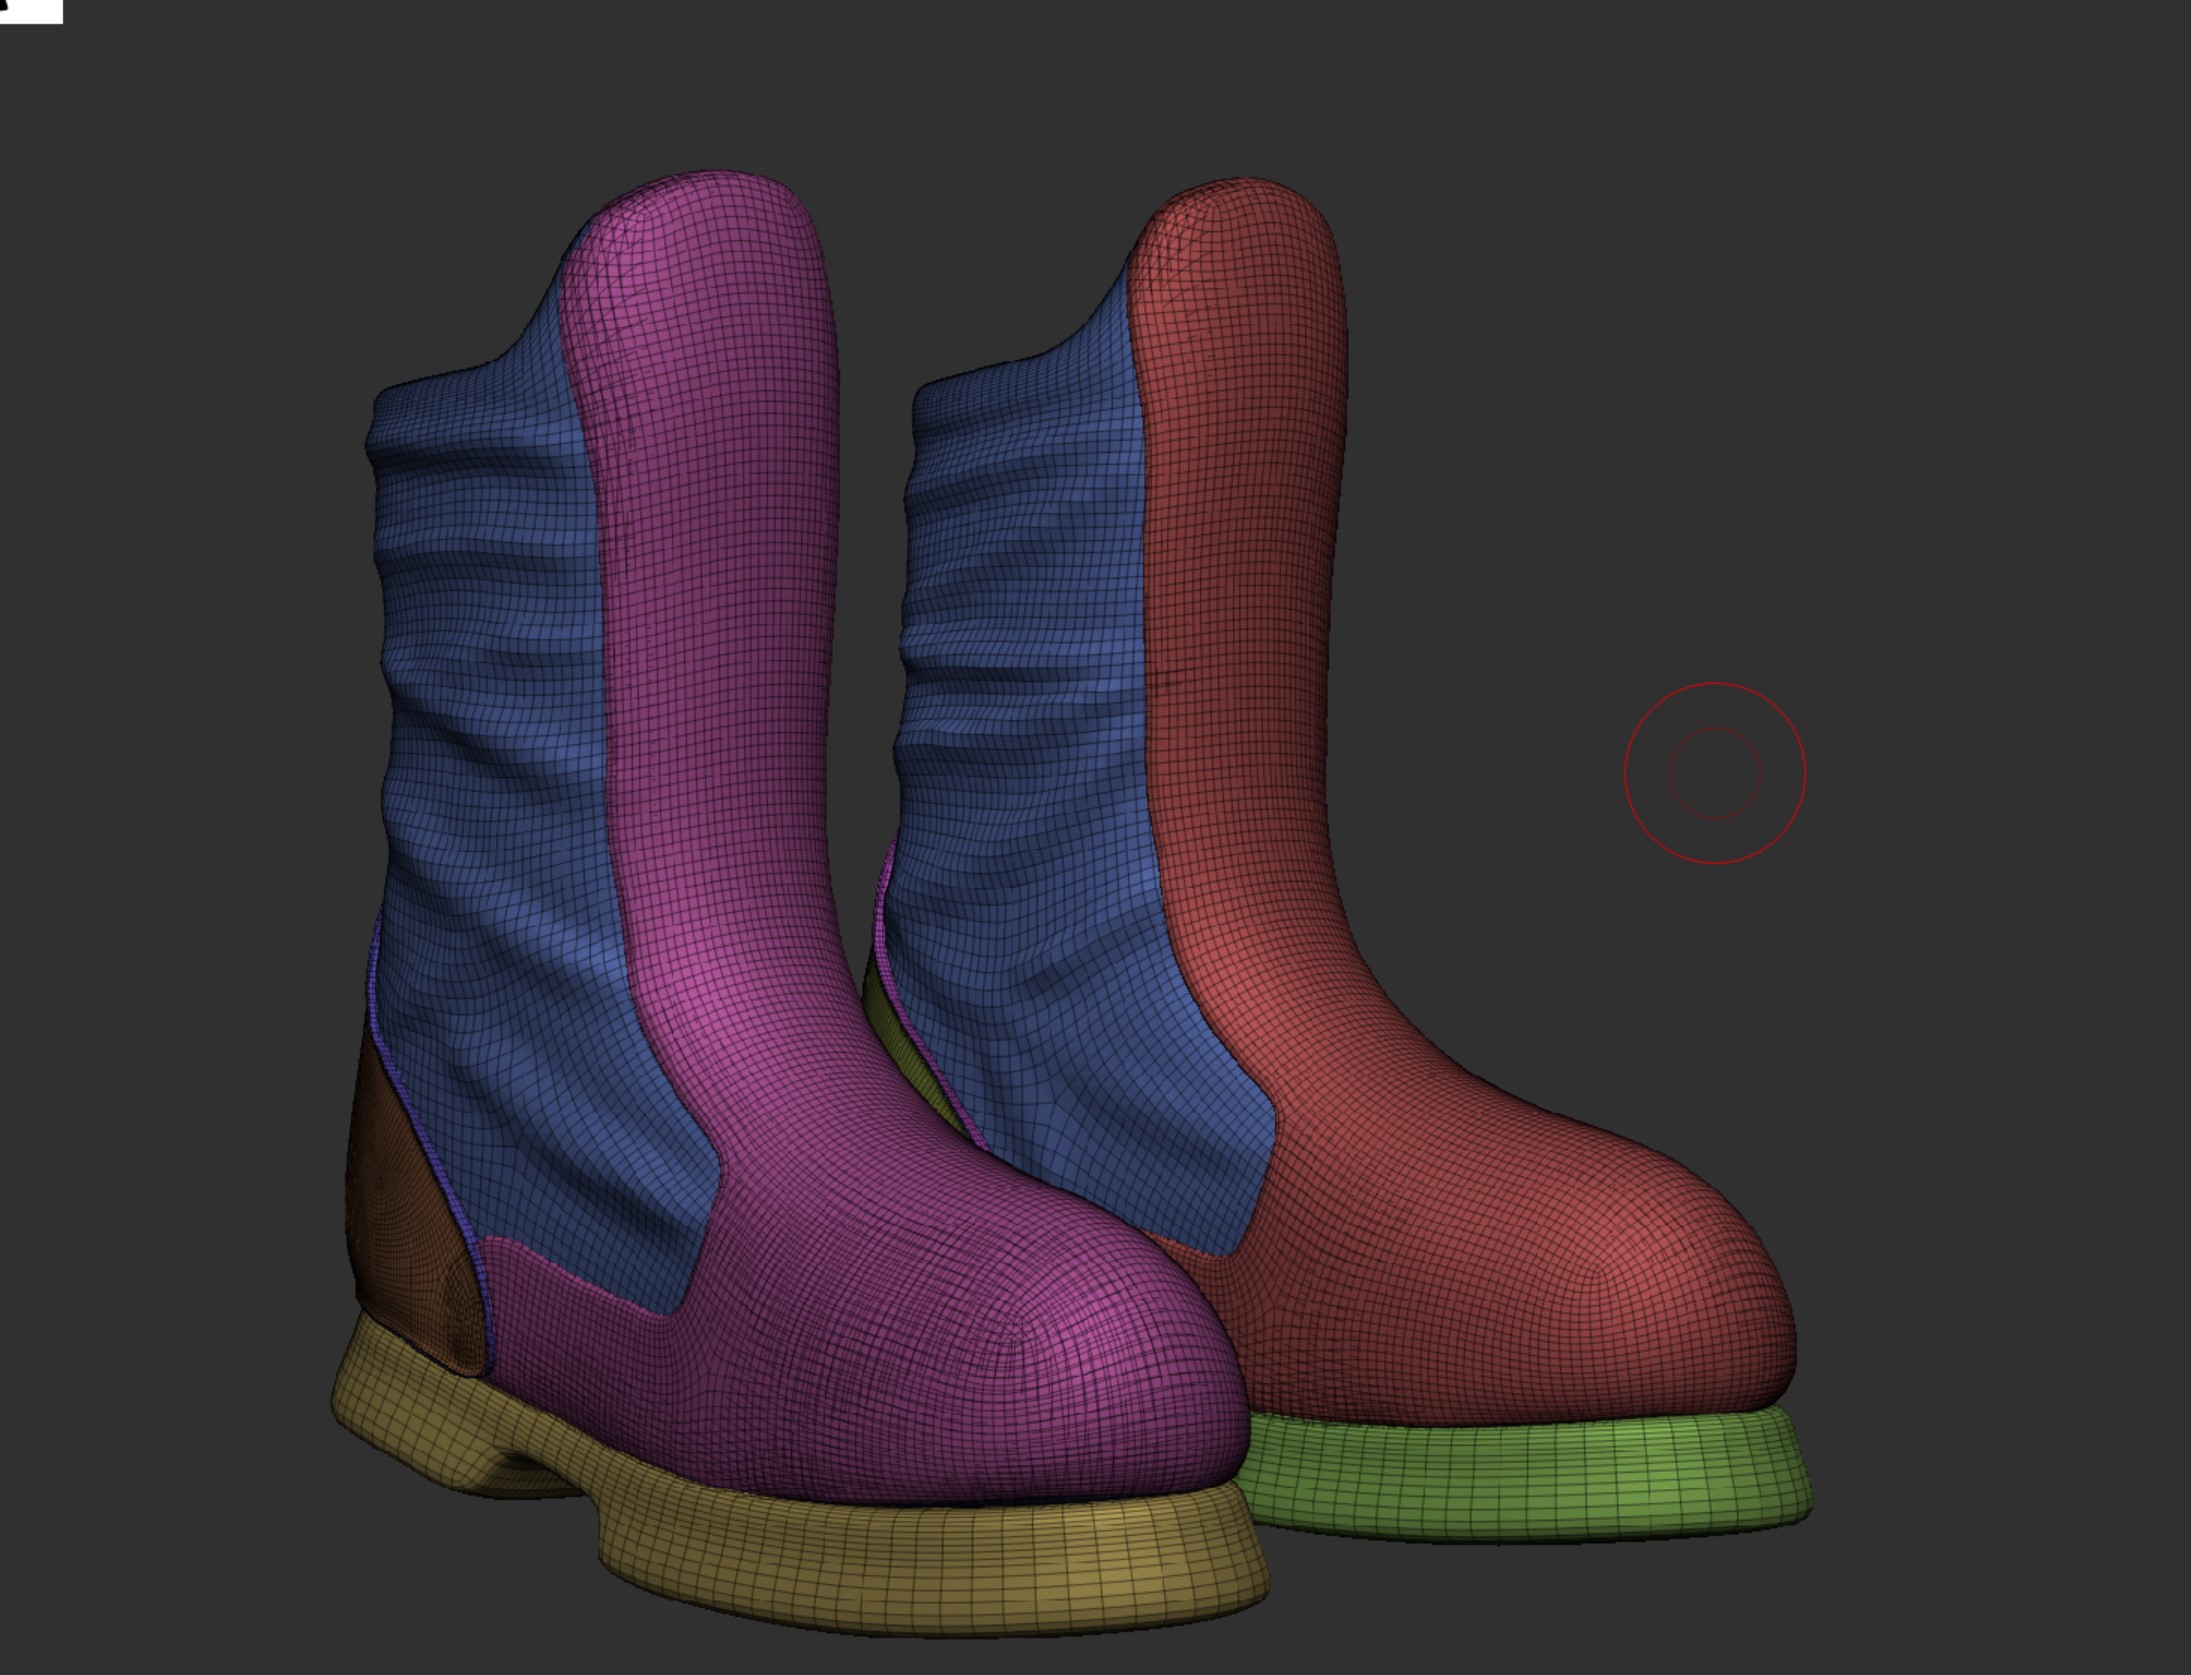
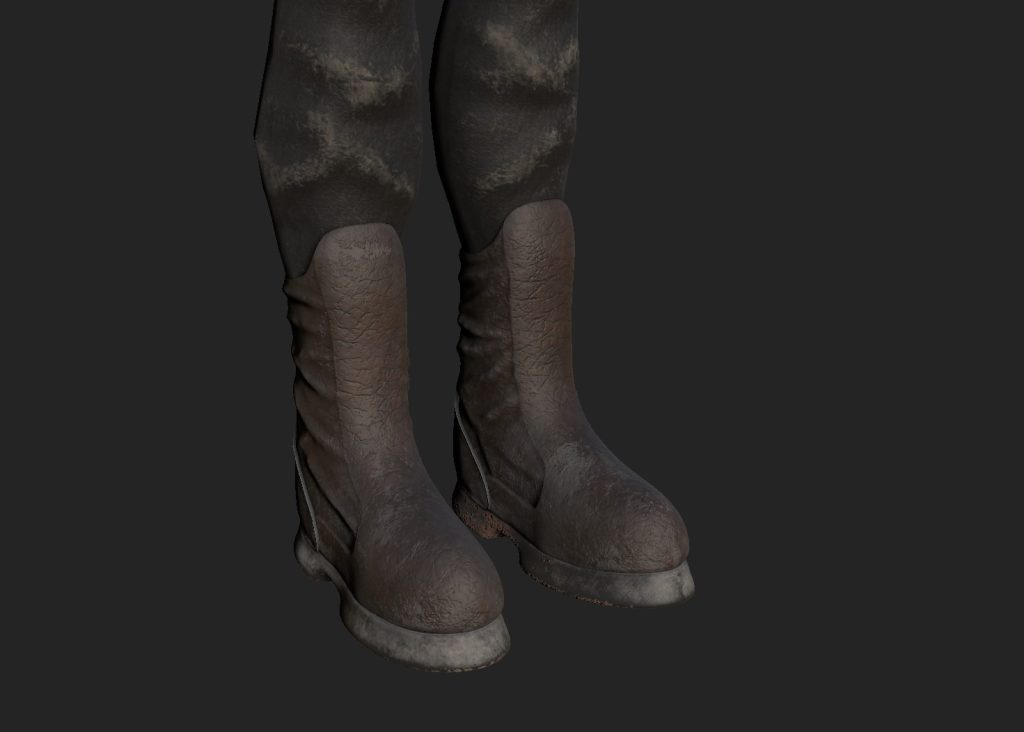
I’ve made a simple block out for the trousers which was done by masking the legs and then extracting the mask. I then took the boots I made for my other character (the soldier) and made scale adjustments so they would fit to the leg of this character.
I then followed this up by using the different reference images i had collected to help with adding detail and shaping the face. I originally was going down the werewolf route for the face shape however, when the ears were done the character gained a more ape like face which i decided to stick with. The eyes were then added in just to help visualise how it will look finished. I made sure to add creases where needed for the trousers as they are not skin tight.
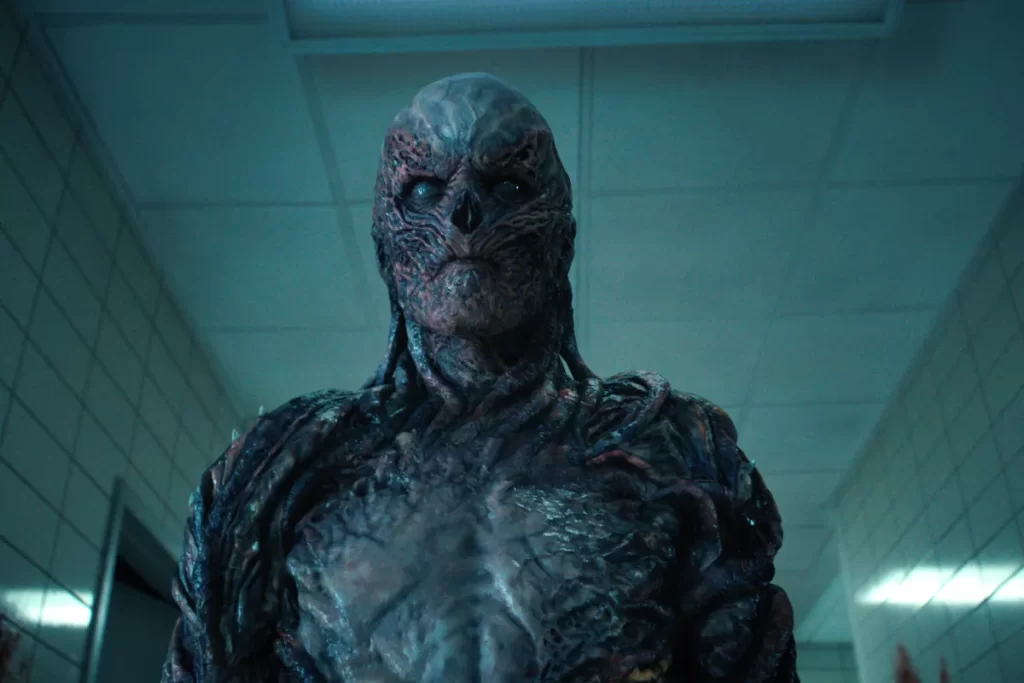
Since this character is based on a person mutating i added in some details around the characters left side as thats where they initially injected the cure into themself. I got inspiration for that visual look from the character Vecna from the Netflix series Stranger Things(image below).
Now it was just about sorting some final details, the belt, body strap and viles, and some other things like the scale of the boots. The initial idea was to have the belt broken and hanging from the trousers but i struggled to make the shape and have it hang how a broken belt would do, so I opted for a shoulder/body strap that I came across when looking at some images of plague doctors. This was perfect as it still gets the point across of it being the last thing linking to his humanity.
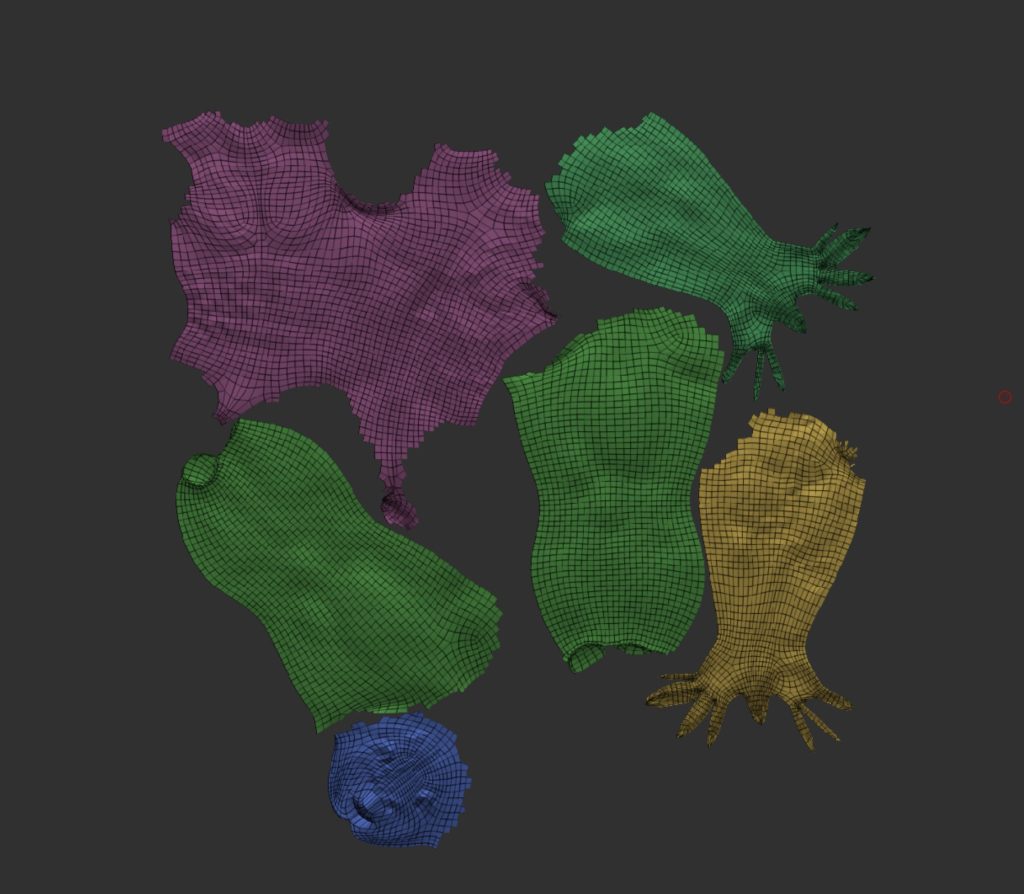
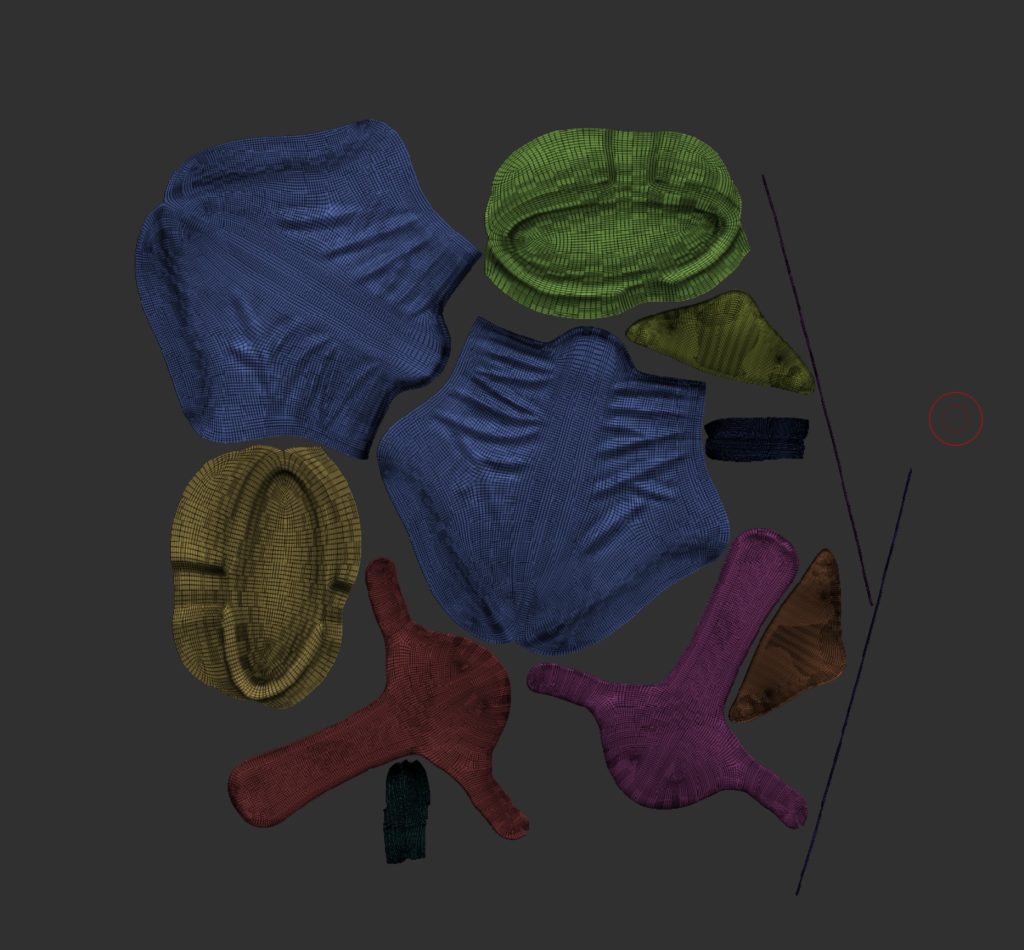
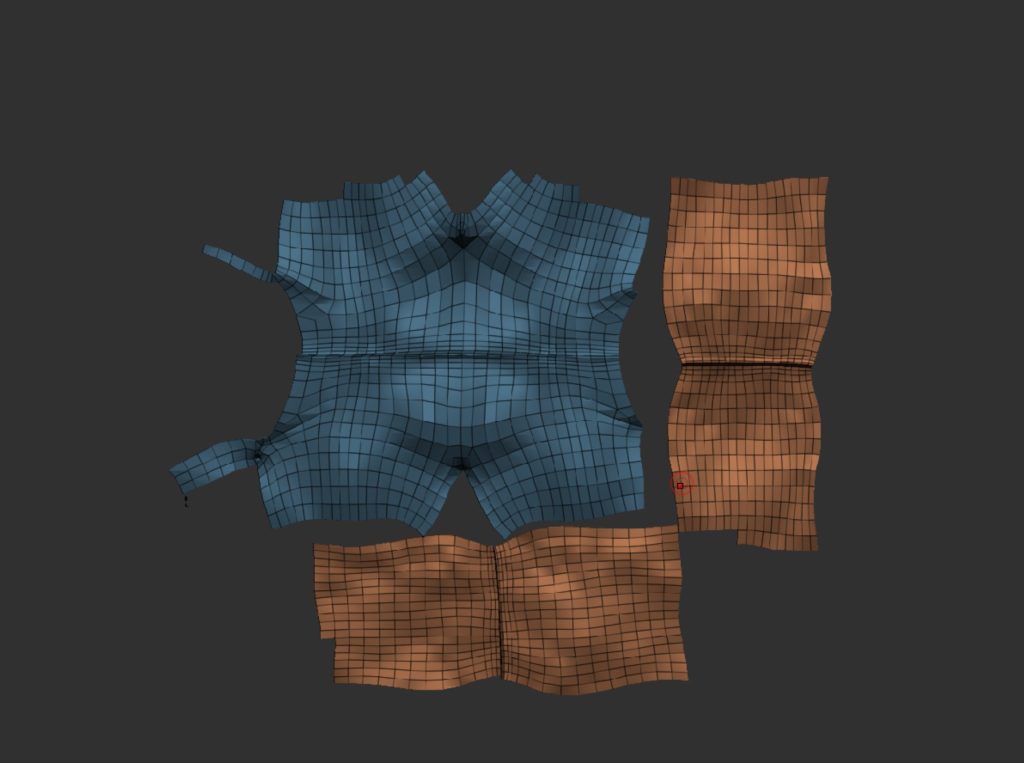
Now that the sculpting was finished i now had to make sure there were no issues with the topology, this is the stage when you would do retopology which tends to be done by hand which is time consuming and since i had not done this before I used the tools within Zbrush to tidy it up. (It is not perfect but for the aim of this project it works, this is something I aim to learn in the future as its a big part of the production line). Below are some examples of the topology, I am happy with how it all came out especially with it being done using a mixture of tools within Zbrush and not the by hand method, however theres still room for huge improvement.
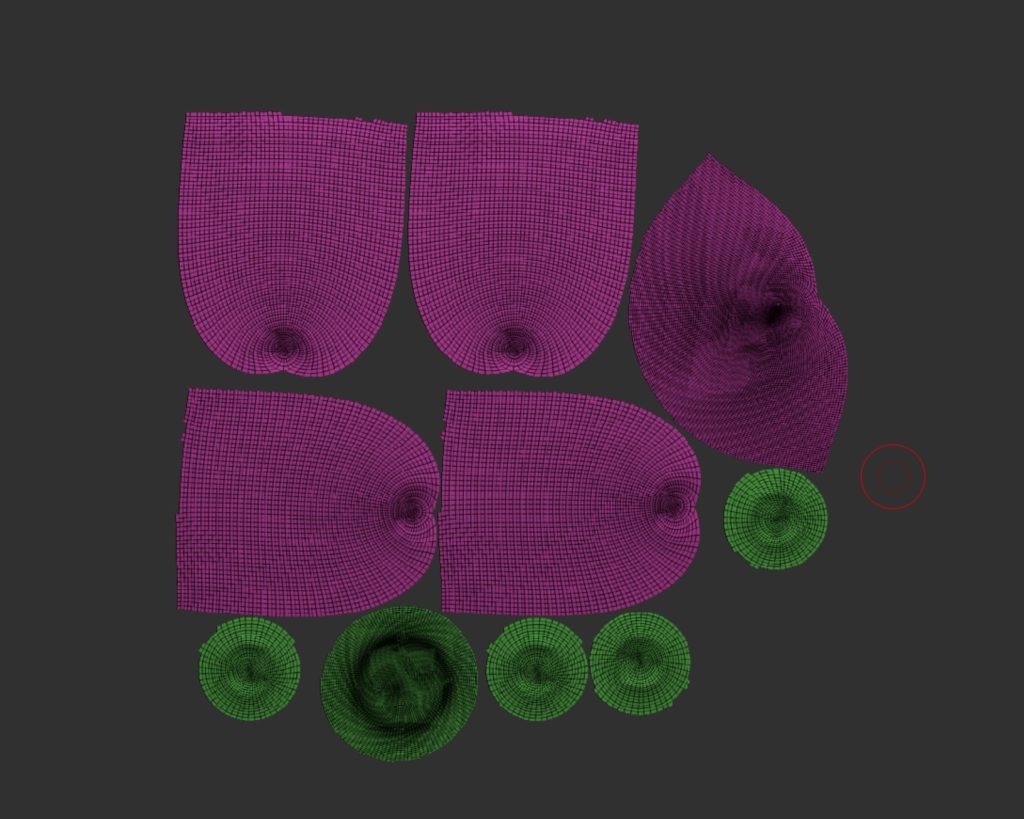
I then used UV master to create the UVs making sure to use the polygon setting and the symmetry setting if needed. To assist Zbrush with creating the seams I made sure to use the attract and project paint tool to try and make sure seams were out of the way as best as possible. Here is an example of the UVs and the seams being at the back of the trousers, and as you will see in a example later on the seams are not visible unless the texture pattern changes.

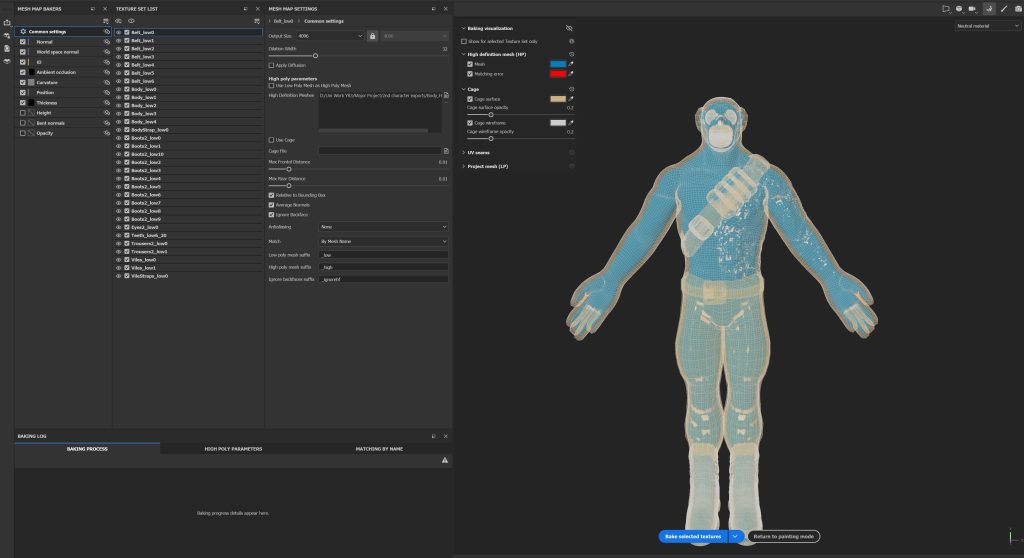
It was now time to export to substance painter but first i had to get a few things set up. First was the subtool names, these had to be what the subtool was so for example Trousers followed by the sub division level so it would be Trousers_low, I then had to repeat this for the high subdivision level. You do this so that when you bake the details from the high poly (left) onto the low poly (right) you can match them up by using the name within substance painter.

Now that was set up i could finally import into substance painter and start baking the details. I used a few youtube videos to help set this up and it took me a while to get to this point as i was learning as i go, but eventually I got my head around it, and managed to set it all up correctly.
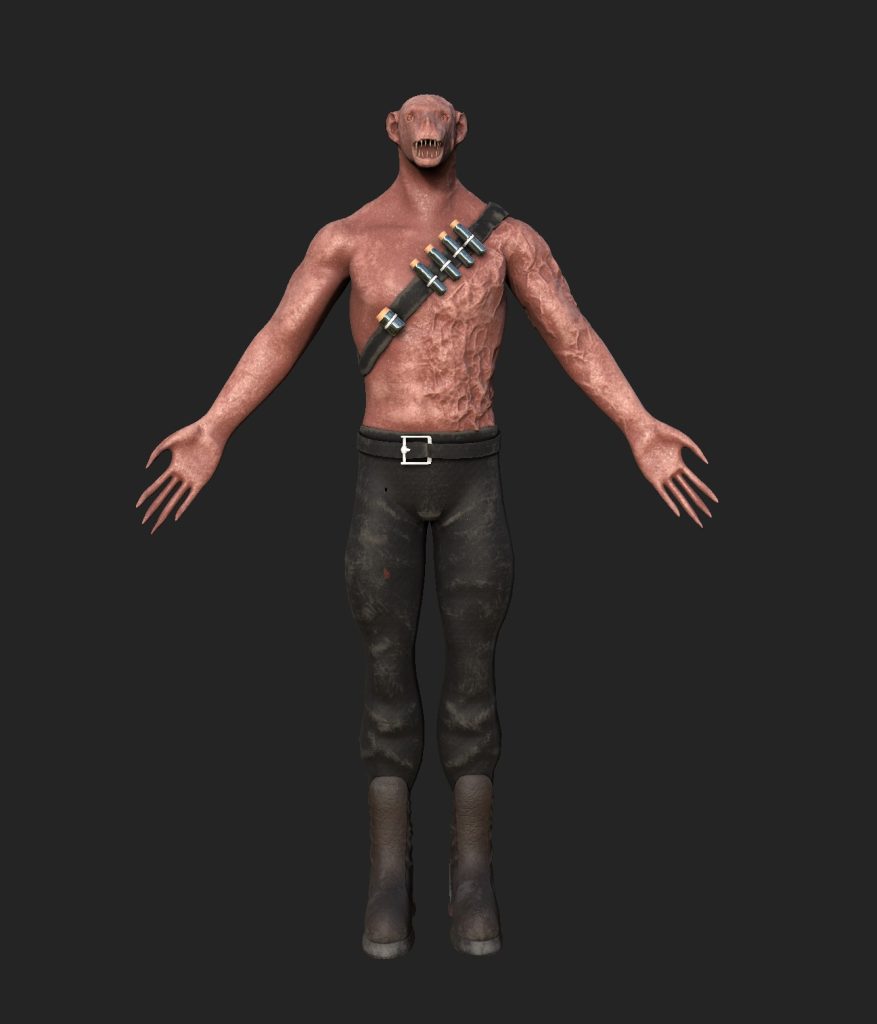
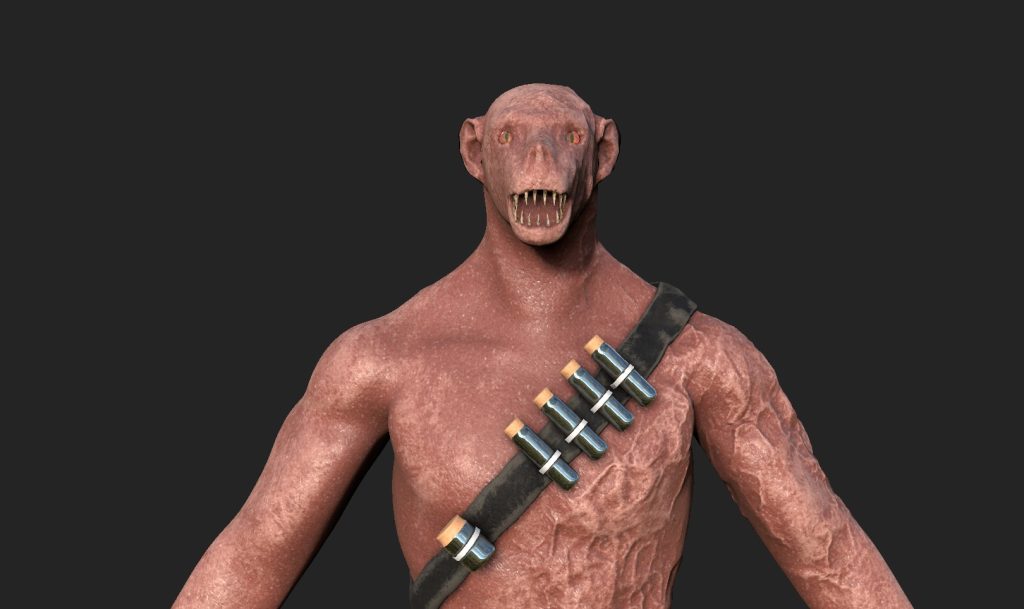
Now that the details had been baked on i started to play around with the materials and all the different settings they have within substance to try and make the character look how i wanted him to. I decided to use a variety of materials ranging from smart to basic ones. Im really happy with how it looks and is how i imagined it, the only downside is i will have to leave out the hair that i planned on doing doing the timeframe left, this is a problem created by me with due to lack of time planning and the fact that hair is a new thing for me to learn.
Below is also the first test render of the final thing as i really like all the different render settings within substance painter.
Reflection & Future Plans:
Looking back over this project, I am very pleased with the out come of this character. The way I imagined how he would look is very close to this, the only downside is the fact i did not get to add the fur as it was something I really wanted to do. But, similar to the hair issue for my other character this is something I will come back to in the future and do. Xgen and fibremesh are both fantastic tools and there is so much information out there on them, its just time consuming and time is what I ran out of. Another plan I have for this character is to fully rig them and import them into unreal engine.
As mentioned before, both of the characters made for this project will be the first into my character portfolio. I have already started planning ideas for my next project and the one I’m leaning towards is sculpting Batman, The Joker and Redhood. This would be a long term project and wont really have a time frame.
References:
Ultimate Performance (Ultimate Performance, 2017) Picture of Legs [Image] Available Online: https://blog.ultimateperformance.com/how-to-force-your-legs-to-grow/
T Nation (T Nation, 2018) Legs picture [image] Available Online: https://twitter.com/T_Nation/status/1048422597824667649
Pinterest (N/A, N/A) Bear foot [Image] Available Online: https://www.pinterest.co.uk/pin/541698661425658850/
Underworld Fandom (Underworld Fandom, N/A) Lycan image [Image] Available Online: https://underworld.fandom.com/wiki/Underworld:_Awakening
Game8 (Resident Evil Village Walk through Team, 2021) Lycan image [Image] Available Online: https://game8.co/games/resident-evil-village/archives/329222
wallpapersafari (Bianoti, 2018) Lycan image [Image] Available Online: https://wallpapersafari.com/w/4C6Mul
wallpapersafari (Fan Pop, 2018) Lycan image [Image] Available Online: https://wallpapersafari.com/w/4Mz92i
YouTube (The Planet Clips, 2018) Screenshots taken from the video [Video] Available Online: https://www.youtube.com/watch?v=MR8UqU08t-k
405th (Spawn Camper, 2009) Ghost character image [Image] Available Online: https://www.405th.com/forums/threads/modern-warfare-2-ghost-setup.19423/
Call of Duty Fandom (Call of duty Fandom, N/A) Ghost image 2022 [Image] Available Online: https://callofduty.fandom.com/wiki/Simon_”Ghost”Riley(Reboot)
Los Angeles Times (Daniel James. 2022) Vecna Image [Image] Available Online: https://www.latimes.com/entertainment-arts/awards/story/2022-08-10/special-effects-vecna-stranger-things-emmys
Pinterest (Kaden Westbrook, 2019) Plague doctor outfit [Image] Available Online: https://www.pinterest.co.uk/pin/417075615490471896/
YouTube (Universal Pictures, 2020) Screenshots of Dracula and Werewolf [Video] Available Online: https://www.youtube.com/watch?v=HH6tnTQUJD4
Reddit (Afo_25, 2020) Silhouette image [Image] Available Online: https://www.reddit.com/r/CallOfDuty/comments/fu4ah0/mw3_when_everyone_thought_that_this_silhouette/
SportSkeeda (Krishanu Ranjan Sarma, 2022) Silhouette Image [Image] Available Online: https://www.sportskeeda.com/esports/modern-warfare-2-dark-water-correct-answers
YouTube (Nick and autumn, 2020) Screenshots of character poses [Video] Available Online: https://www.youtube.com/watch?v=rdCrB6J5gB8